


Zebra Daylight Processing Tank User Manual
Table of Contents
User Manual for Sheet Film and Glass Plates
1. Introduction
1.1 About the Zebra Daylight Processing Tank
The Zebra Daylight Processing Tank is designed to enable fully controlled photographic processing in normal daylight conditions. It allows photographers to develop large format sheet film, glass dry plates, tintypes, and photographic paper without the need for a darkroom once the materials are loaded.
The tank is fully light-tight and water-tight, ensuring reliable and repeatable processing results. Its modular internal design allows it to accommodate a wide range of formats and material thicknesses. The tank is intended for use in a home darkroom, professional studio, educational environment, or field conditions where traditional darkroom facilities are unavailable.
By combining portability, modularity, and precise chemical control, the Zebra Daylight Processing Tank offers a flexible processing solution without compromising image quality or process consistency.
Designed for use with:
- Sheet film
- Glass dry plates
- Tintypes and direct positives, depending on chemistry used
Advantages compared to tray processing:
- Complete light-tight processing after loading
- Simultaneous development of multiple sheets or plates
- Highly repeatable and controllable processing conditions
- Reduced chemical handling and improved workflow efficiency
- Suitable for travel, workshops, and mobile darkrooms
1.2 Intended Users
Zebra Daylight Processing Tank is intended for photographers who require reliable daylight processing for large format materials, including:
- Large format film photographers
- Dry plate photographers working with silver gelatin emulsions
- Alternative process practitioners producing tintypes or direct positives
- Users operating home darkrooms, shared facilities, workshops, or field setups
1.3 Supported Formats and Capacities
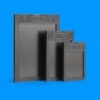
The Zebra Daylight Processing Tank is available in three base sizes: 4×5, 5×7, and 8×10. Through the use of interchangeable internal adapters, the tank can also accommodate many intermediate film and plate sizes.
The system supports a wide range of material thicknesses, from thin photographic film and paper to metal tintype plates and glass dry plates up to 2 mm thick.
Maximum processing capacity per tank size:
4×5 tank
Up to 6 sheets of 4×5 film
Up to 3 glass dry plates
5×7 tank
Up to 4 sheets of 5×7 film
Up to 2 glass dry plates
8×10 tank
Up to 4 sheets of 8×10 film
Up to 2 glass dry plates
With a full set of 4×5 adapters, up to 16 sheets of 4×5 film can be processed simultaneously
2. How the Tank Works
2.1 Daylight Processing Principle
The tank is constructed to be fully light-tight and water-tight. Once film or plates are loaded and the lid is secured, all subsequent processing steps can be performed in normal room light.
Chemicals are introduced and removed through dedicated ports, allowing controlled filling and draining without exposing the contents to light. The internal geometry ensures that chemistry reaches both sides of the film or plate evenly and consistently.
2.2 Internal Design Concept
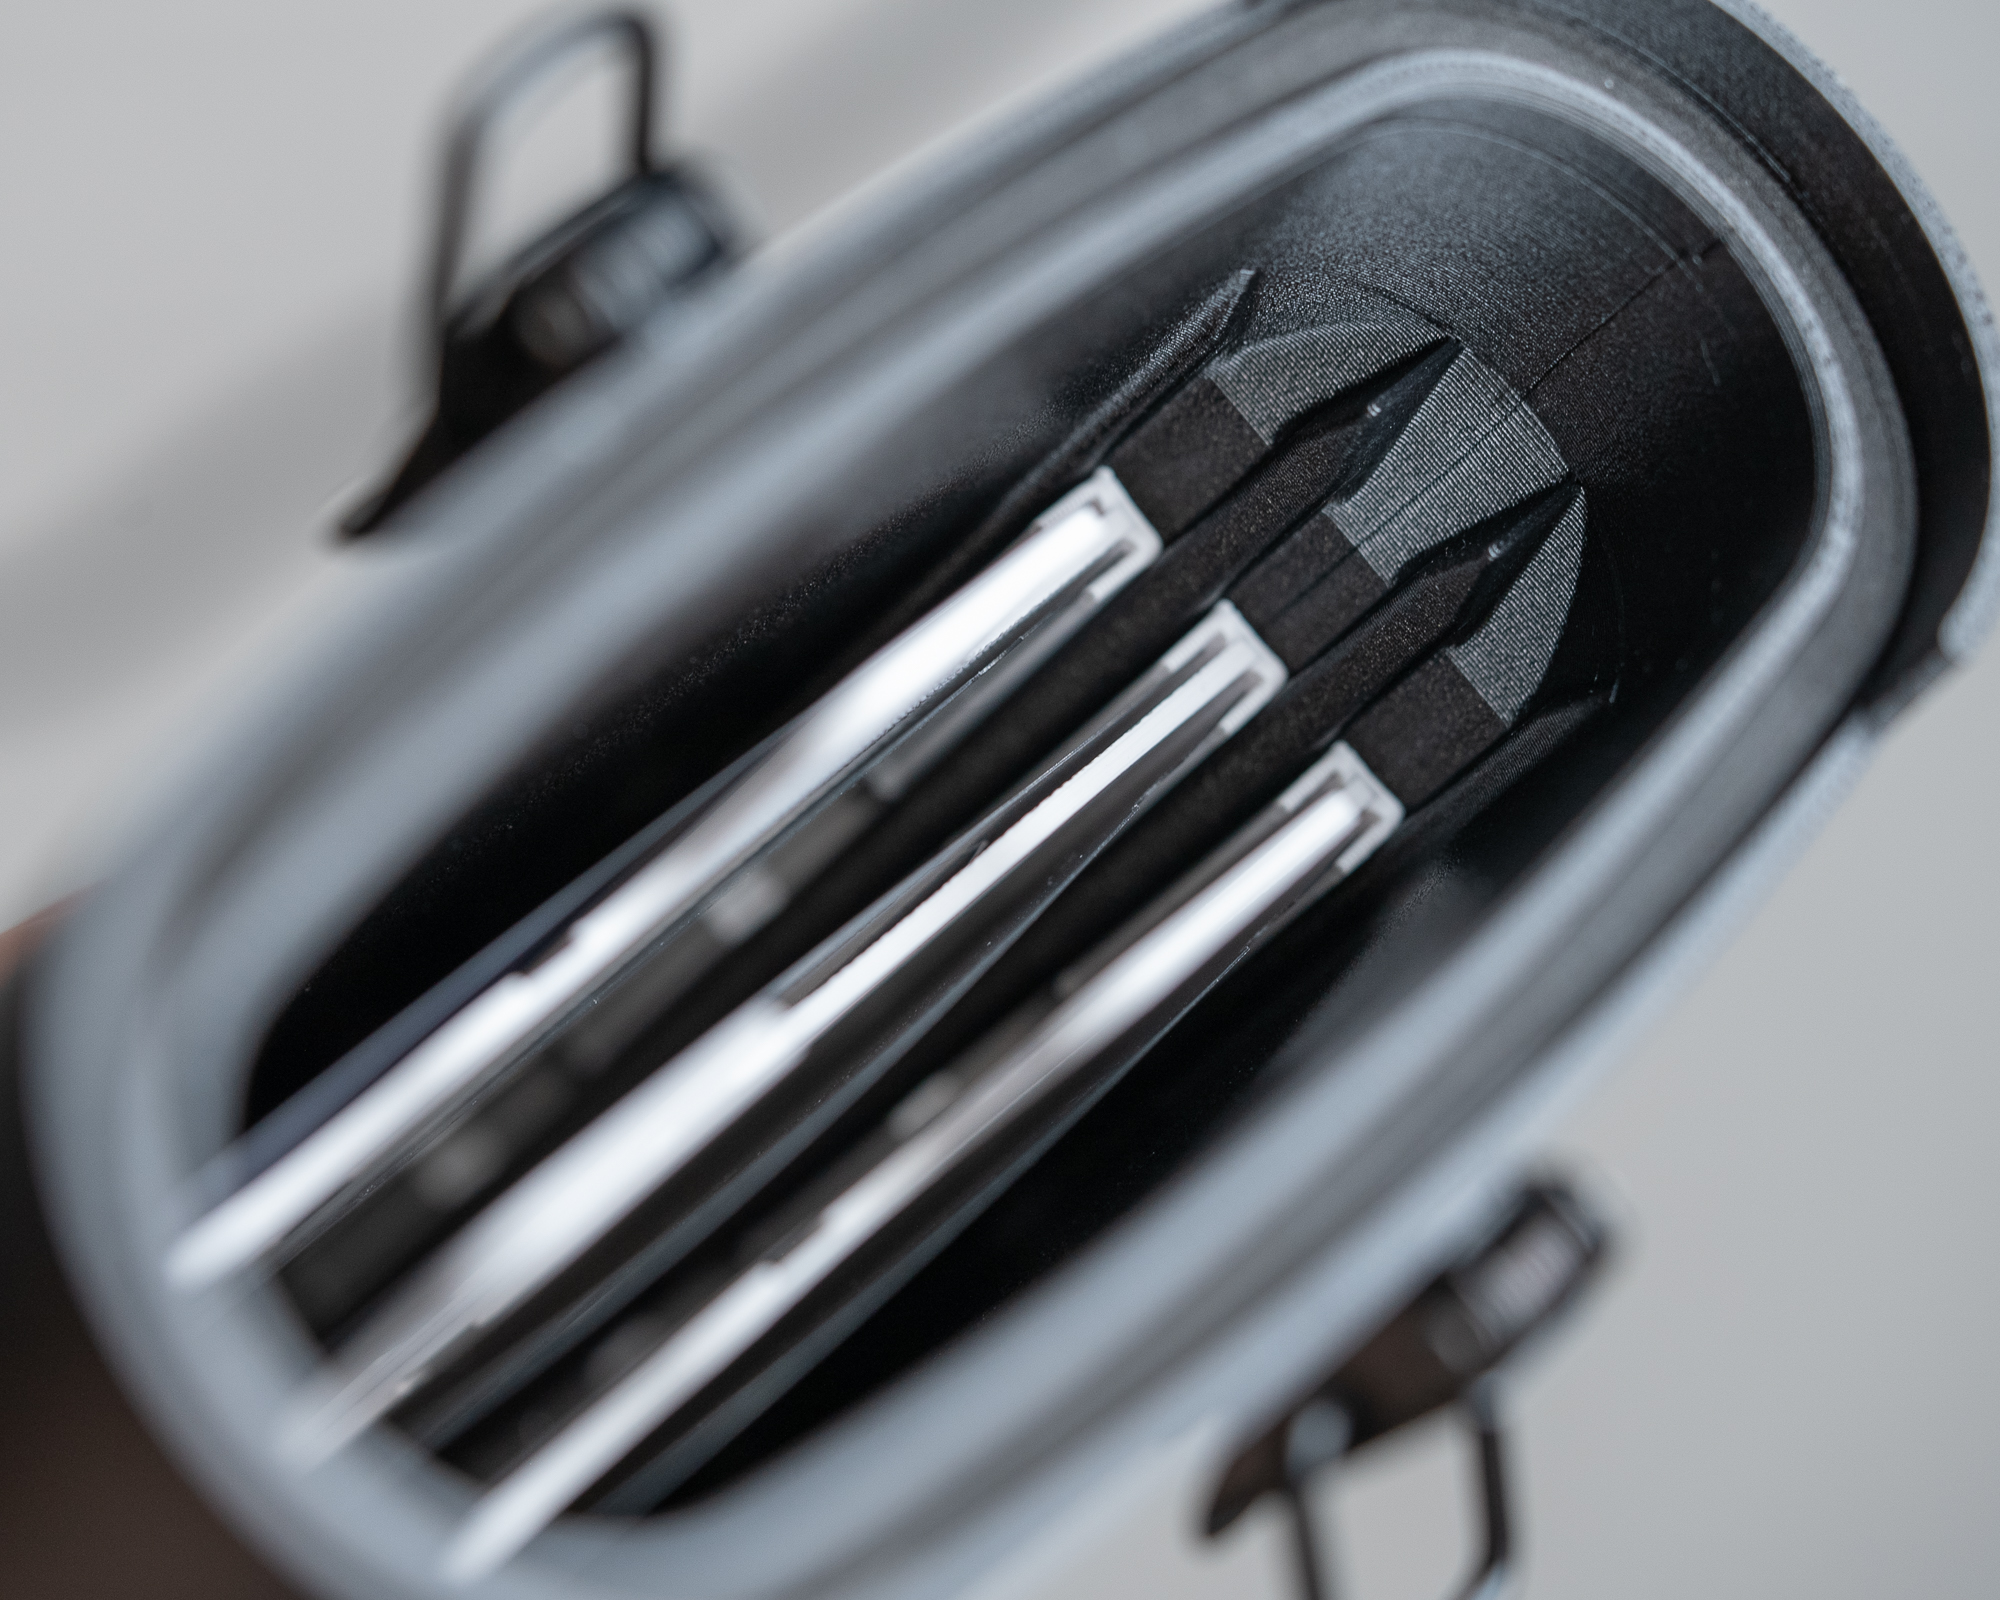
Film and plates are held in a vertical orientation inside the tank. This orientation minimizes uneven development and promotes consistent chemical flow.
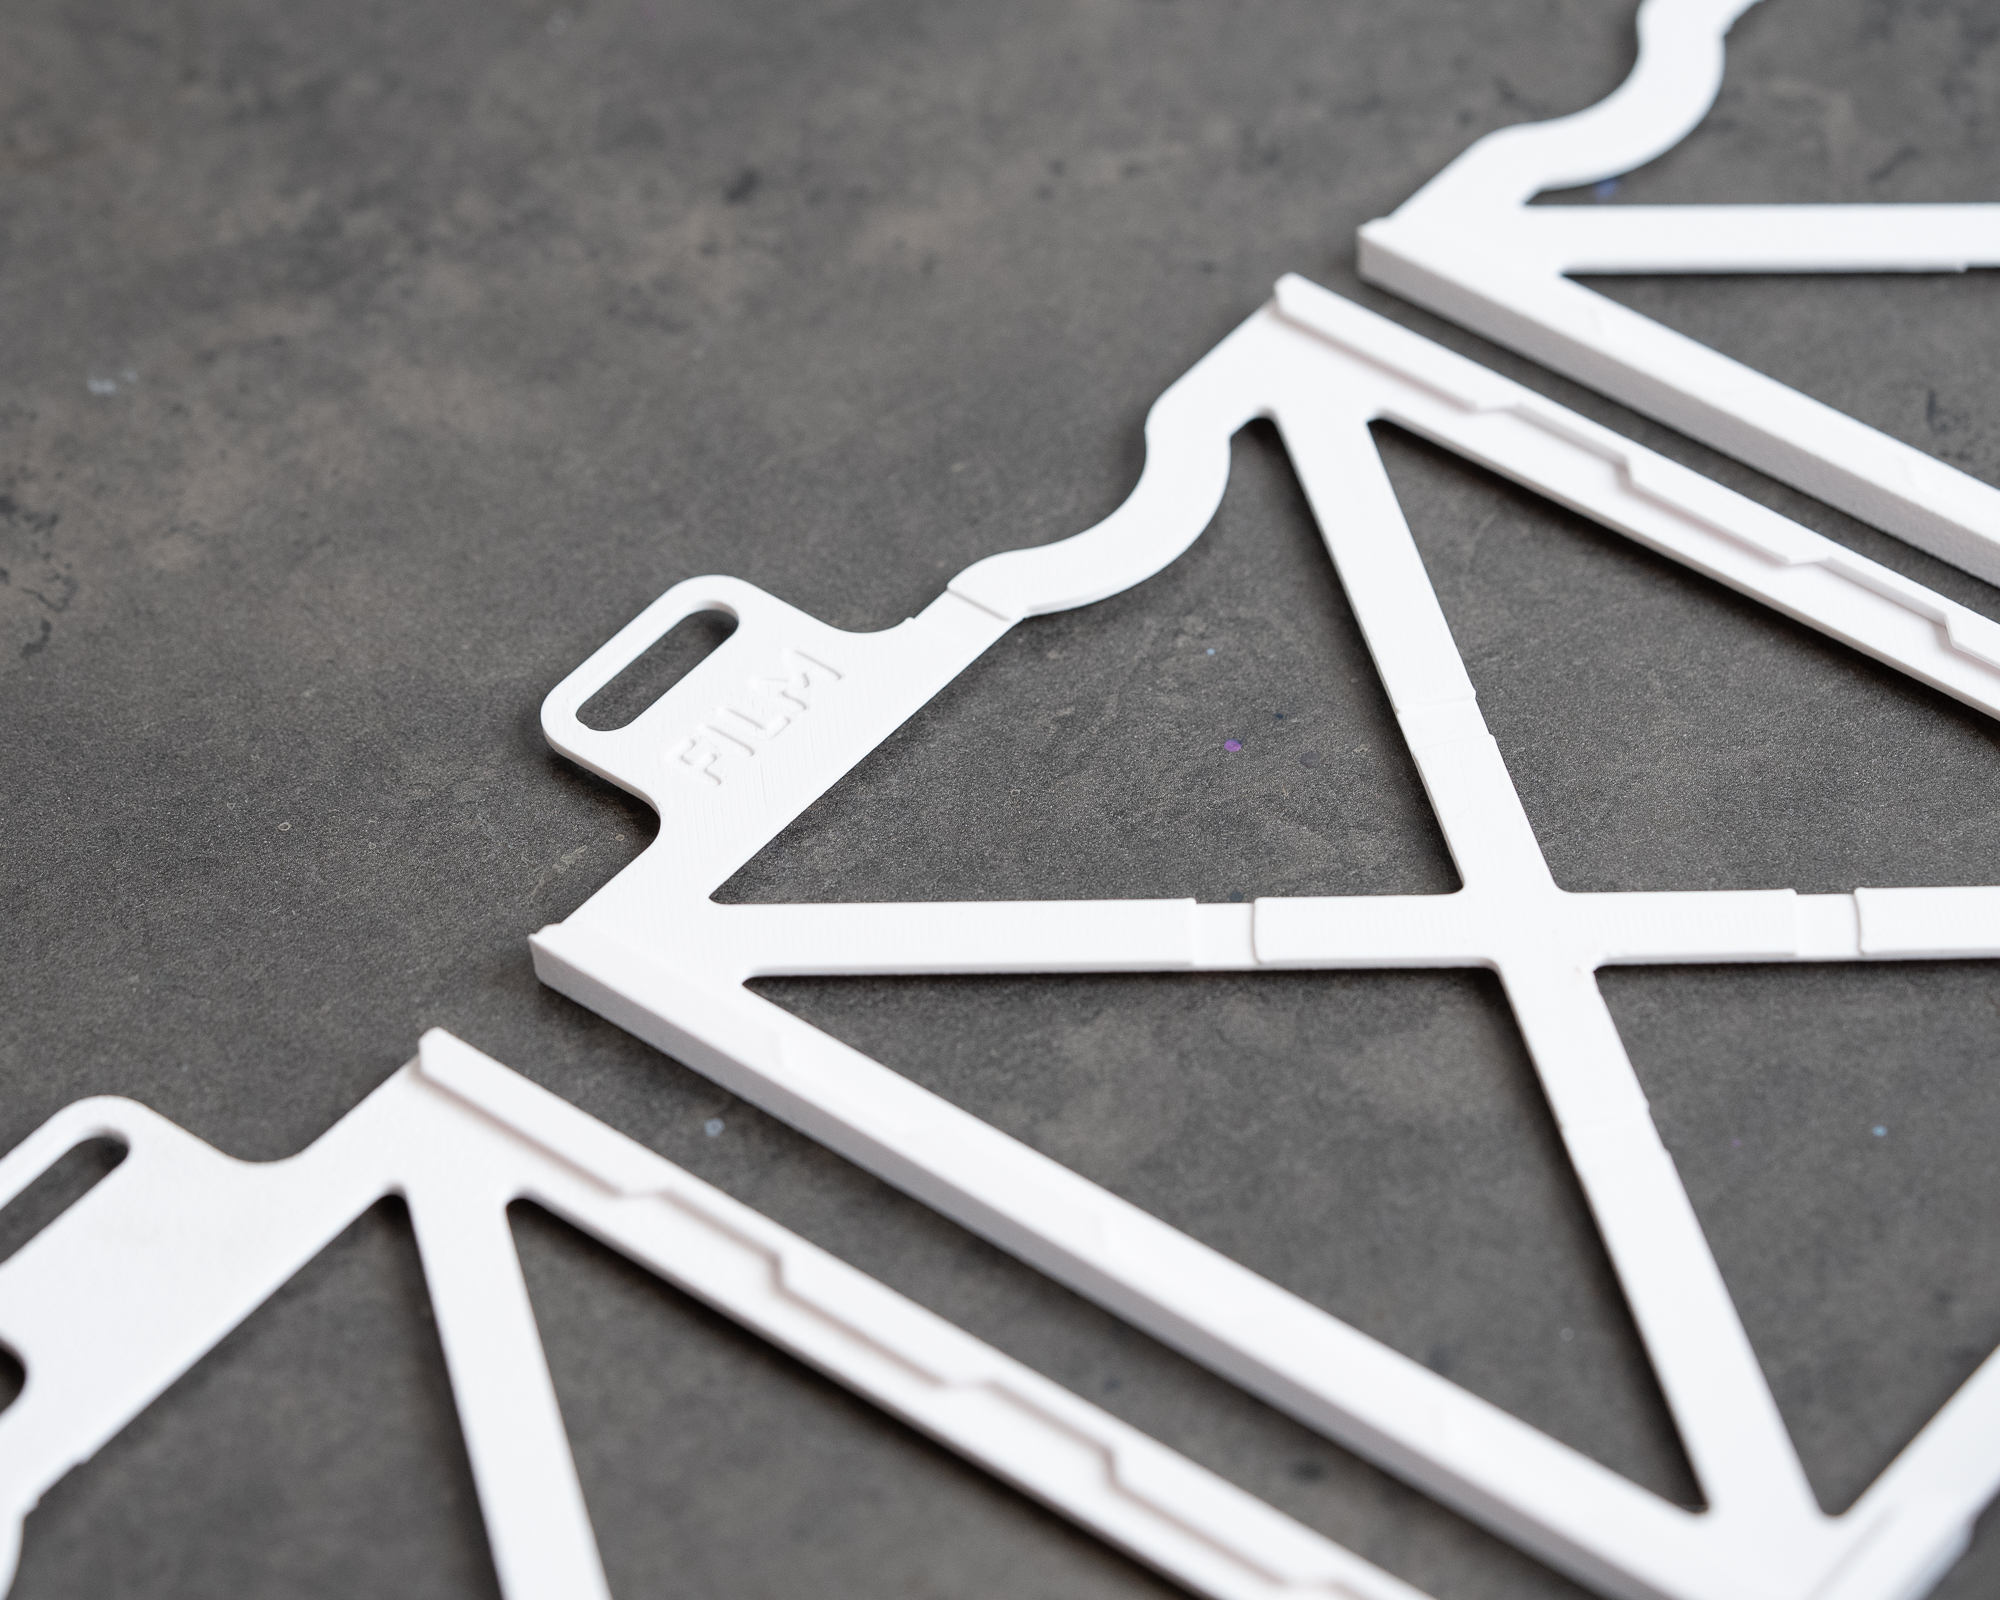
Each sheet or plate is physically separated by adapters, preventing contact between adjacent materials. The spacing is optimized to allow rapid chemical exchange while avoiding turbulence that could cause streaking or density variations.
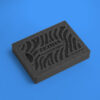
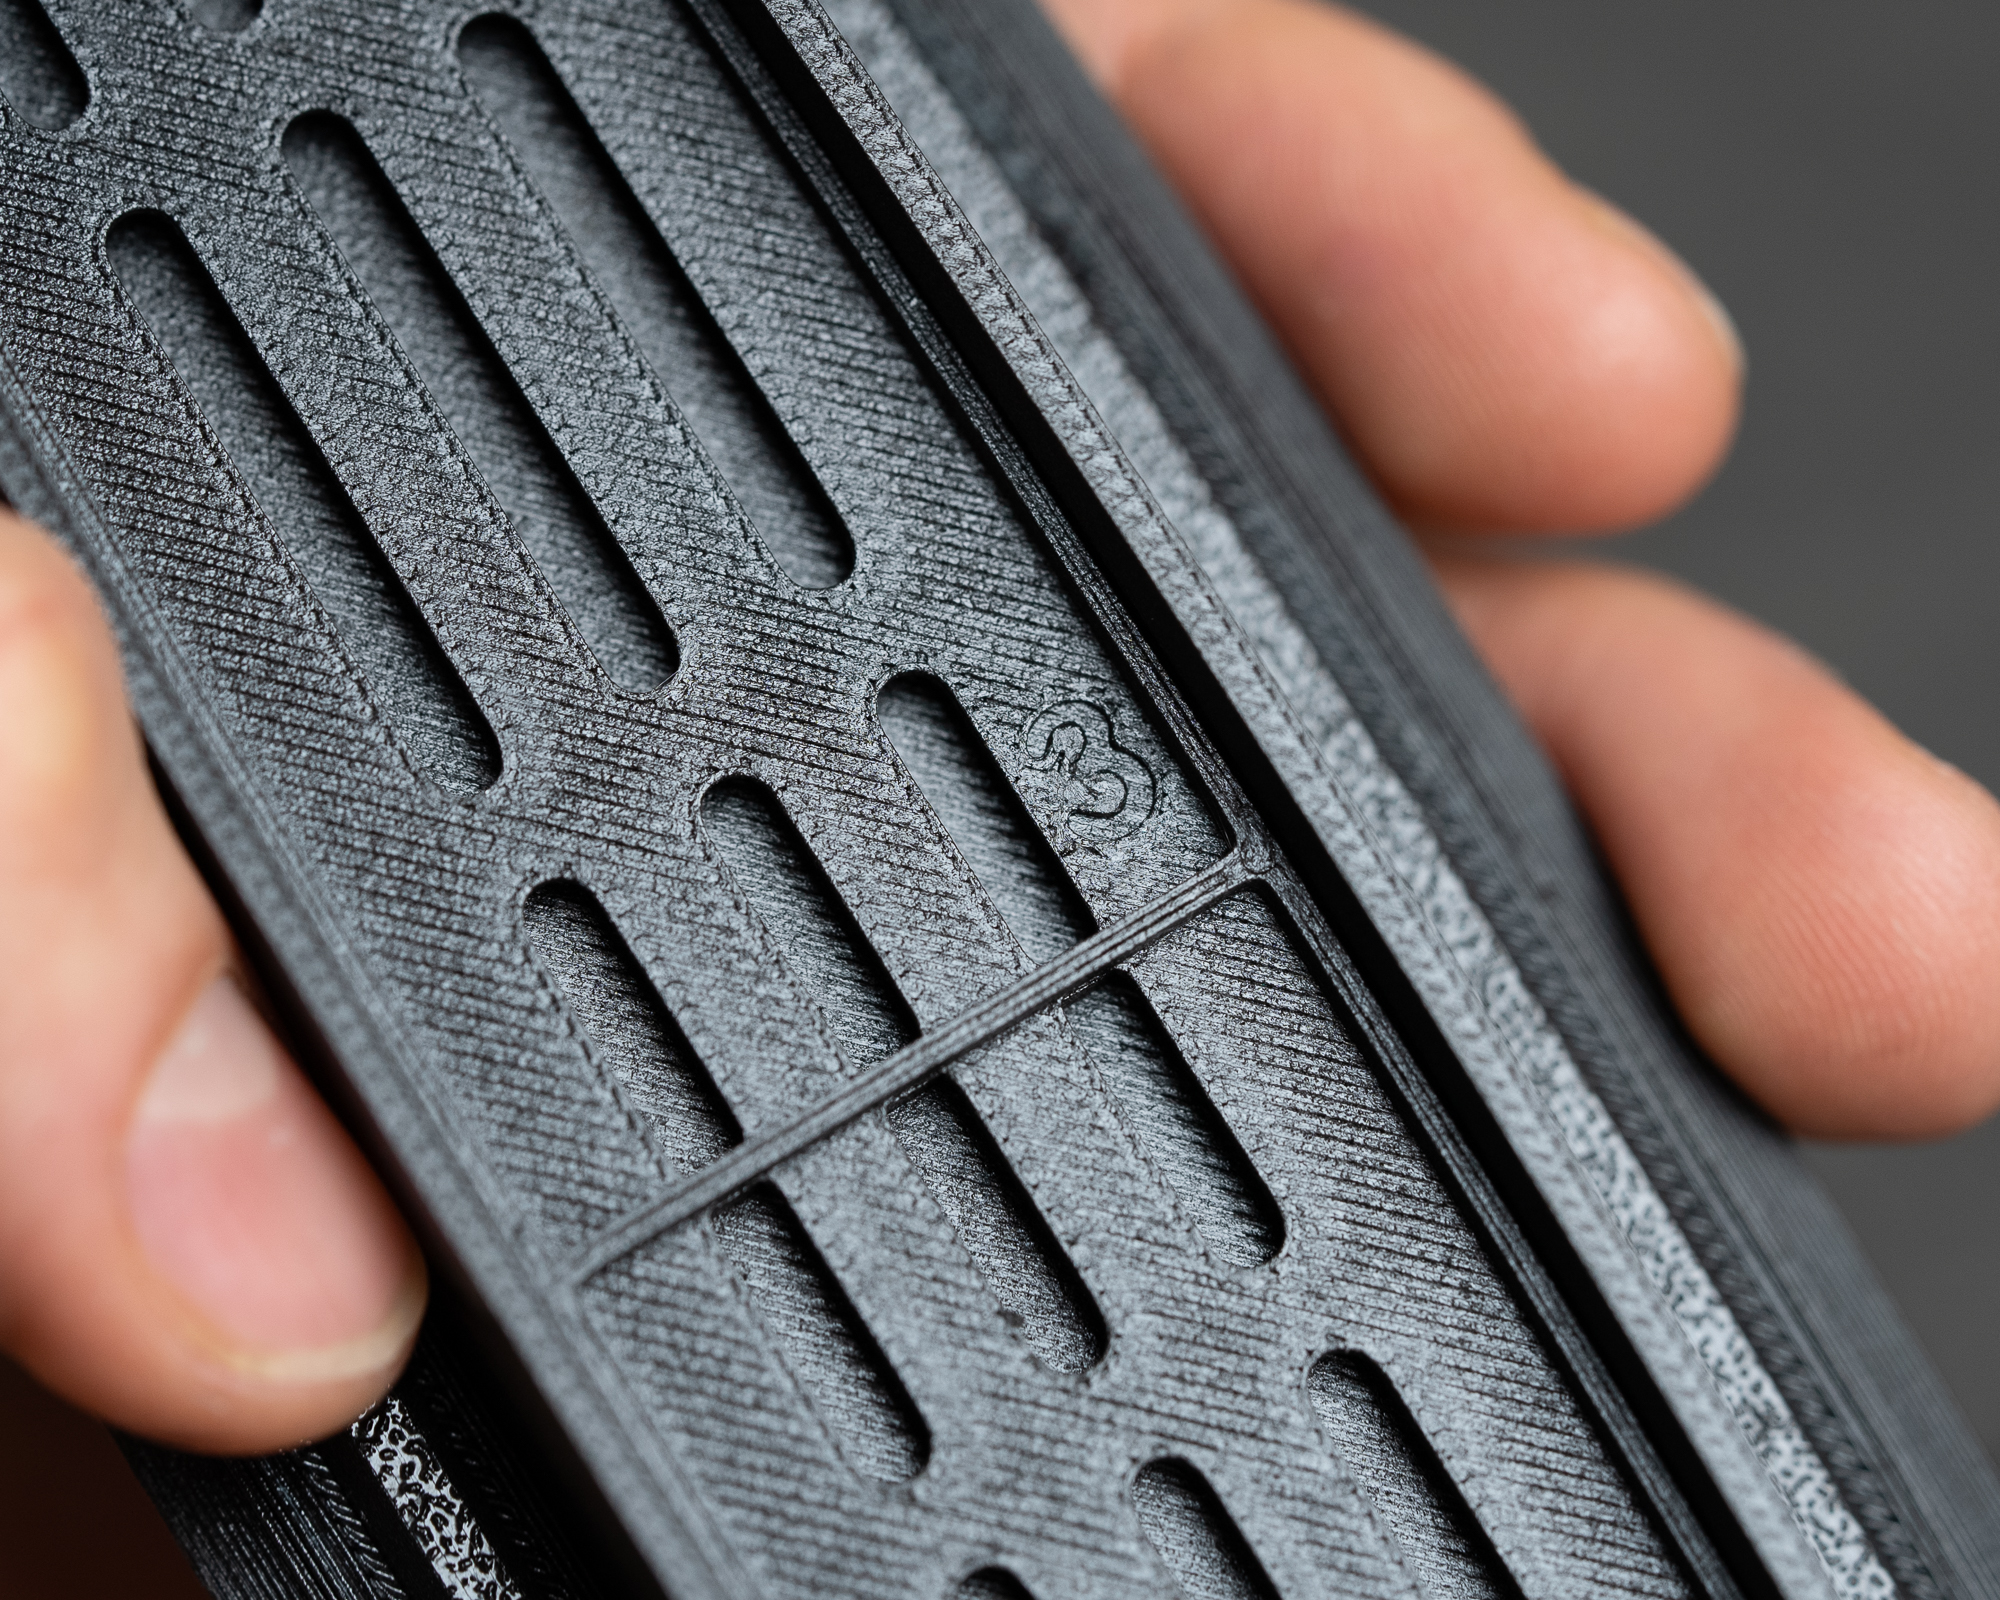
The adapters incorporate textured surfaces and drainage channels that reduce suction and help prevent materials from sticking during unloading.
3. Safety Information
3.1 Chemical Safety
Also photographic chemicals can be hazardous if handled improperly.
Always wear protective gloves when handling developers, fixers, and other processing solutions. Eye protection is recommended when pouring or draining chemicals. Processing should always be carried out in a well-ventilated environment. Dispose of used chemistry according to local environmental and safety regulations.
3.2 Glass Plate Safety
Photographic chemicals can be hazardous if handled improperly.
Always wear protective gloves when handling developers, fixers, and other processing solutions. Eye protection is recommended when pouring or draining chemicals. Processing should always be carried out in a well-ventilated environment. Dispose of used chemistry according to local environmental and safety regulations.
4. Tank Components and Configuration
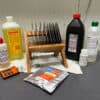
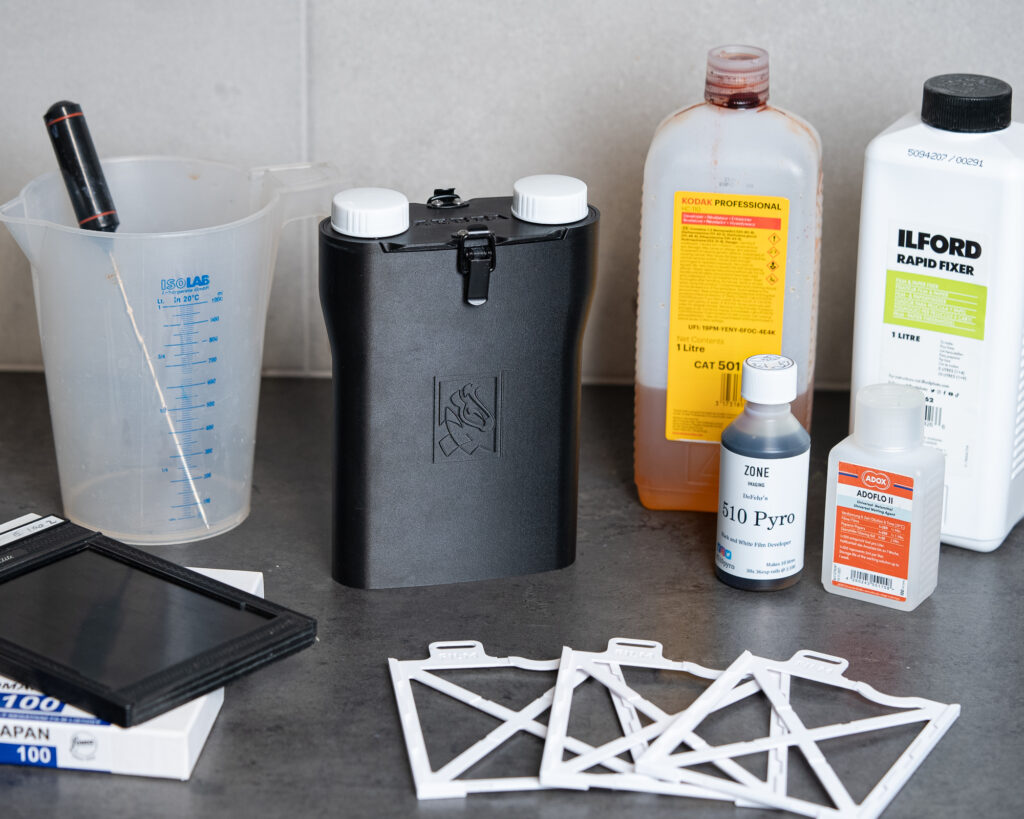
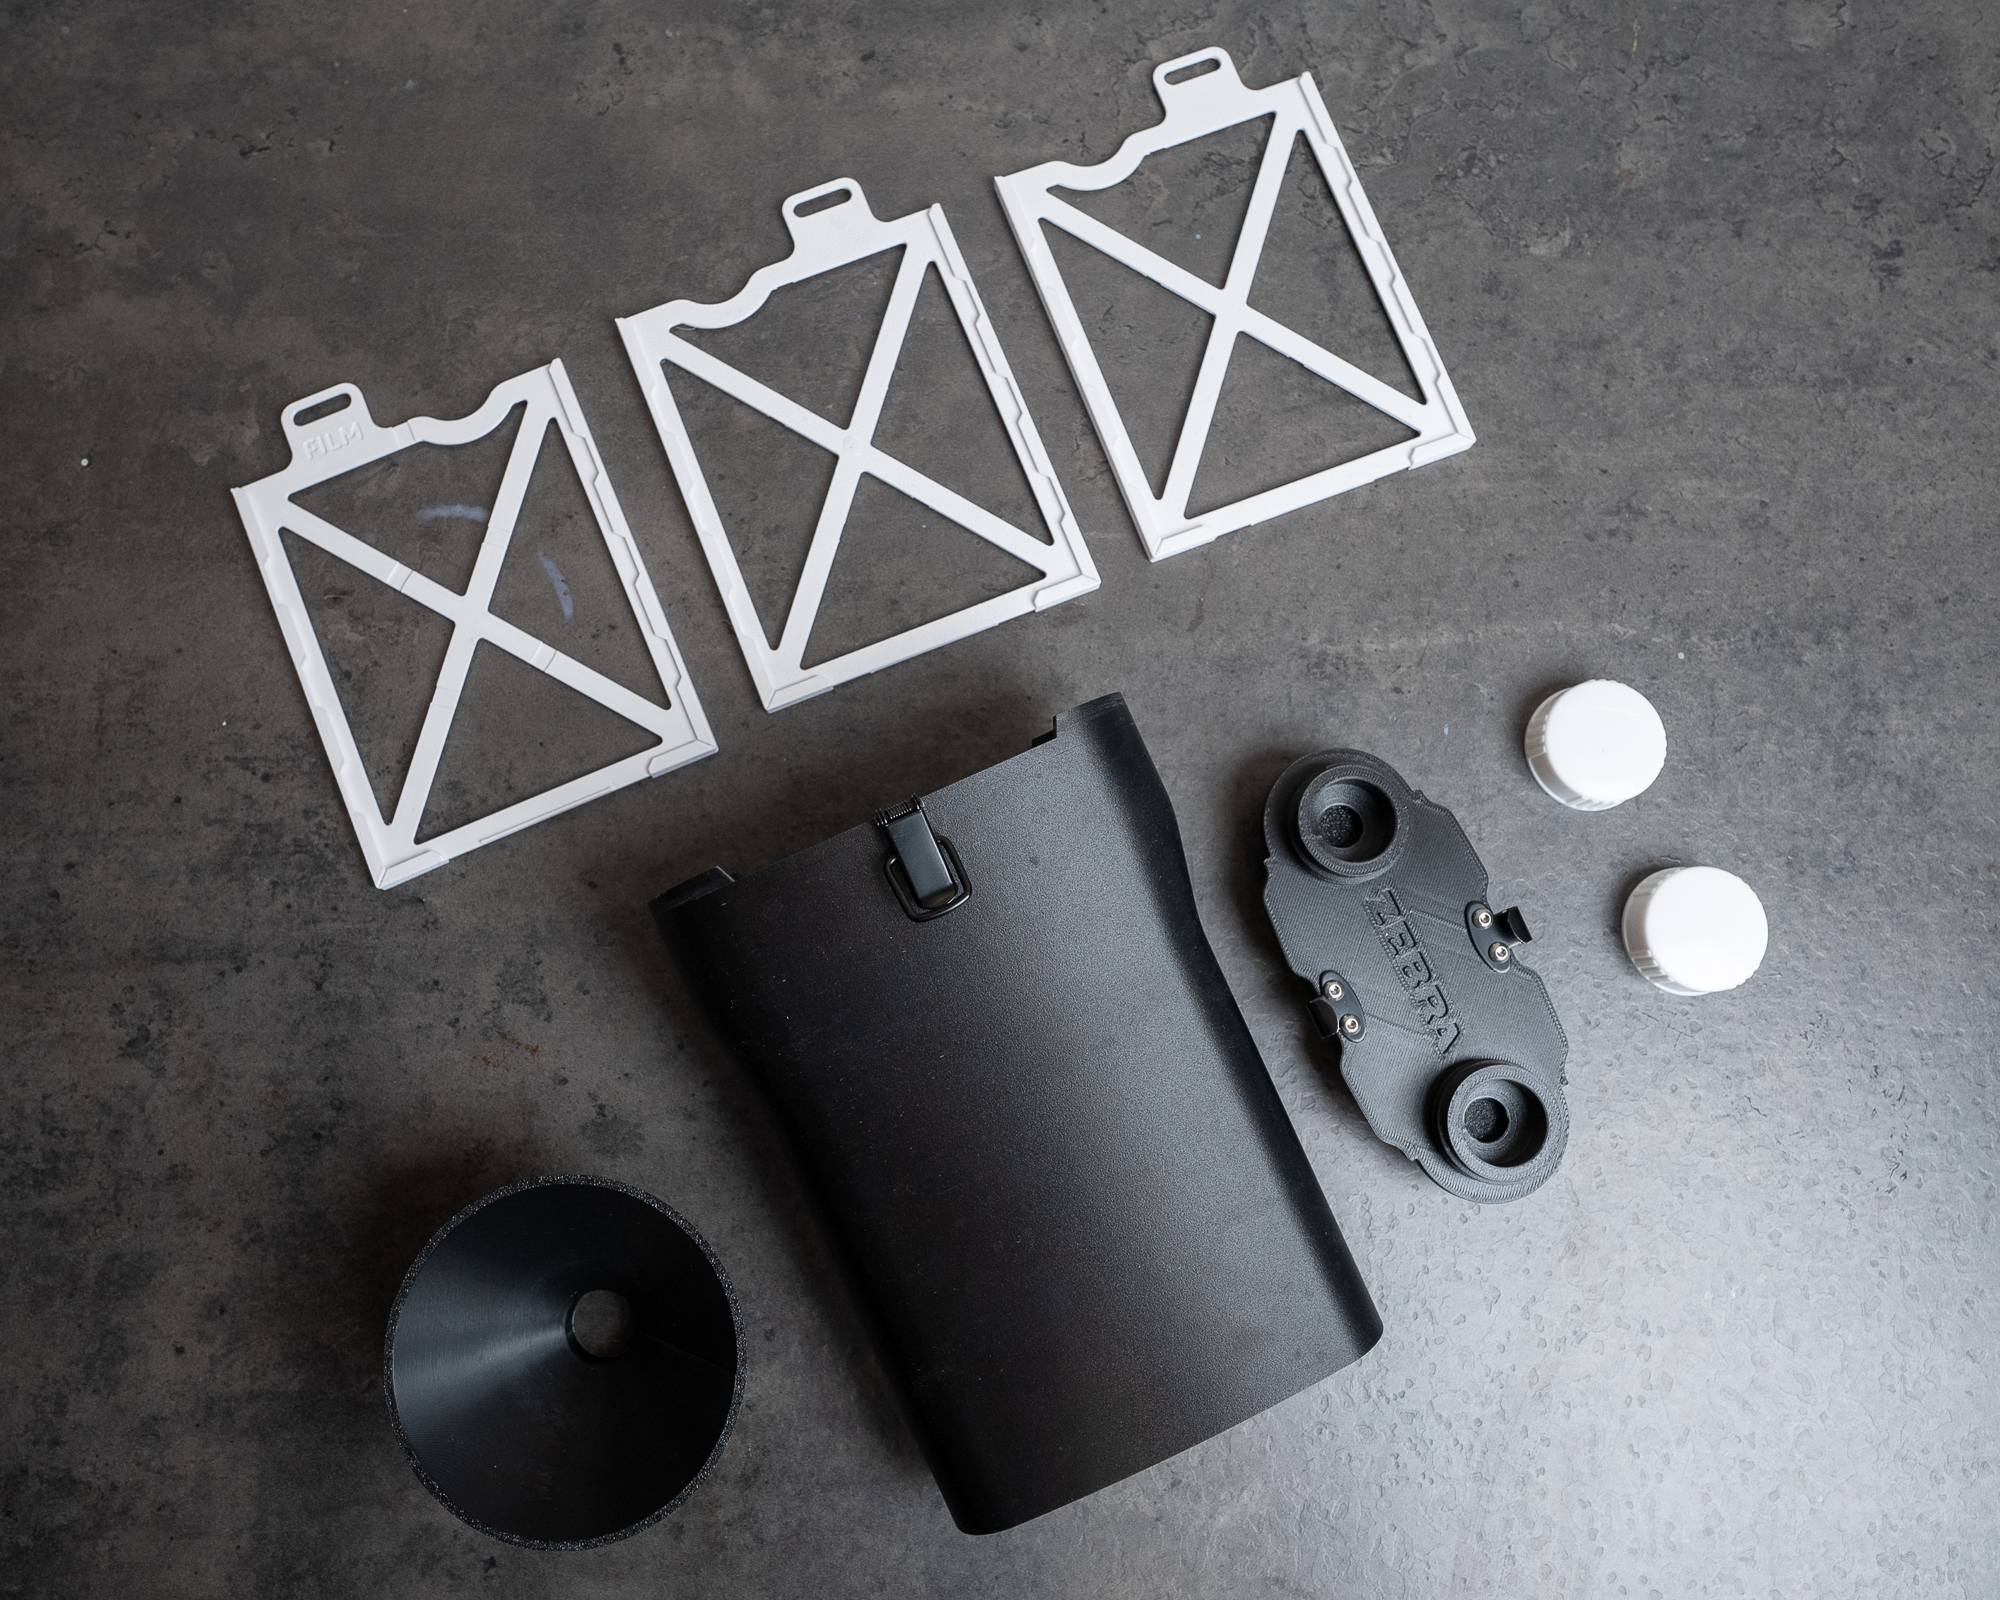
4.1 Supplied Components
Each Zebra Daylight Processing Tank includes the following components:
- Tank body
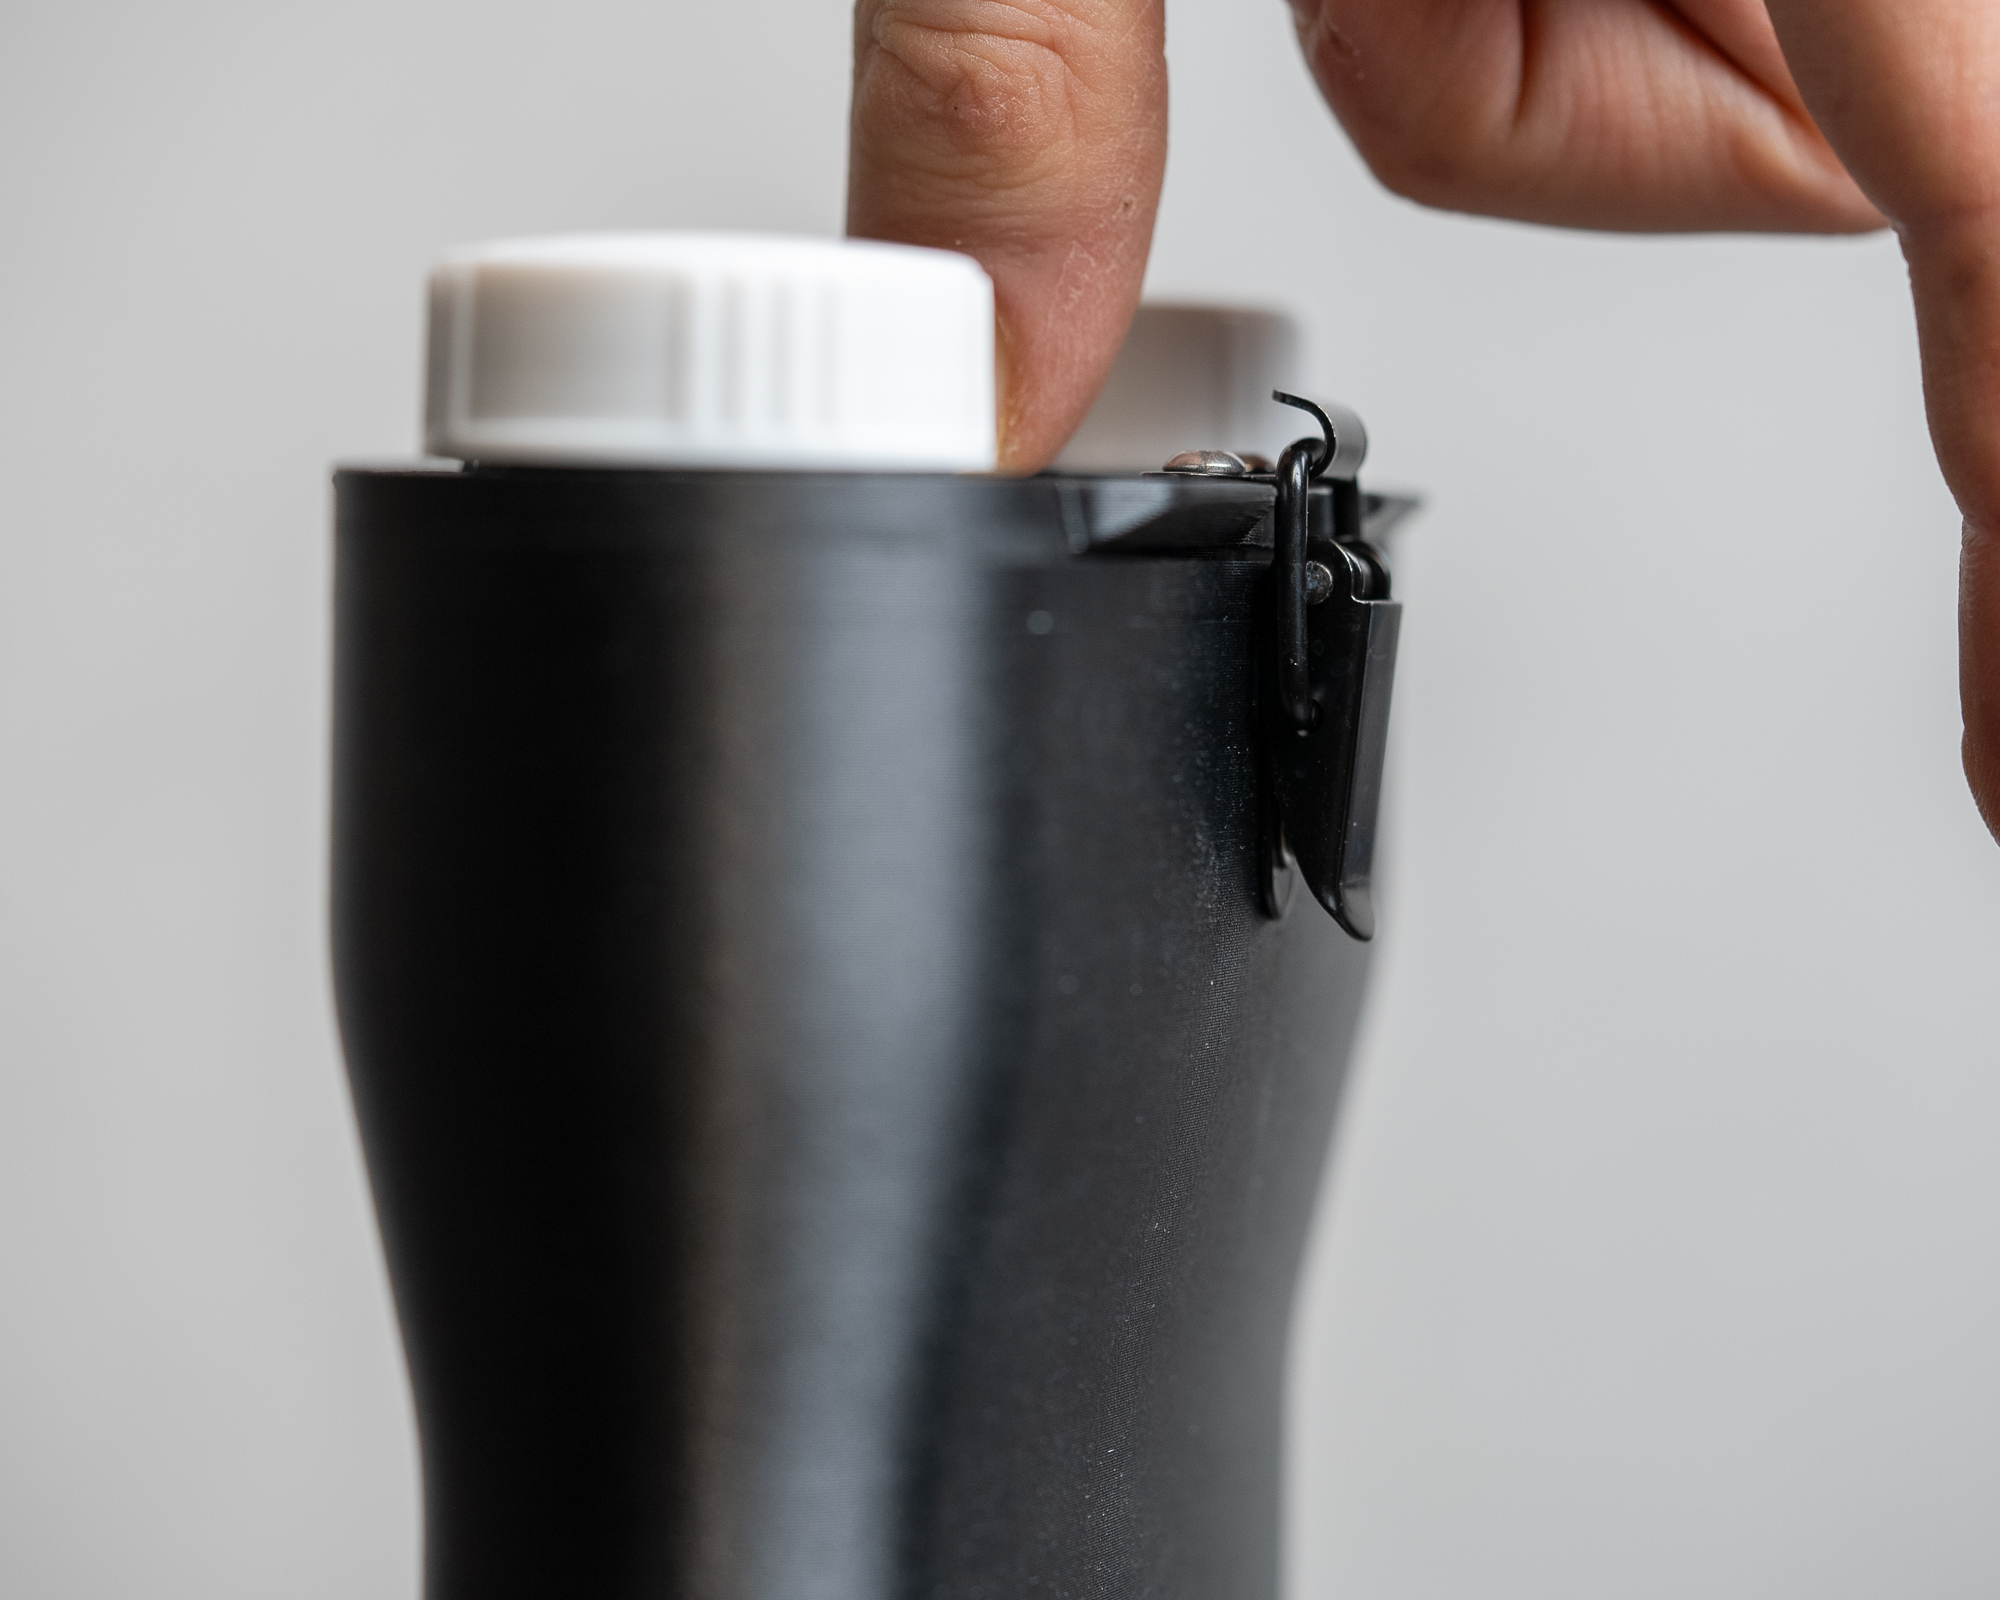
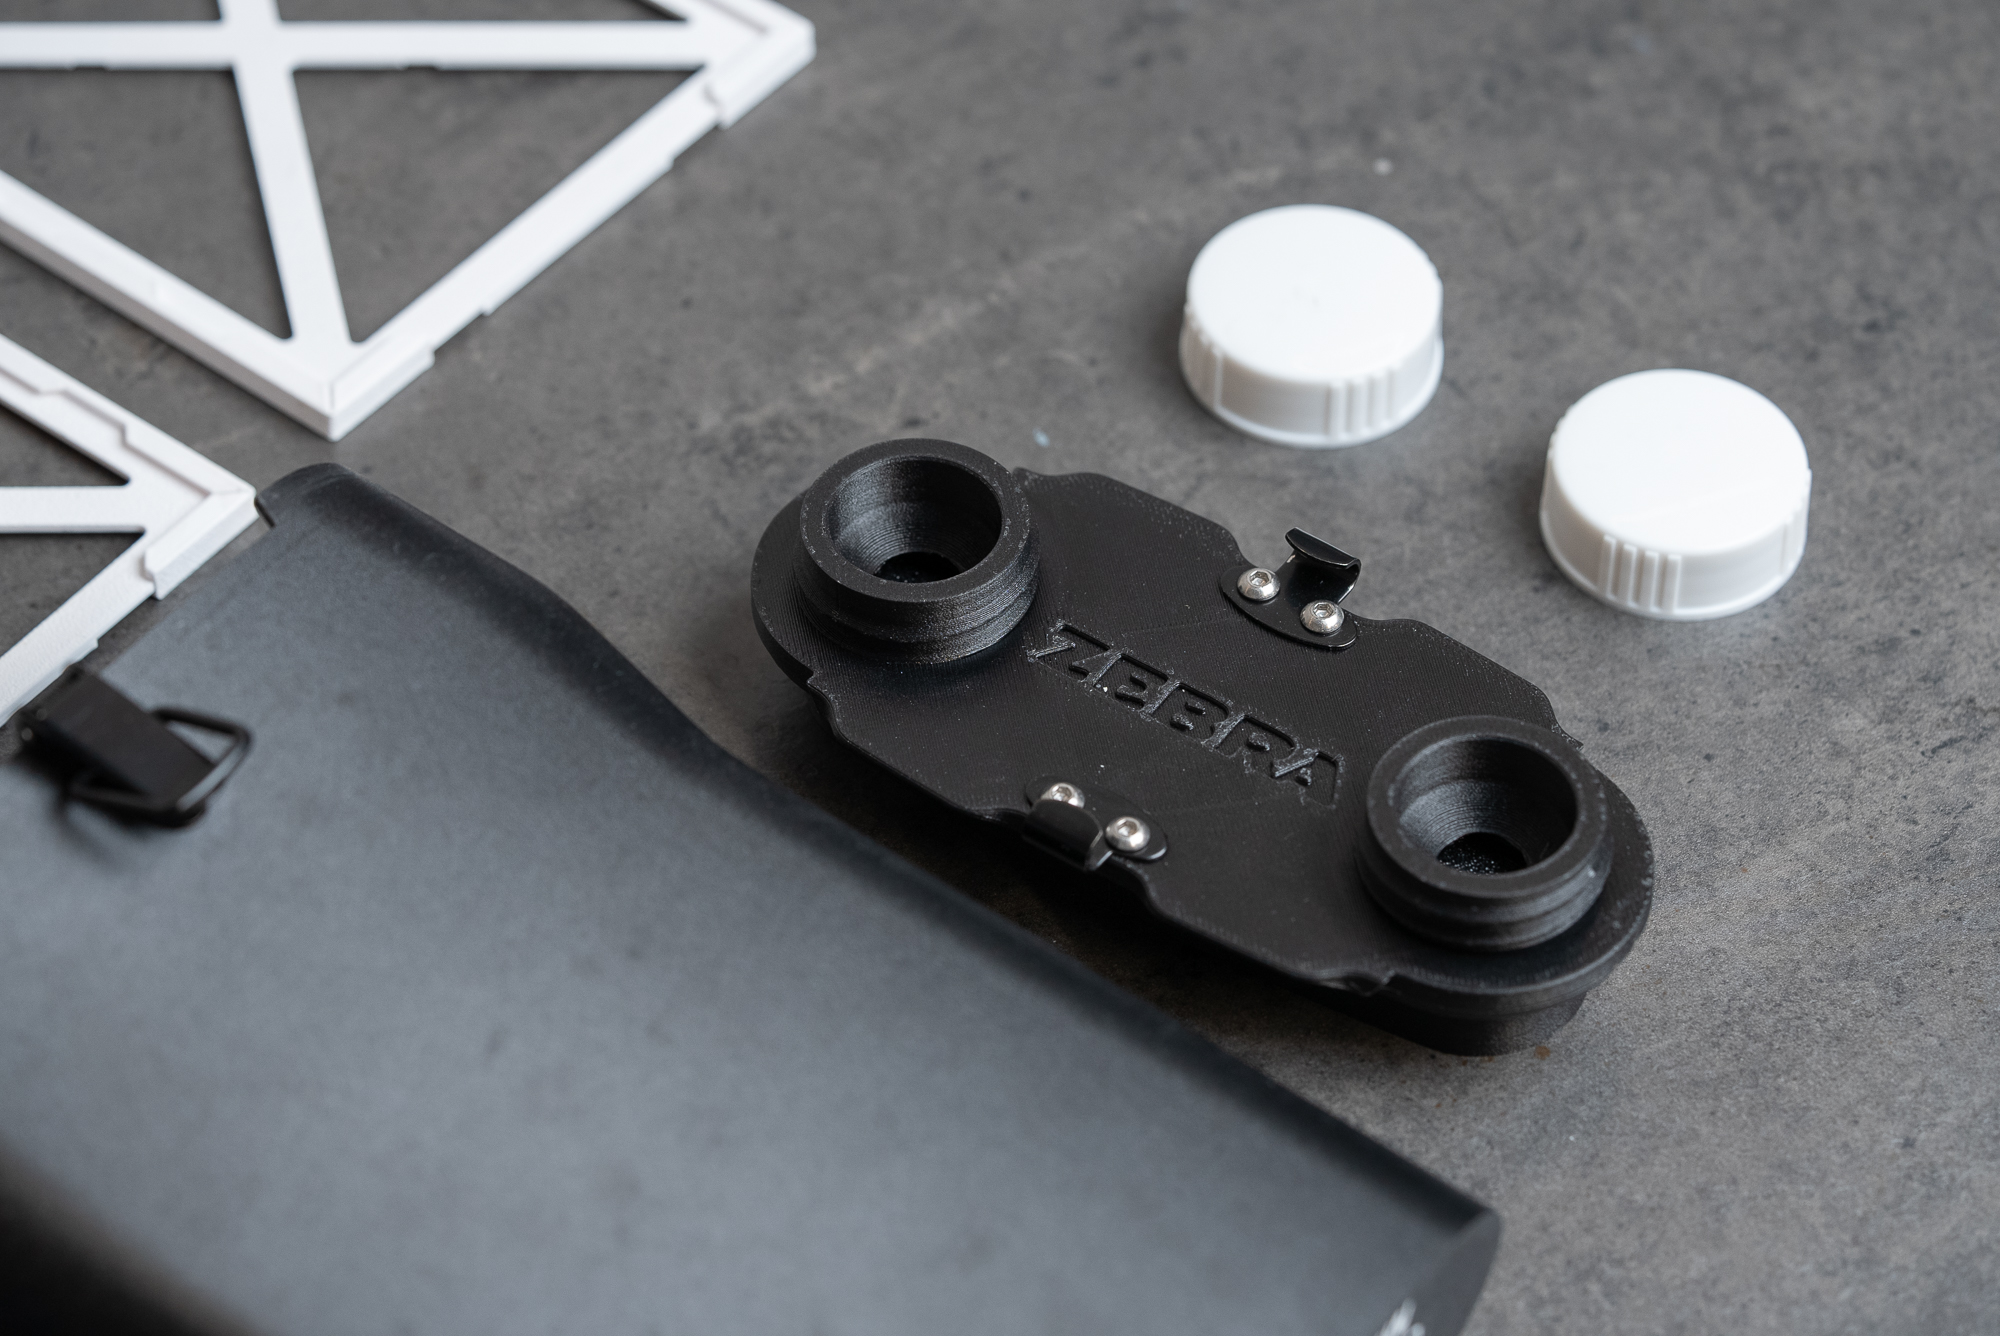
- Lid with integrated light-trap and sealing system
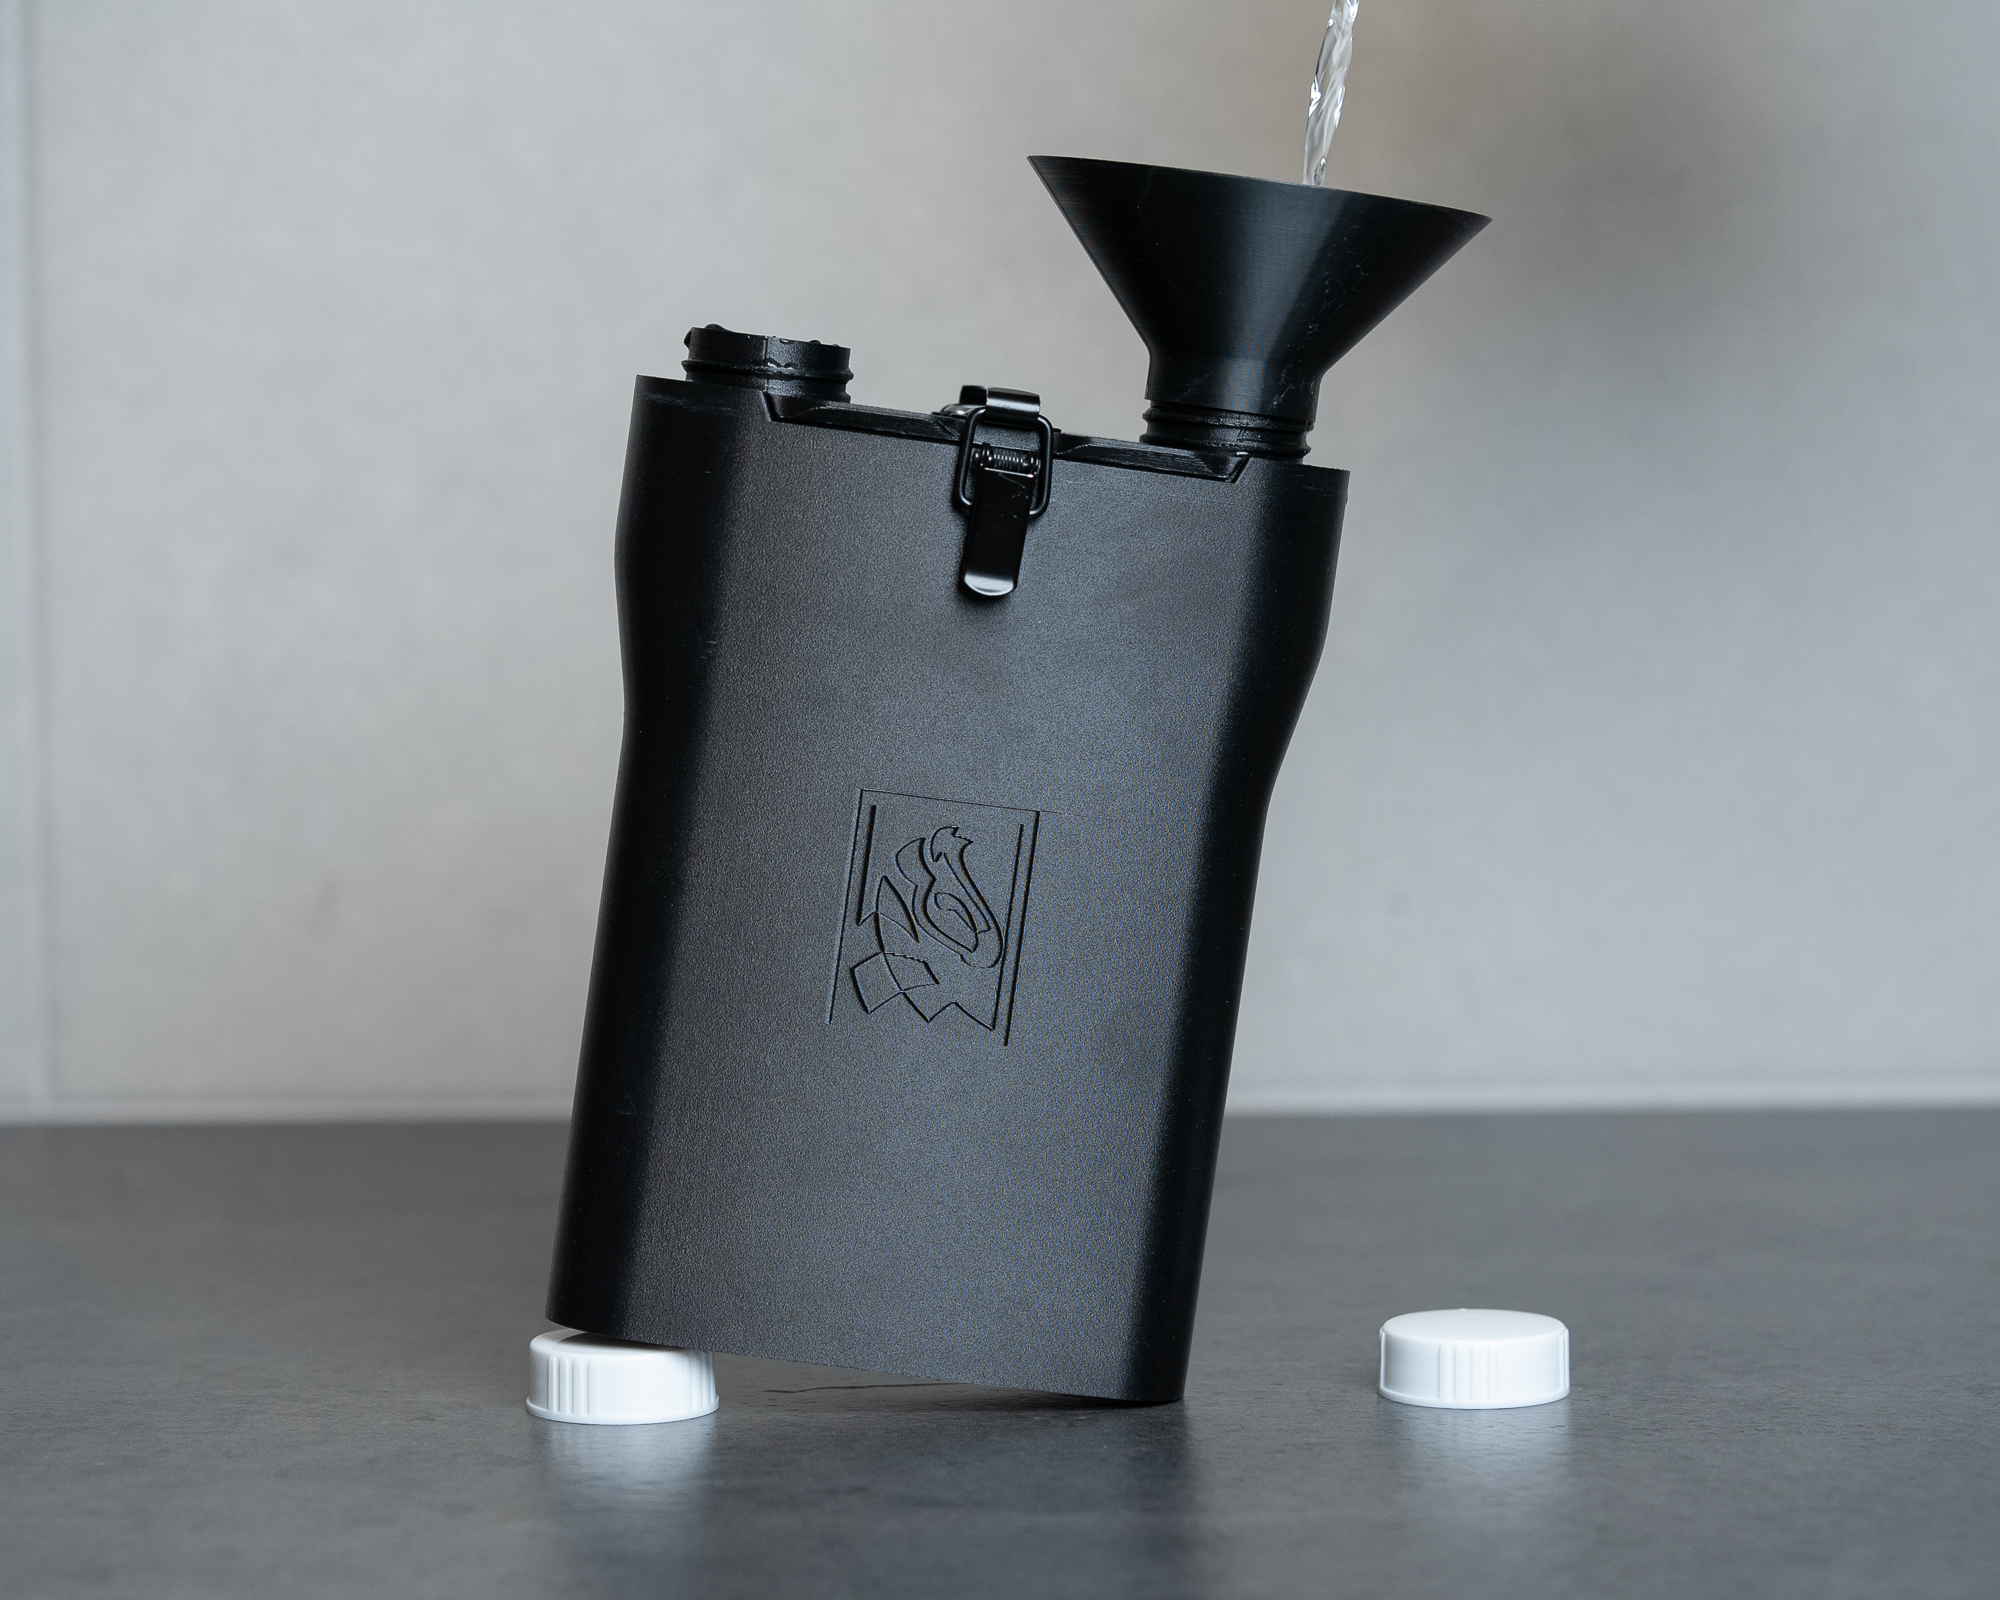
- Two white chemical port caps
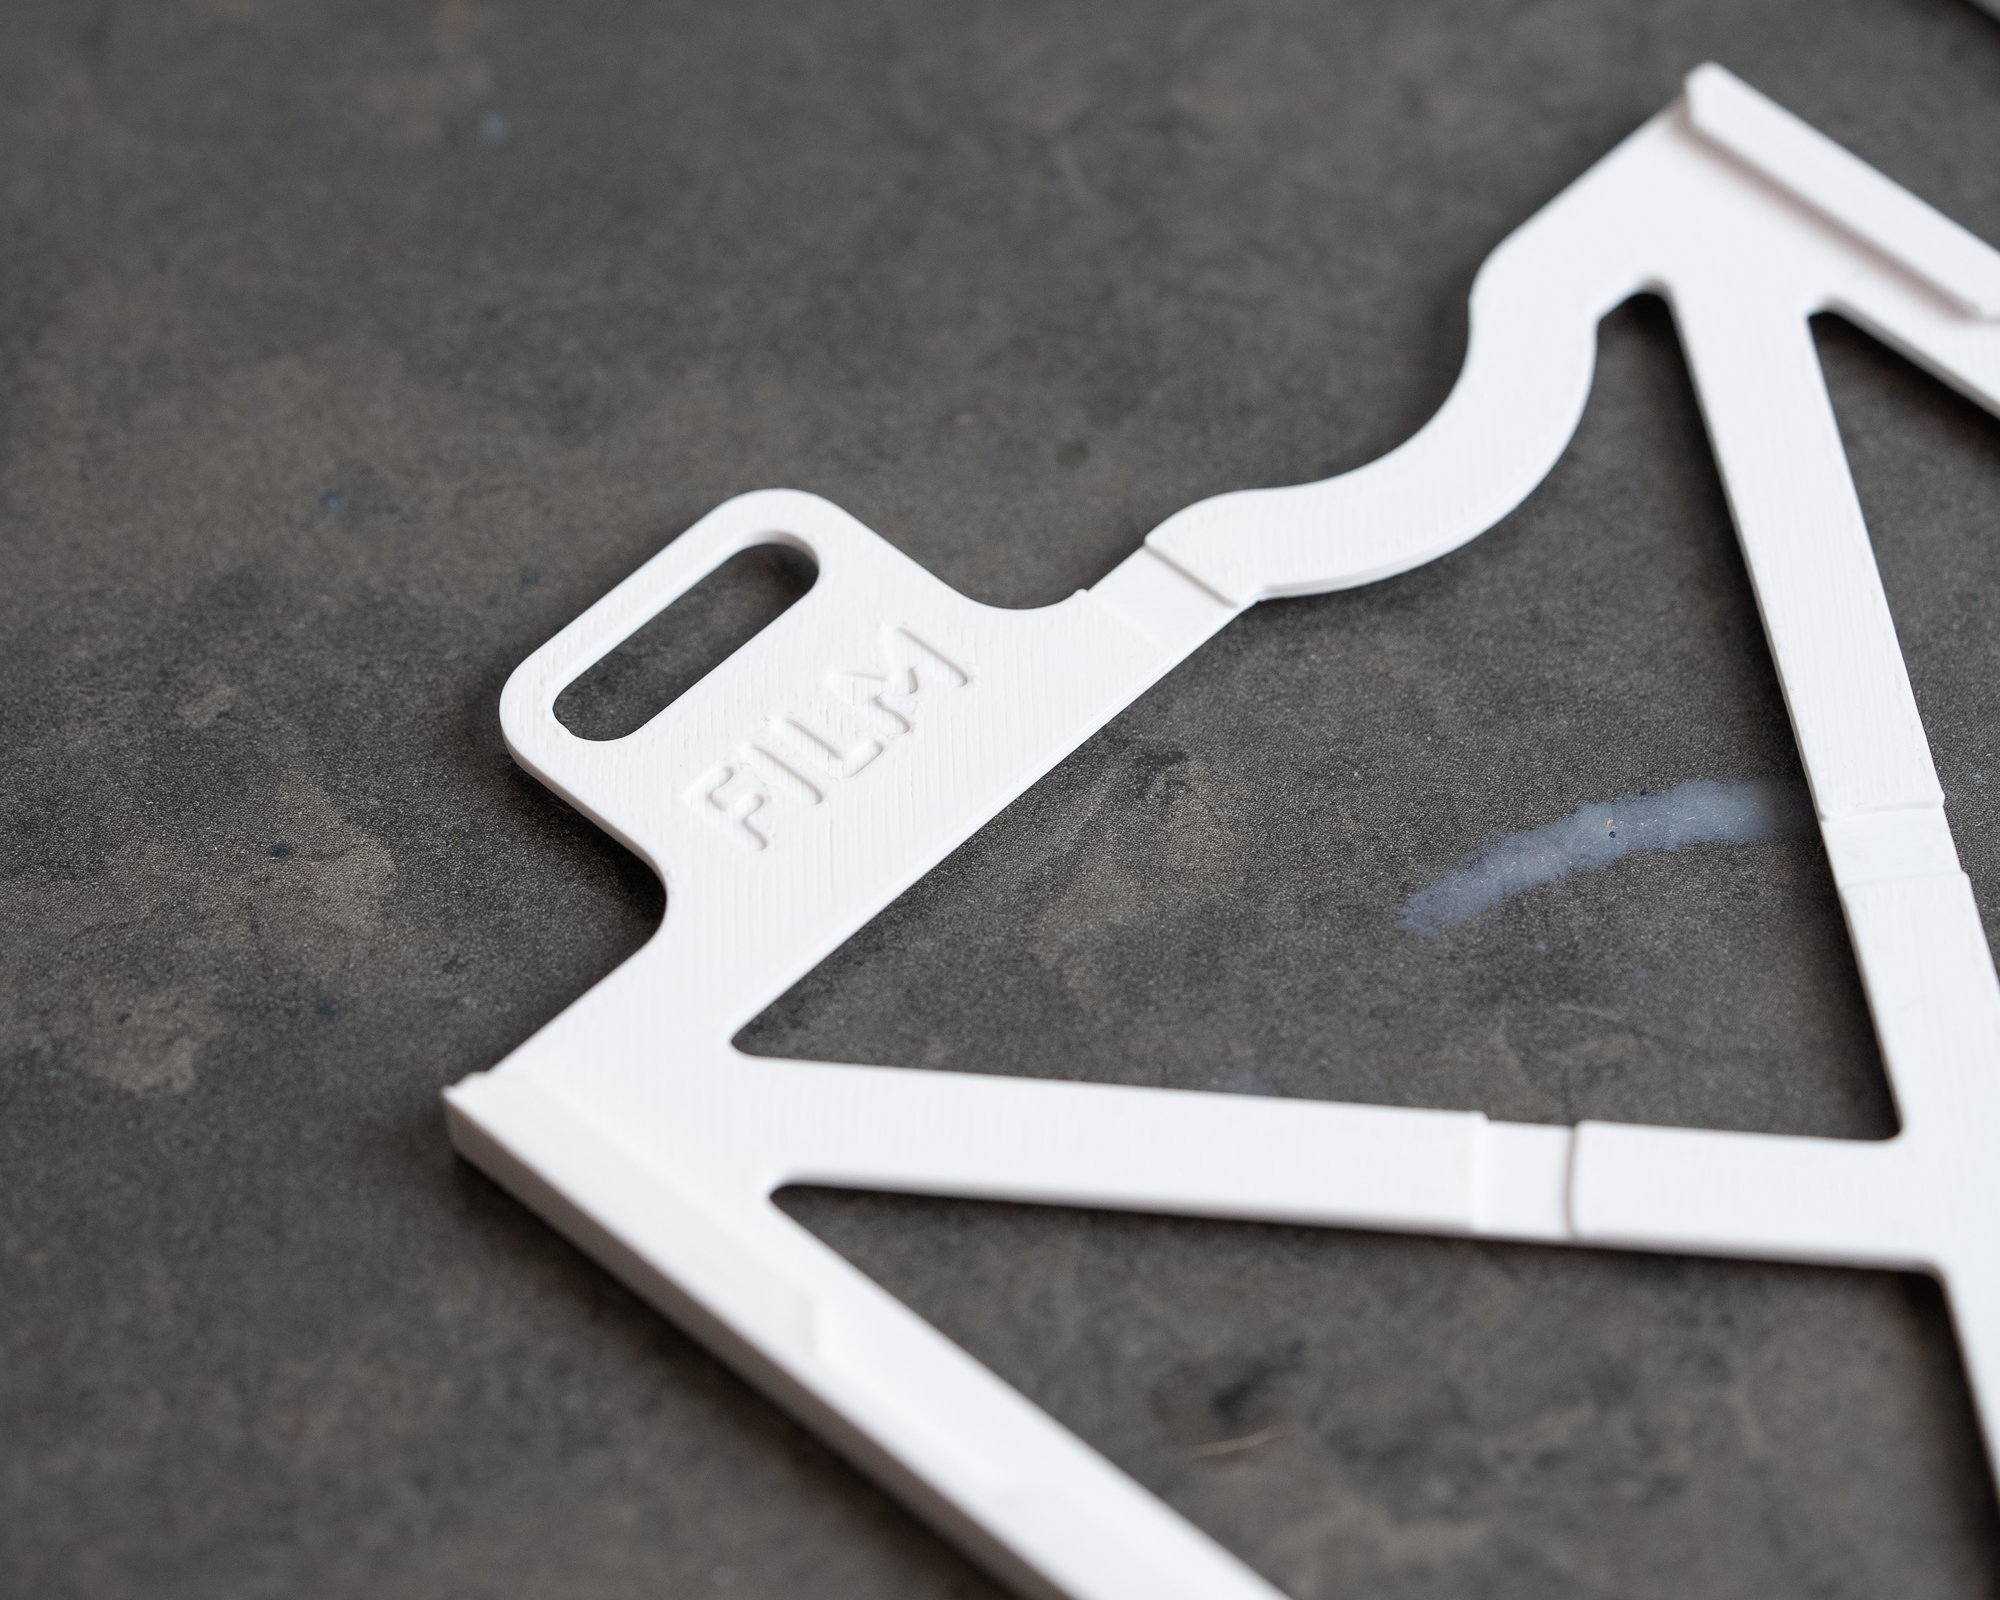
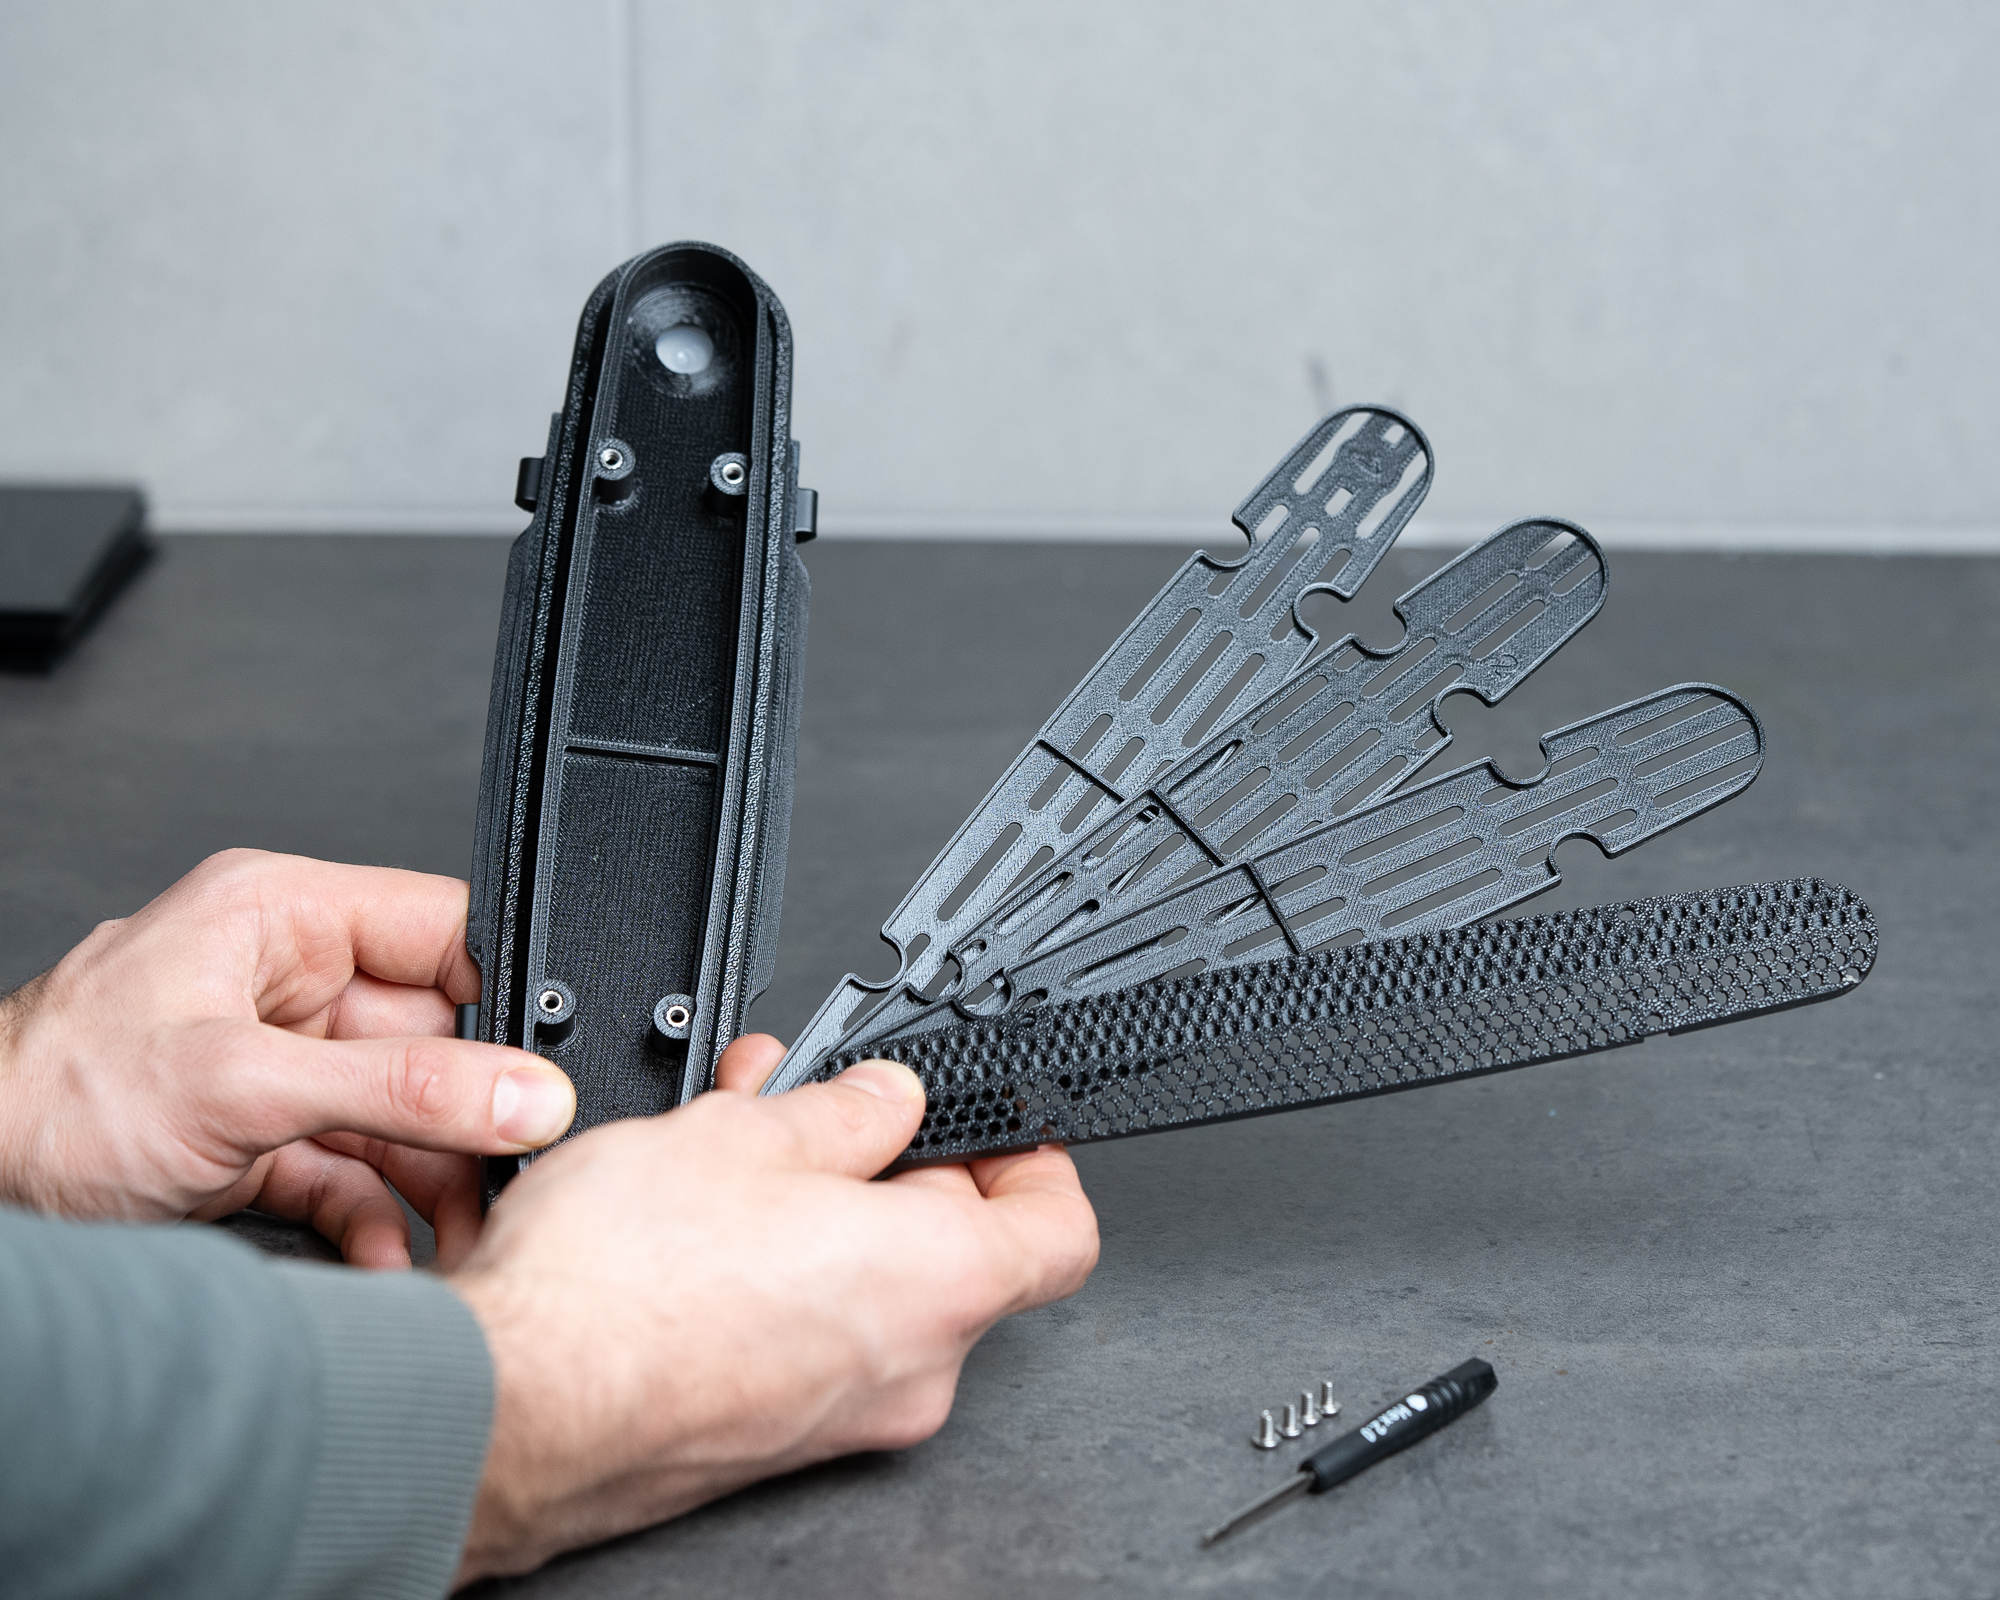
- Internal film adapters supplied as standard
- Utility bag (funnel, short user manual, screwdriver)
Additional format-specific adapters for various film and plate sizes are available separately through the Zebra store.
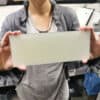
4.2 Modular Configuration
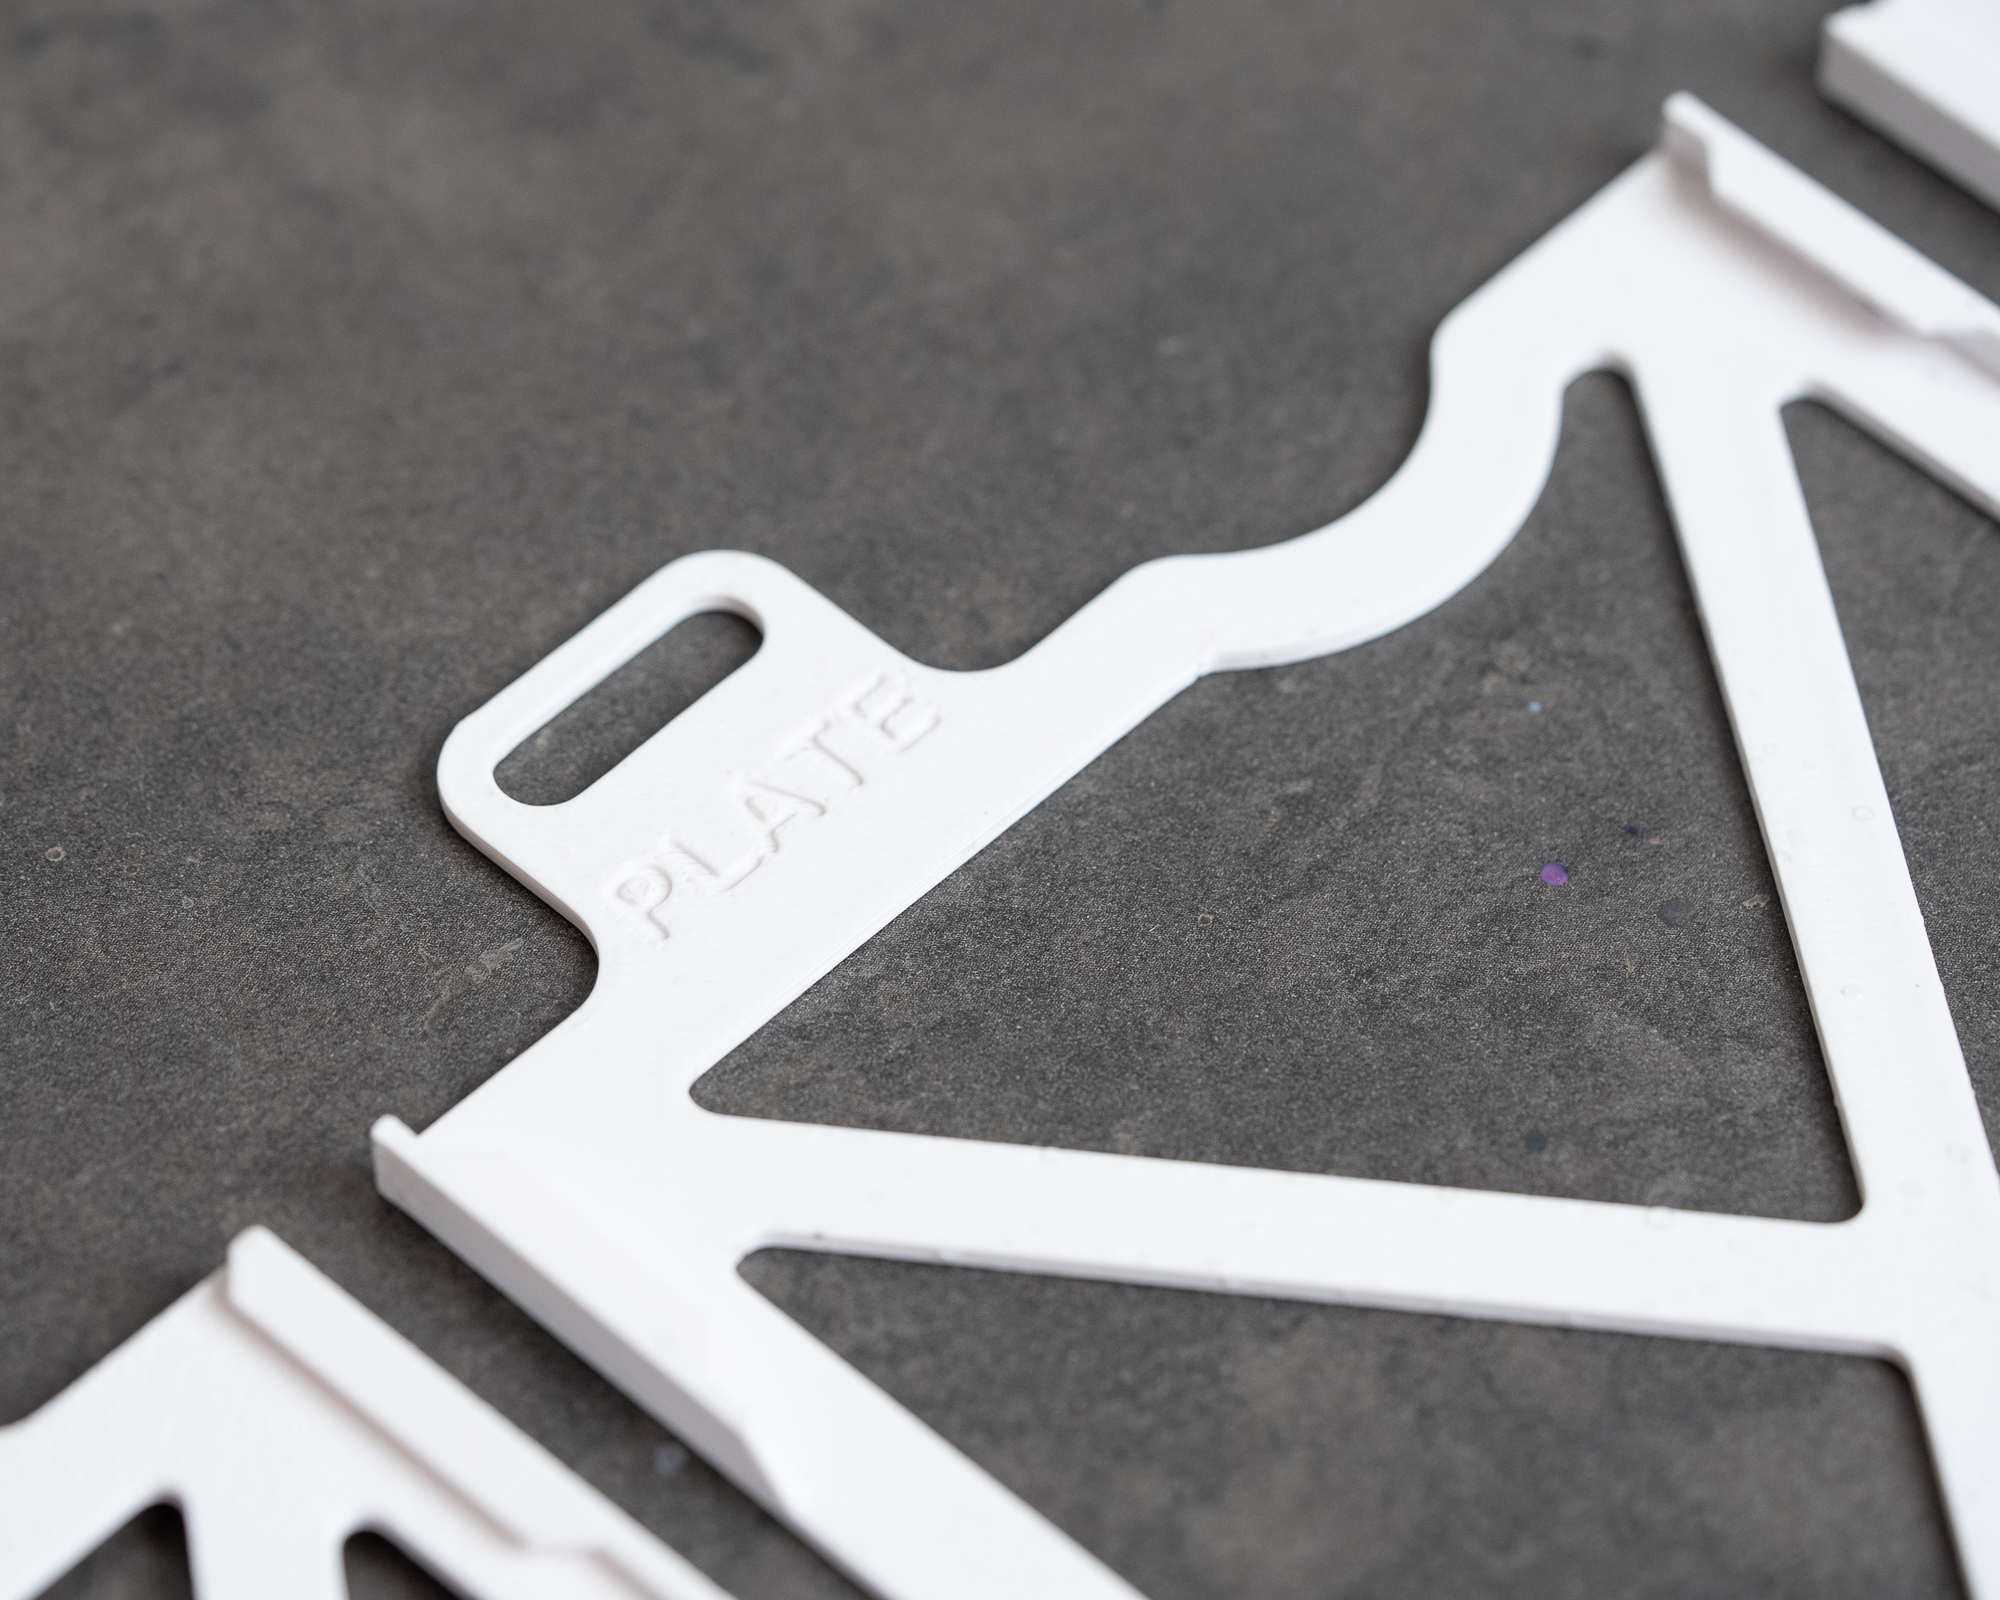
The tank can be configured for sheet film or glass dry plates by selecting the appropriate internal adapters.
Glass plate adapters allow processing of plates up to 2 mm in thickness. When switching from film to glass plates, chemical volume requirements must be rechecked, as glass plates displace significantly more liquid than film. Failure to adjust volumes accordingly may result in uneven development.
4.3 Assembly and Disassembly
Before loading materials, install the required adapters according to the format being processed. Inspect the sealing surface and ensure it is clean and unobstructed. Confirm that all adapters are correctly seated and aligned.
All configuration steps must be completed before turning off the lights for loading.
5. Loading Sheet Film and Glass Plates
5.1 Preparation Before Loading
Work in a clean, dust-free environment. Correct identification of the emulsion side is critical.
Before handling film or plates, ensure your hands are clean and free of dirt and grease. It is strongly recommended to wear clean, lint-free gloves when loading and unloading materials. If gloves are not used, wash and dry your hands thoroughly before handling film or plates. Contaminants such as oils or residue can affect image quality and increase the risk of marks or defects.
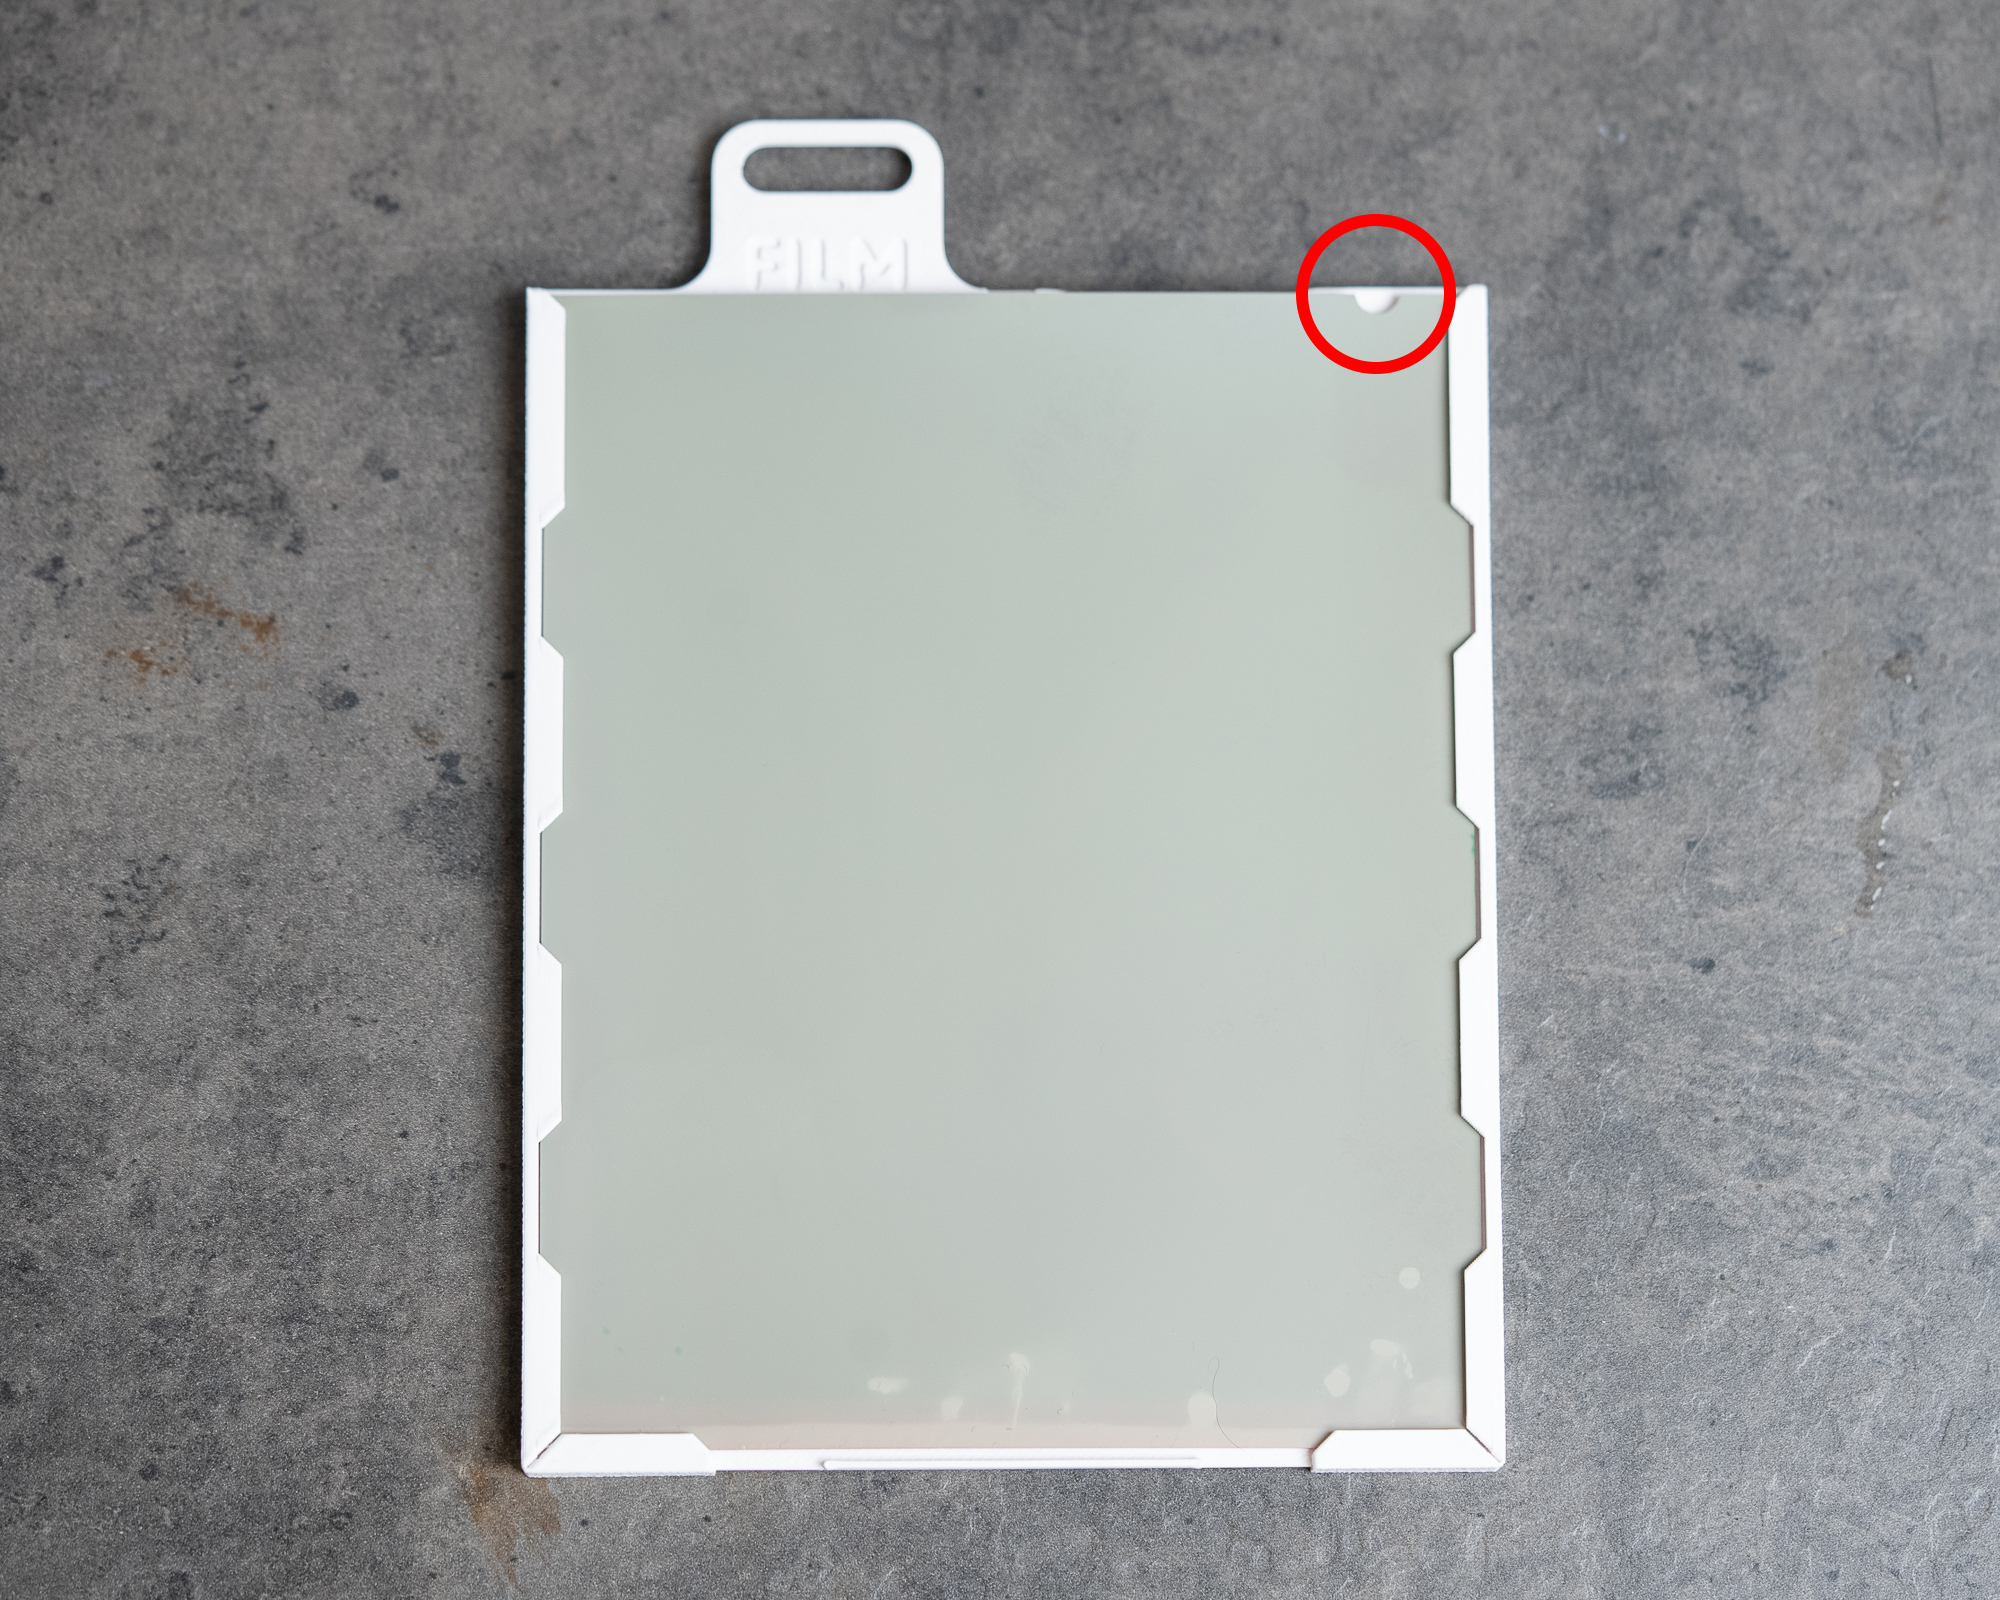
For sheet film, the notch should be located in the top-right corner when the emulsion is facing you.
For glass dry plates, visually identify the emulsion side or transfer it directly without turning from holder to the adapters and ensure it is facing outward during insertion.
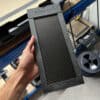
5.2 Loading Sheet Film
Insert film gently into the adapter slots. Before first proper use we recommend you practice a bit with a scrap piece of film or paper cut to the same size just to get a feeling for it. Adapters are designed in a way that insertion is easy and smooth. Also make sure you touch the emulsion side as little as possible so handle the film by the edges only. Maintain consistent orientation for all sheets and make sure to only load one into each slot!
5.3 Loading Glass Dry Plates
Confirm plate thickness compatibility before use. The adapters are suitable for 0.6mm thick tin plates as well as glass plates up to 2mm thickness. Insert plates slowly and evenly. If you do it under an angle you wont be able to push it in.
6. Chemical Volumes and Capacity
6.1 Understanding Chemical Volume Requirements
The recommended chemical volumes ensure rapid and complete submersion of all materials. Fast and uniform coverage is critical for even development, particularly with large format film and glass plates.
Under-filling the tank is possible when combined with very consistent agitation and fast filling technique. This approach may be useful for field work to reduce the amount of chemistry carried. However, under-filling increases the risk of uneven results if agitation or filling speed is inconsistent.
6.2 Recommended Working Volumes for FILM / PLATES
4×5 tank
For 6 sheets of Film 450 ml or 15.2 oz
For 3 glass Plates 370 ml or 12.5 oz
5×7 tank
For 4 sheets of Film 800 ml or 27.1 oz
For 2 glass Plates 720 ml or 24.3 oz
8×10 tank
For 4 sheets of Film 1900 ml or 64.3 oz
For 2 glass Plates 1720 ml or 58.2 oz
With these volumes you film/plates will be completely covered at all times. The same volumes should be used for developer, rinse or stop bath, fixer, and washing steps.
6.3 Temperature Stability
Larger chemical volumes provide improved thermal stability during processing.
For temperature-critical processes such as C-41, pre-warm the tank and chemistry or keep the tank submerged in a temperature-controlled water bath throughout the entire process.
7. Processing Workflow
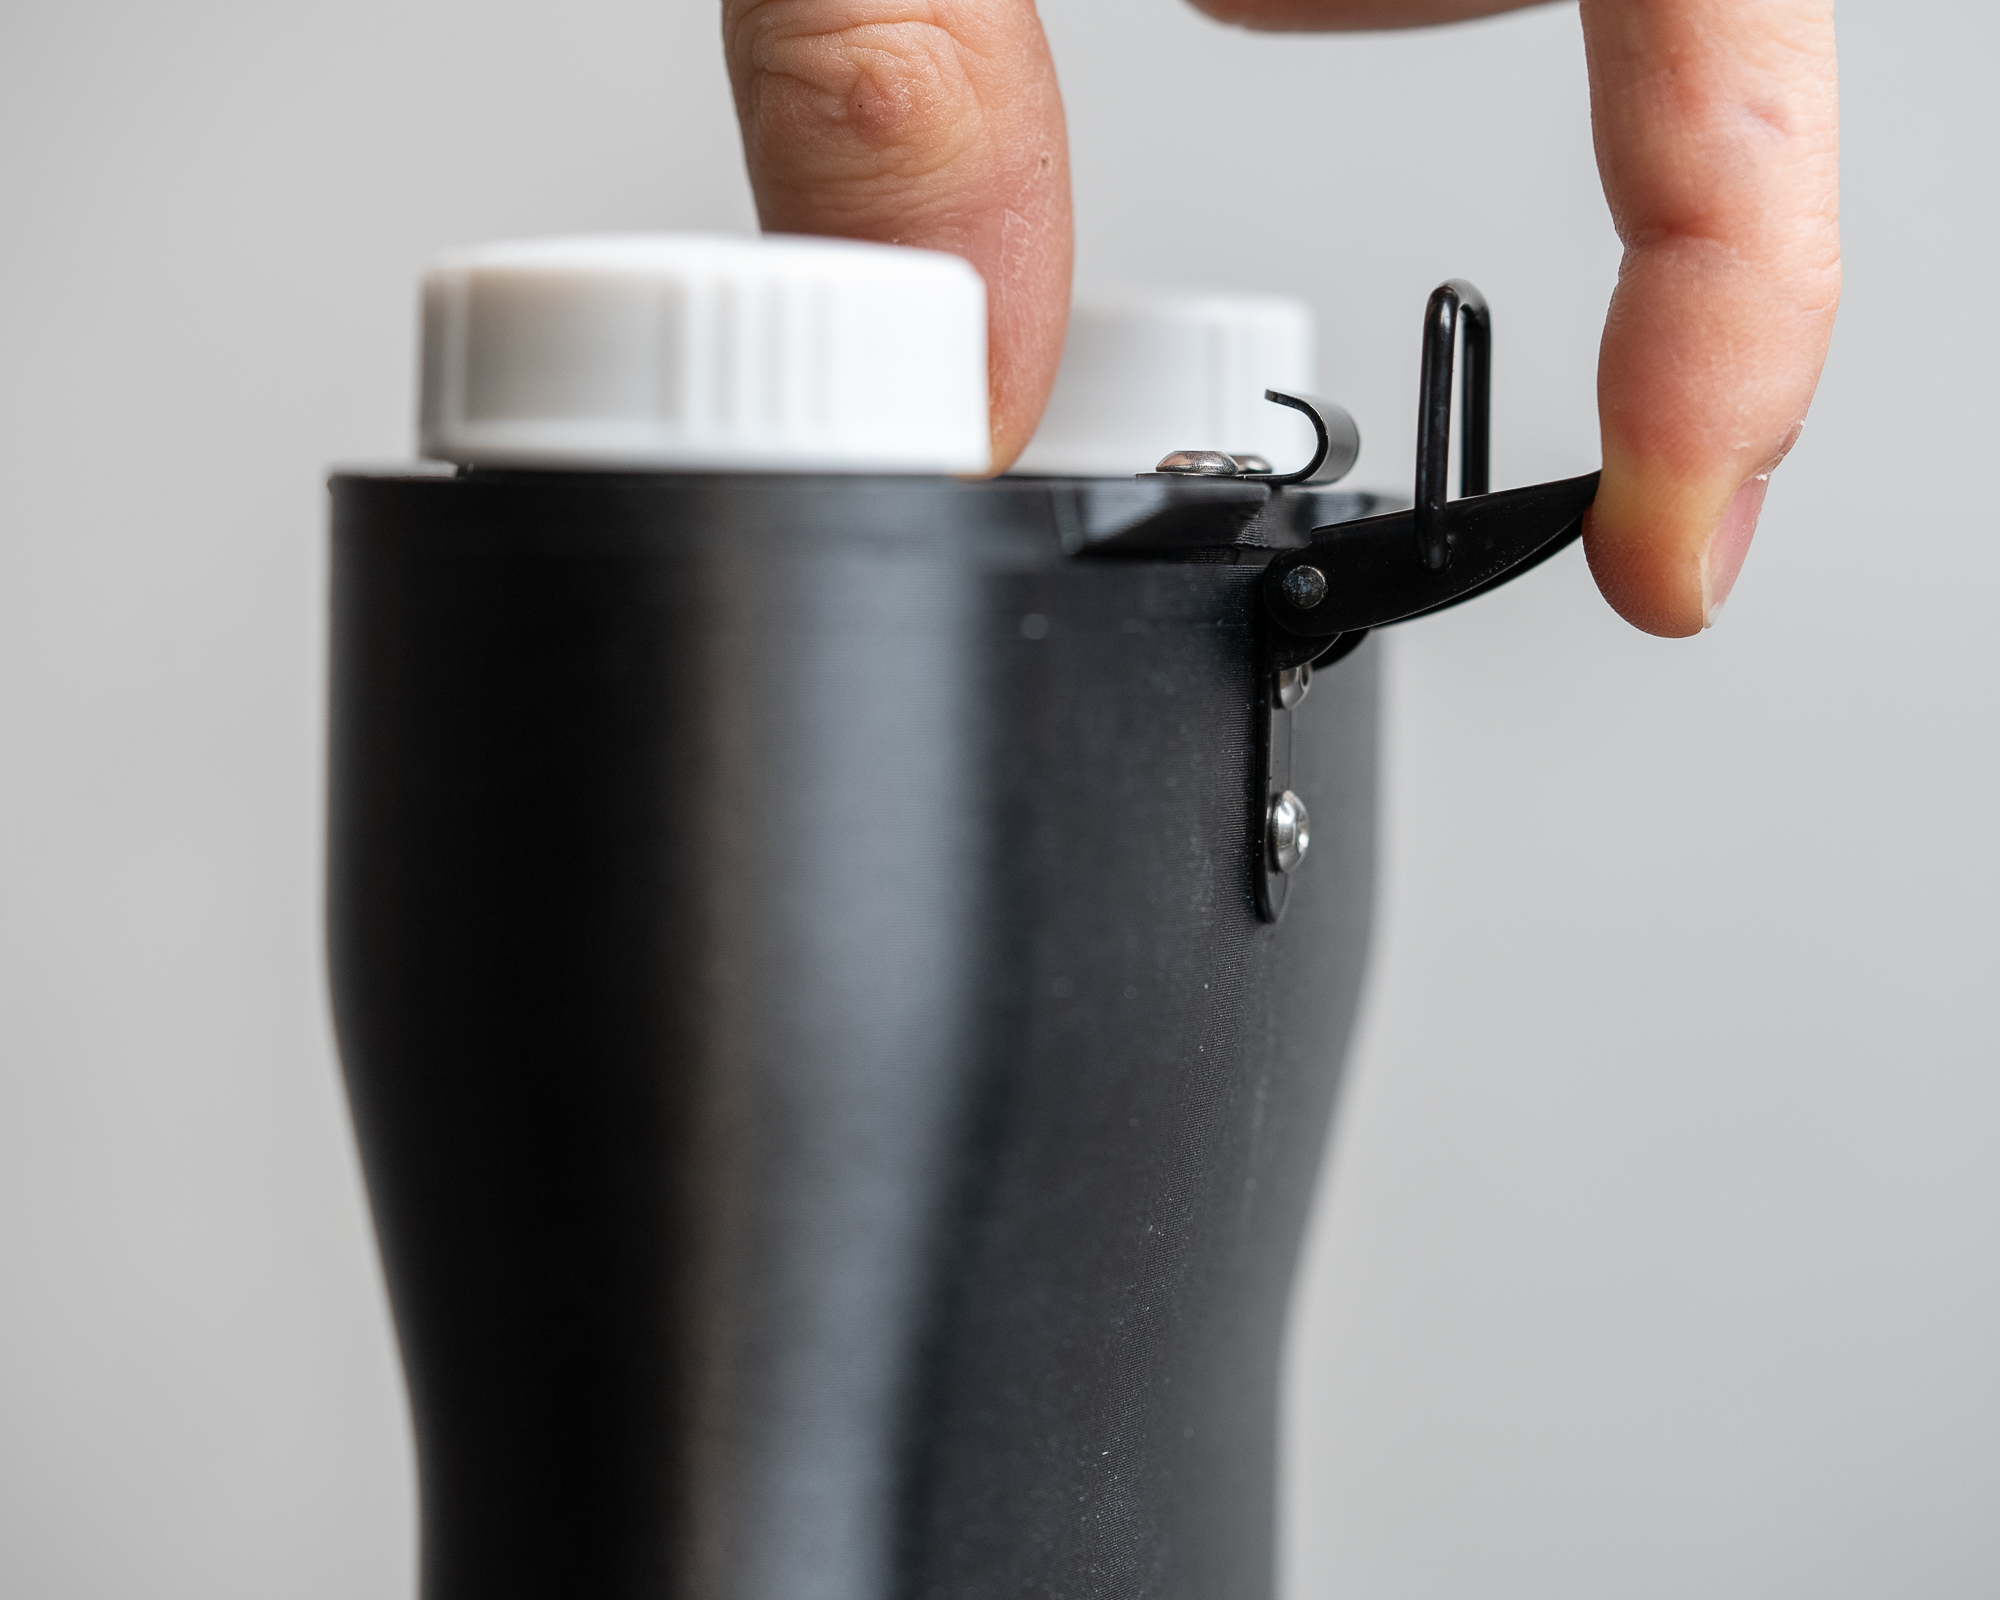
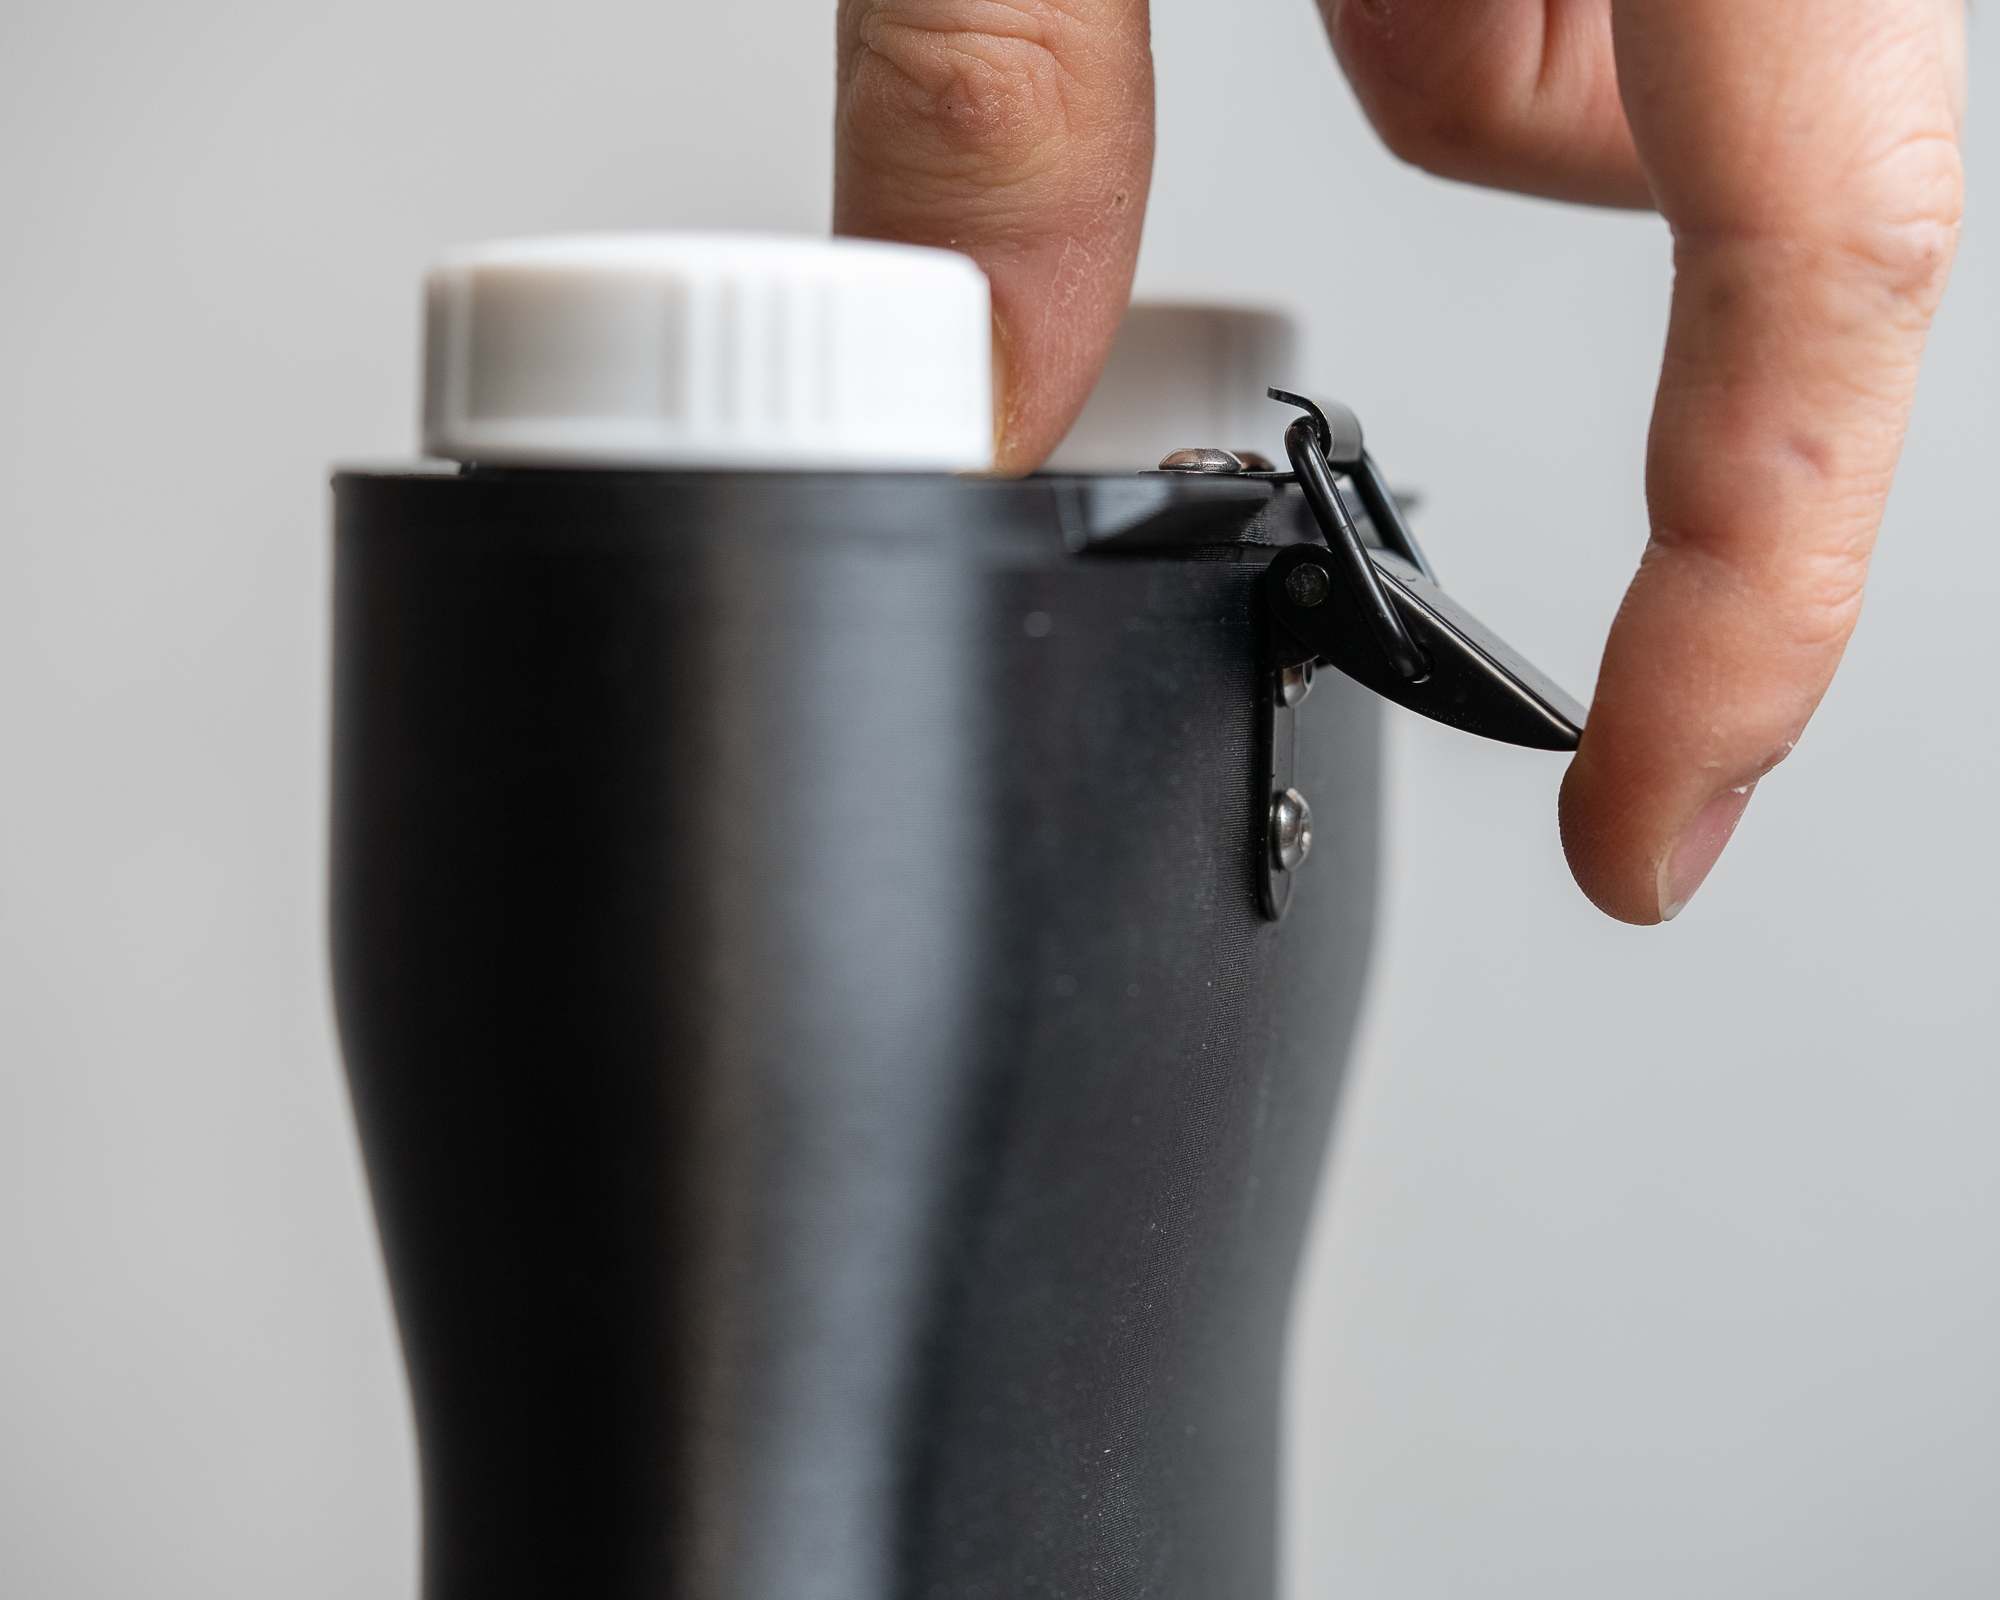
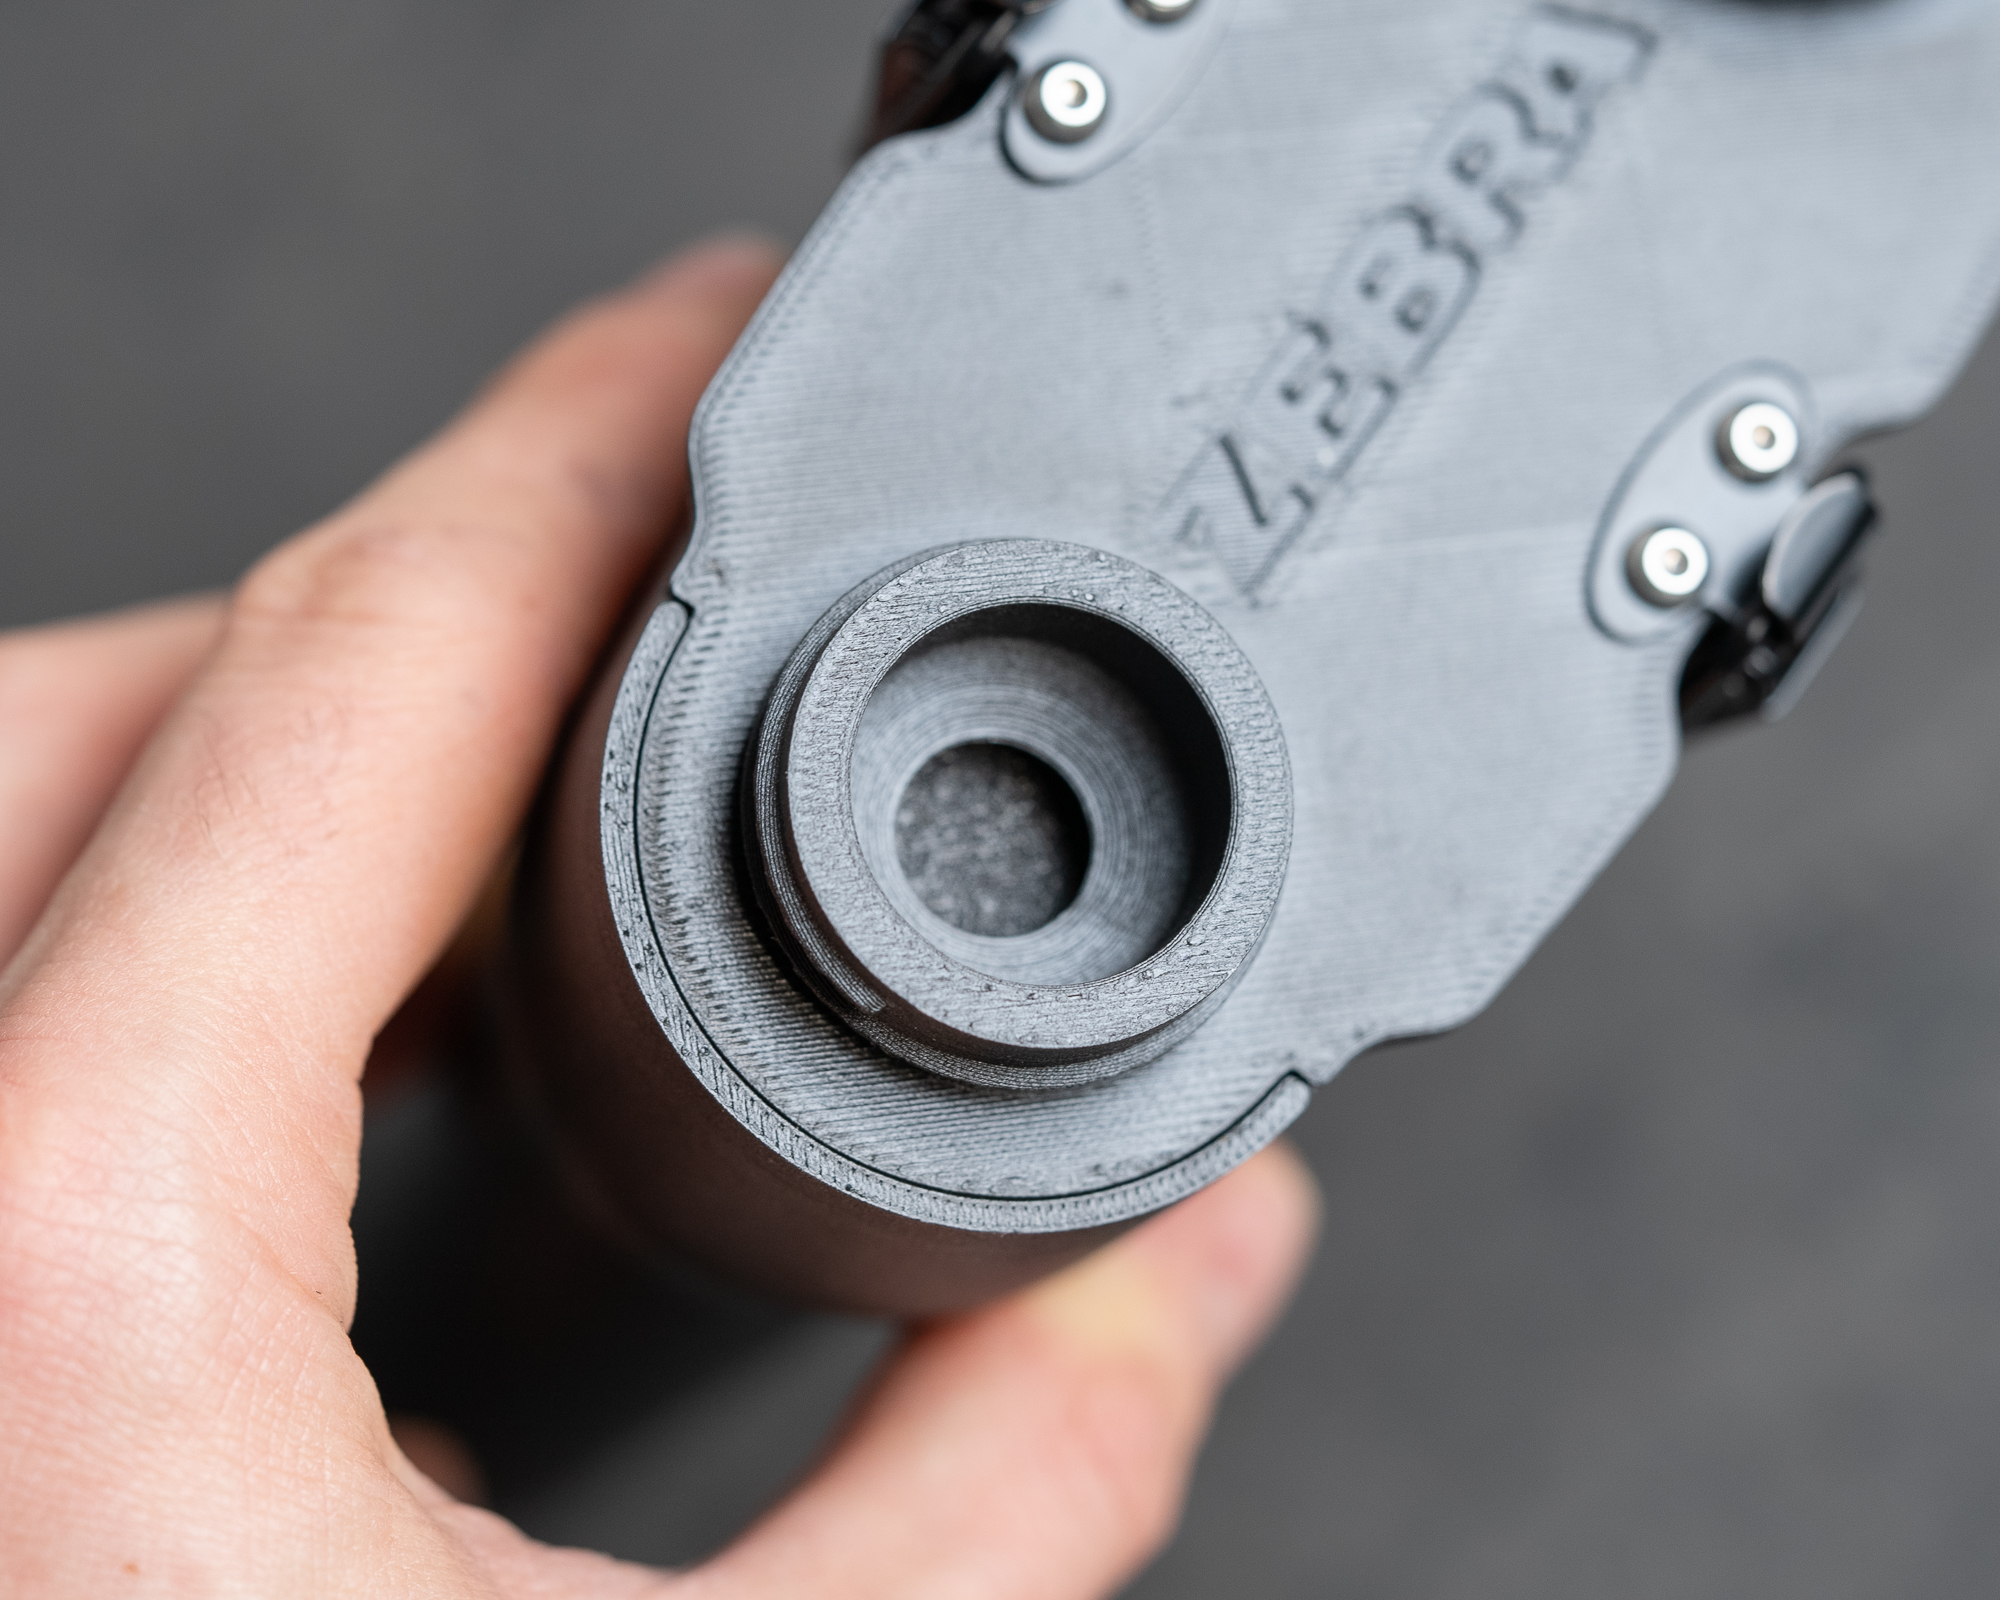
Both fill and drain ports function identically. Always remove both white caps during filling and draining to allow efficient liquid flow!
DEVELOPMENT
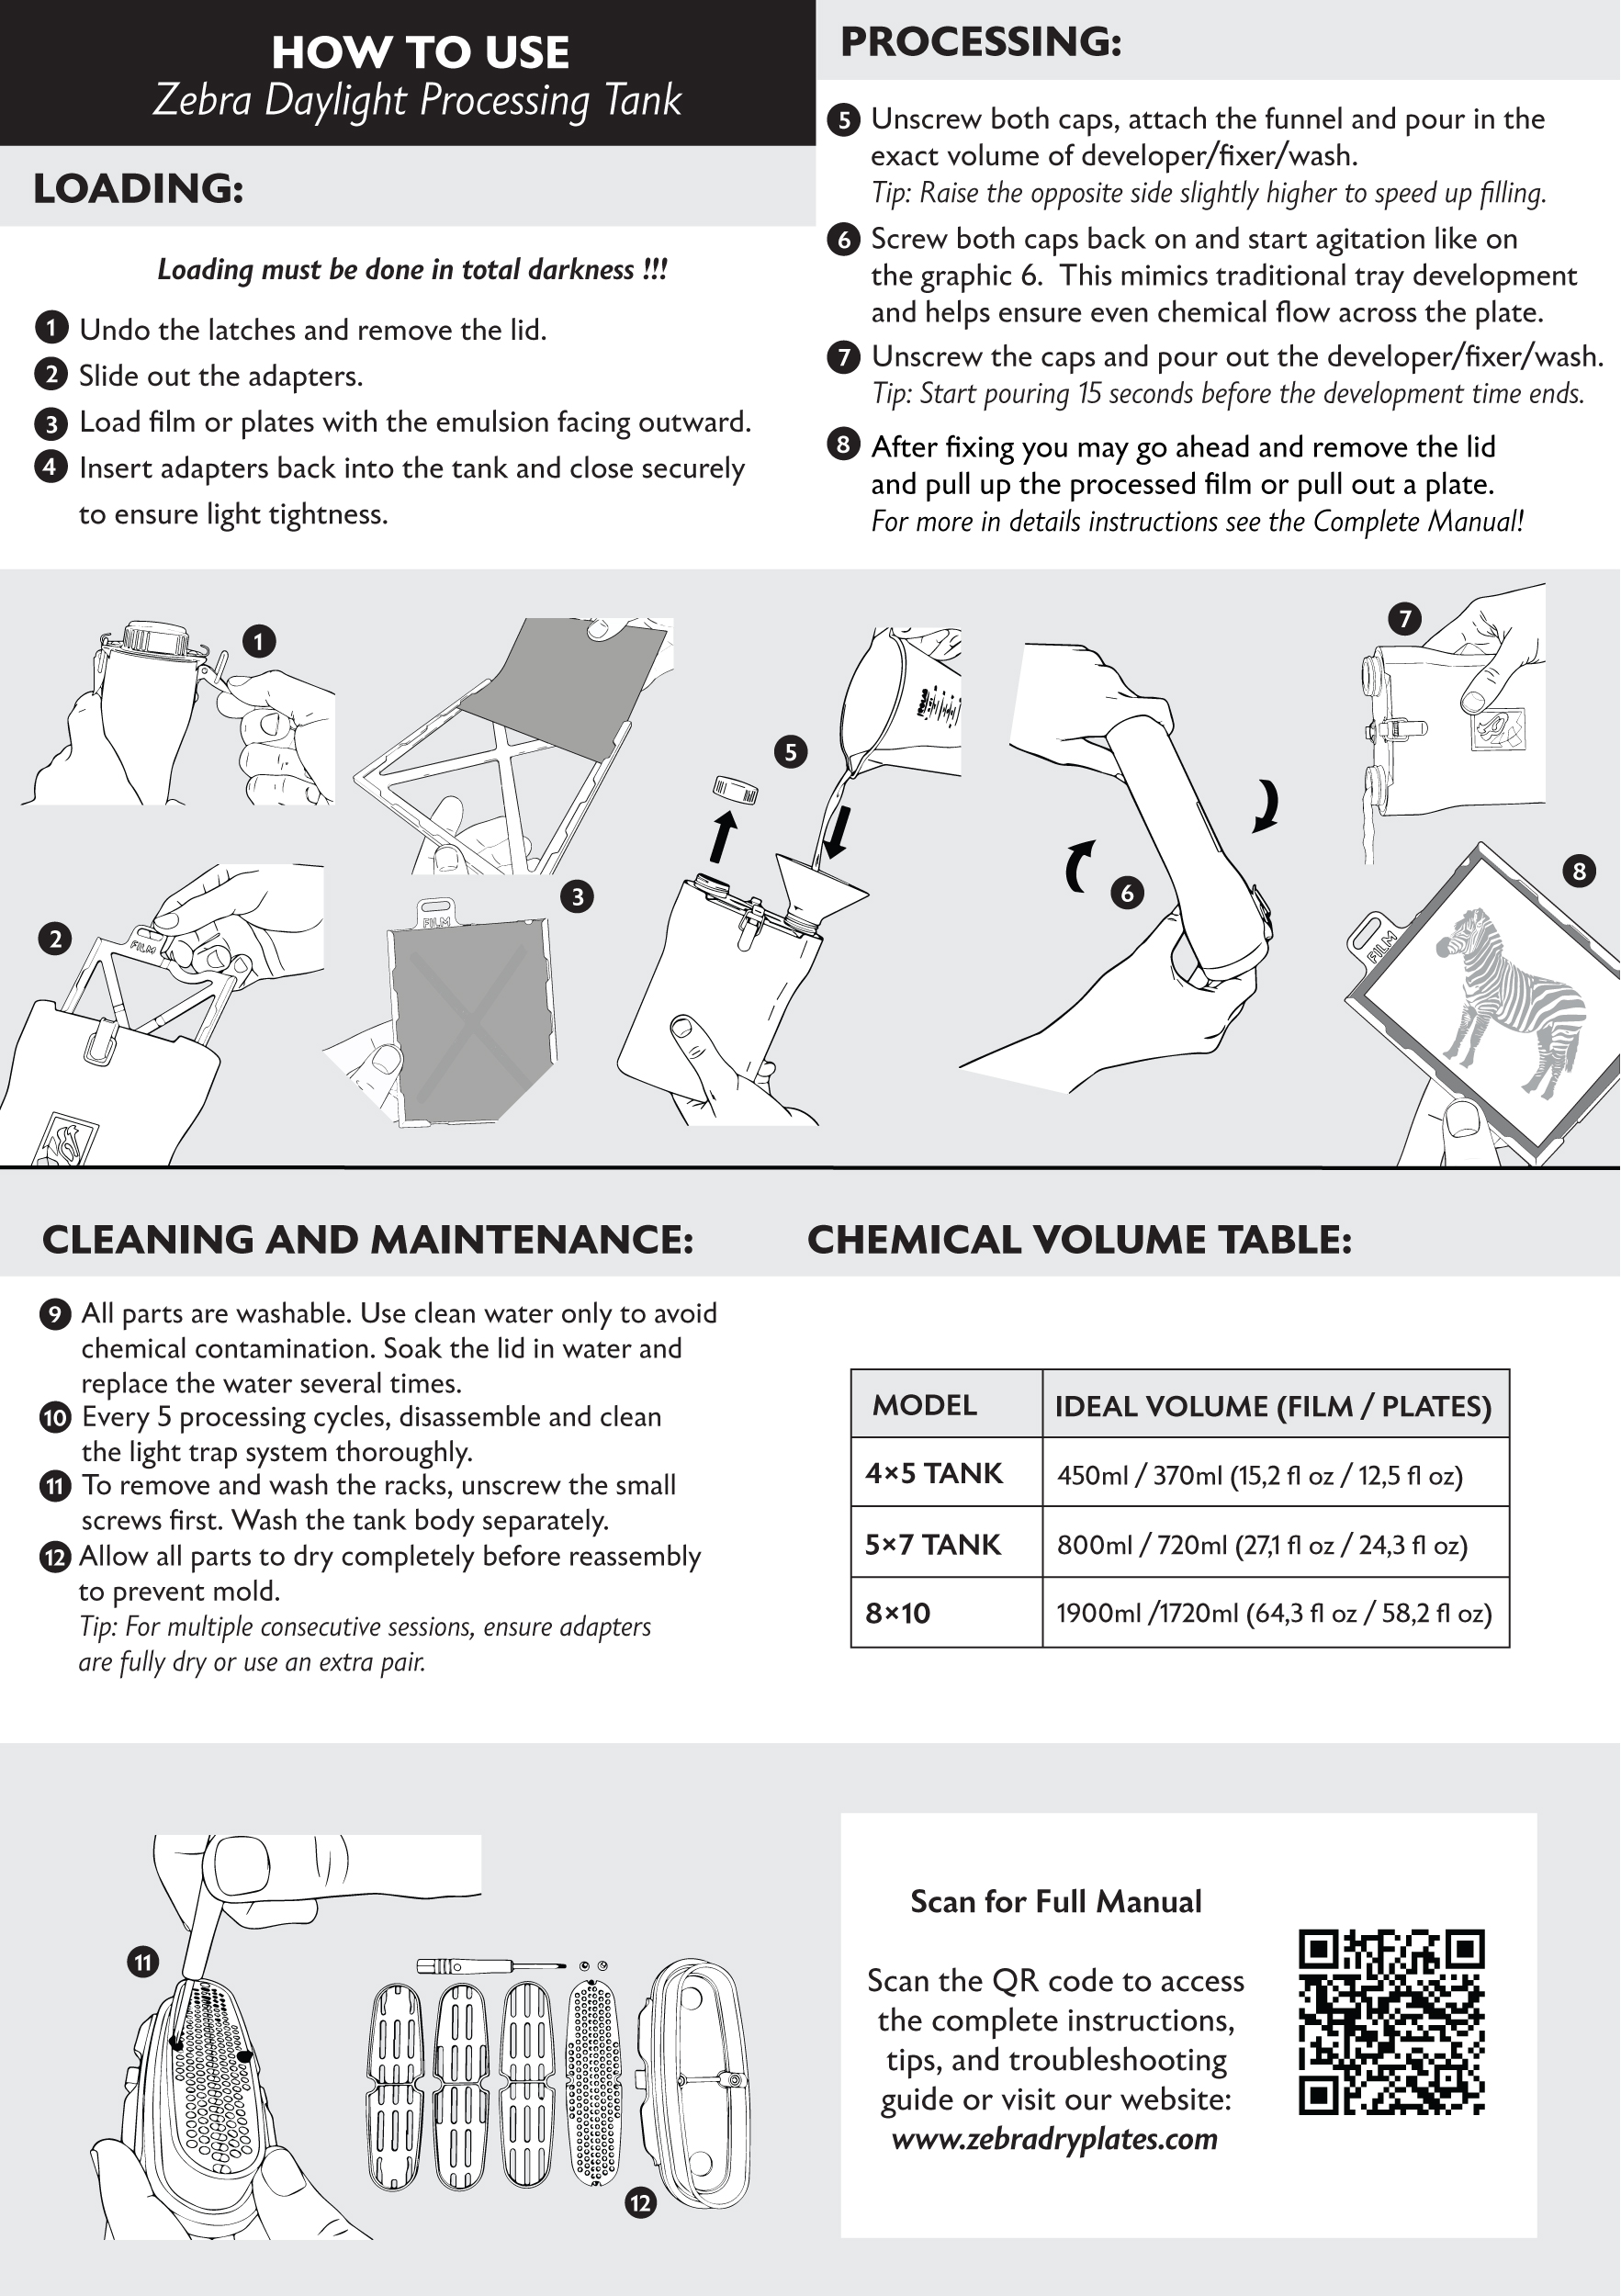
- Secure the film or plates inside the tank and latch the lid
- Remove both white caps
- Tip the tank to one side and fill it as quickly as possible with developer using the supplied funnel
- Start the timer and tighten both caps securely
- Agitate by gently rotating the tank along its long edge
- Perform initial agitation for 15 to 30 seconds
- Continue agitation for at least 10 seconds every 30 or 60 seconds, depending on the material and process
- At the end of development, remove both caps and drain the developer
* A presoak of 2 to 3 minutes is recommended for optimal and repeatable results. Especially for 8x10in film.
RINSE & STOP BATH
Fill the tank with water. Tap water is usually sufficient. Allow to stand for 30 seconds, then drain. Acidic stop baths are not recommended for dry plates, as they can cause excessive emulsion swelling. Additional rinse cycles may be used if required.
FIXING
- Fill the tank with the required volume of fixer
- Start the timer
- Secure both caps
- Agitate for 10 to 15 seconds initially
- Continue agitation for at least 10 seconds every 30 seconds
- Fix for a minimum of 4 minutes or longer as required
- Drain fixer back into its storage bottle for reuse
FILM AND PLATE REMOVAL
Sheet Film
Do not slide the film out of the adapters. While wet, the back (anti-halation) layer is very soft, and water suction can cause drag and scratches. Lift the film upward with a fingertip to release it from the side tabs, then pull it up gently. Like on the gif below:
Plates
Plates can be pulled straight out of the adapters in a slow, controlled motion. Glass is not affected by drag in the same way as film and will not scratch when removed evenly.
WASHING
Fill with clean water, cap, agitate for 1 minute, then drain. Refill, cap, agitate for 30 seconds, then drain. Refill, cap, agitate for 60 seconds, then drain. Repeat several cycles.
For the final rinse, add a few drops of wetting agent. Zebra H2O Flow is recommended. Fill with distilled water, cap, and agitate gently for 30 seconds. Do not drain. Remove the lid and carefully remove the adapters filled with freshly processed film or plates. Gently pull out each plate or film helping yourself with a small notch on the right side of each adapter.
DRYING
Transfer film or plates carefully to a clean drying rack or hang them in a dust-free environment. Ensure adequate air circulation and avoid direct heat or airflow that could cause uneven drying or contamination. Allow several hours for complete drying, and confirm that the materials are fully dry before handling or placing them into sleeves or storage to prevent sticking, damage, or long-term deterioration.
7.2 Quick Start Guide (ready to print)
7.3 Glass Dry Plate Workflow
Glass dry plates are processed using the same basic steps as sheet film, including presoak, development, rinse or stop, fixing, washing, and drying. However, additional care is required due to the physical properties of glass and the sensitivity of dry plate emulsions.
Maintain consistent temperatures throughout all processing baths. Sudden temperature changes can cause reticulation, emulsion stress, or uneven development. If plates have been stored or transported in cold conditions, allow them to reach room temperature before loading and processing.
Development times and dilutions should follow the charts provided on the Zebra website, as dry plate emulsions can vary significantly from modern films in speed, contrast, and development behavior.
Use the same agitation technique recommended for sheet film, namely gentle rotation along the long edge of the tank. Avoid aggressive agitation, as dry plate emulsions are more delicate when wet and can be more sensitive to turbulence and surge effects.
Handle plates carefully during unloading, as the wet emulsion is particularly soft and vulnerable to damage until fully fixed and washed.
7.4 Tintype and Direct Positive Processing
Use the chemistry and development times specified in the Zebra processing charts, as these are tailored to the specific materials and processes used. After fixing, wash thoroughly and for sufficient duration to ensure complete removal of all residual chemistry, which is essential for long-term image stability and archival quality.
7.5 Agitation Techniques
Always agitate along the long edge of the tank. Rotation is preferred over inversion, and agitation should remain gentle and controlled.
The Zebra Daylight Processing Tank holds film and plates vertically along its long axis. Rotating the tank along this edge allows developer to flow evenly across the entire surface of each sheet or plate, promoting uniform chemical exchange and reducing the risk of streaks, surge marks, or uneven density.
Inversion causes more abrupt movement of chemistry and can create strong surges, especially near edges and corners. This increases the risk of uneven development, particularly with larger formats and glass dry plates.
Aggressive agitation introduces excessive turbulence, which can lead to uneven developer distribution, exaggerated edge effects, and potential emulsion damage. Gentle, continuous rotation produces more stable and predictable results.
For best results, rotate the tank smoothly along the long edge, keep movements consistent, and allow the tank to stand perfectly vertical between agitation cycles.
8. Draining, Washing, and Unloading
8.1 Draining Chemistry
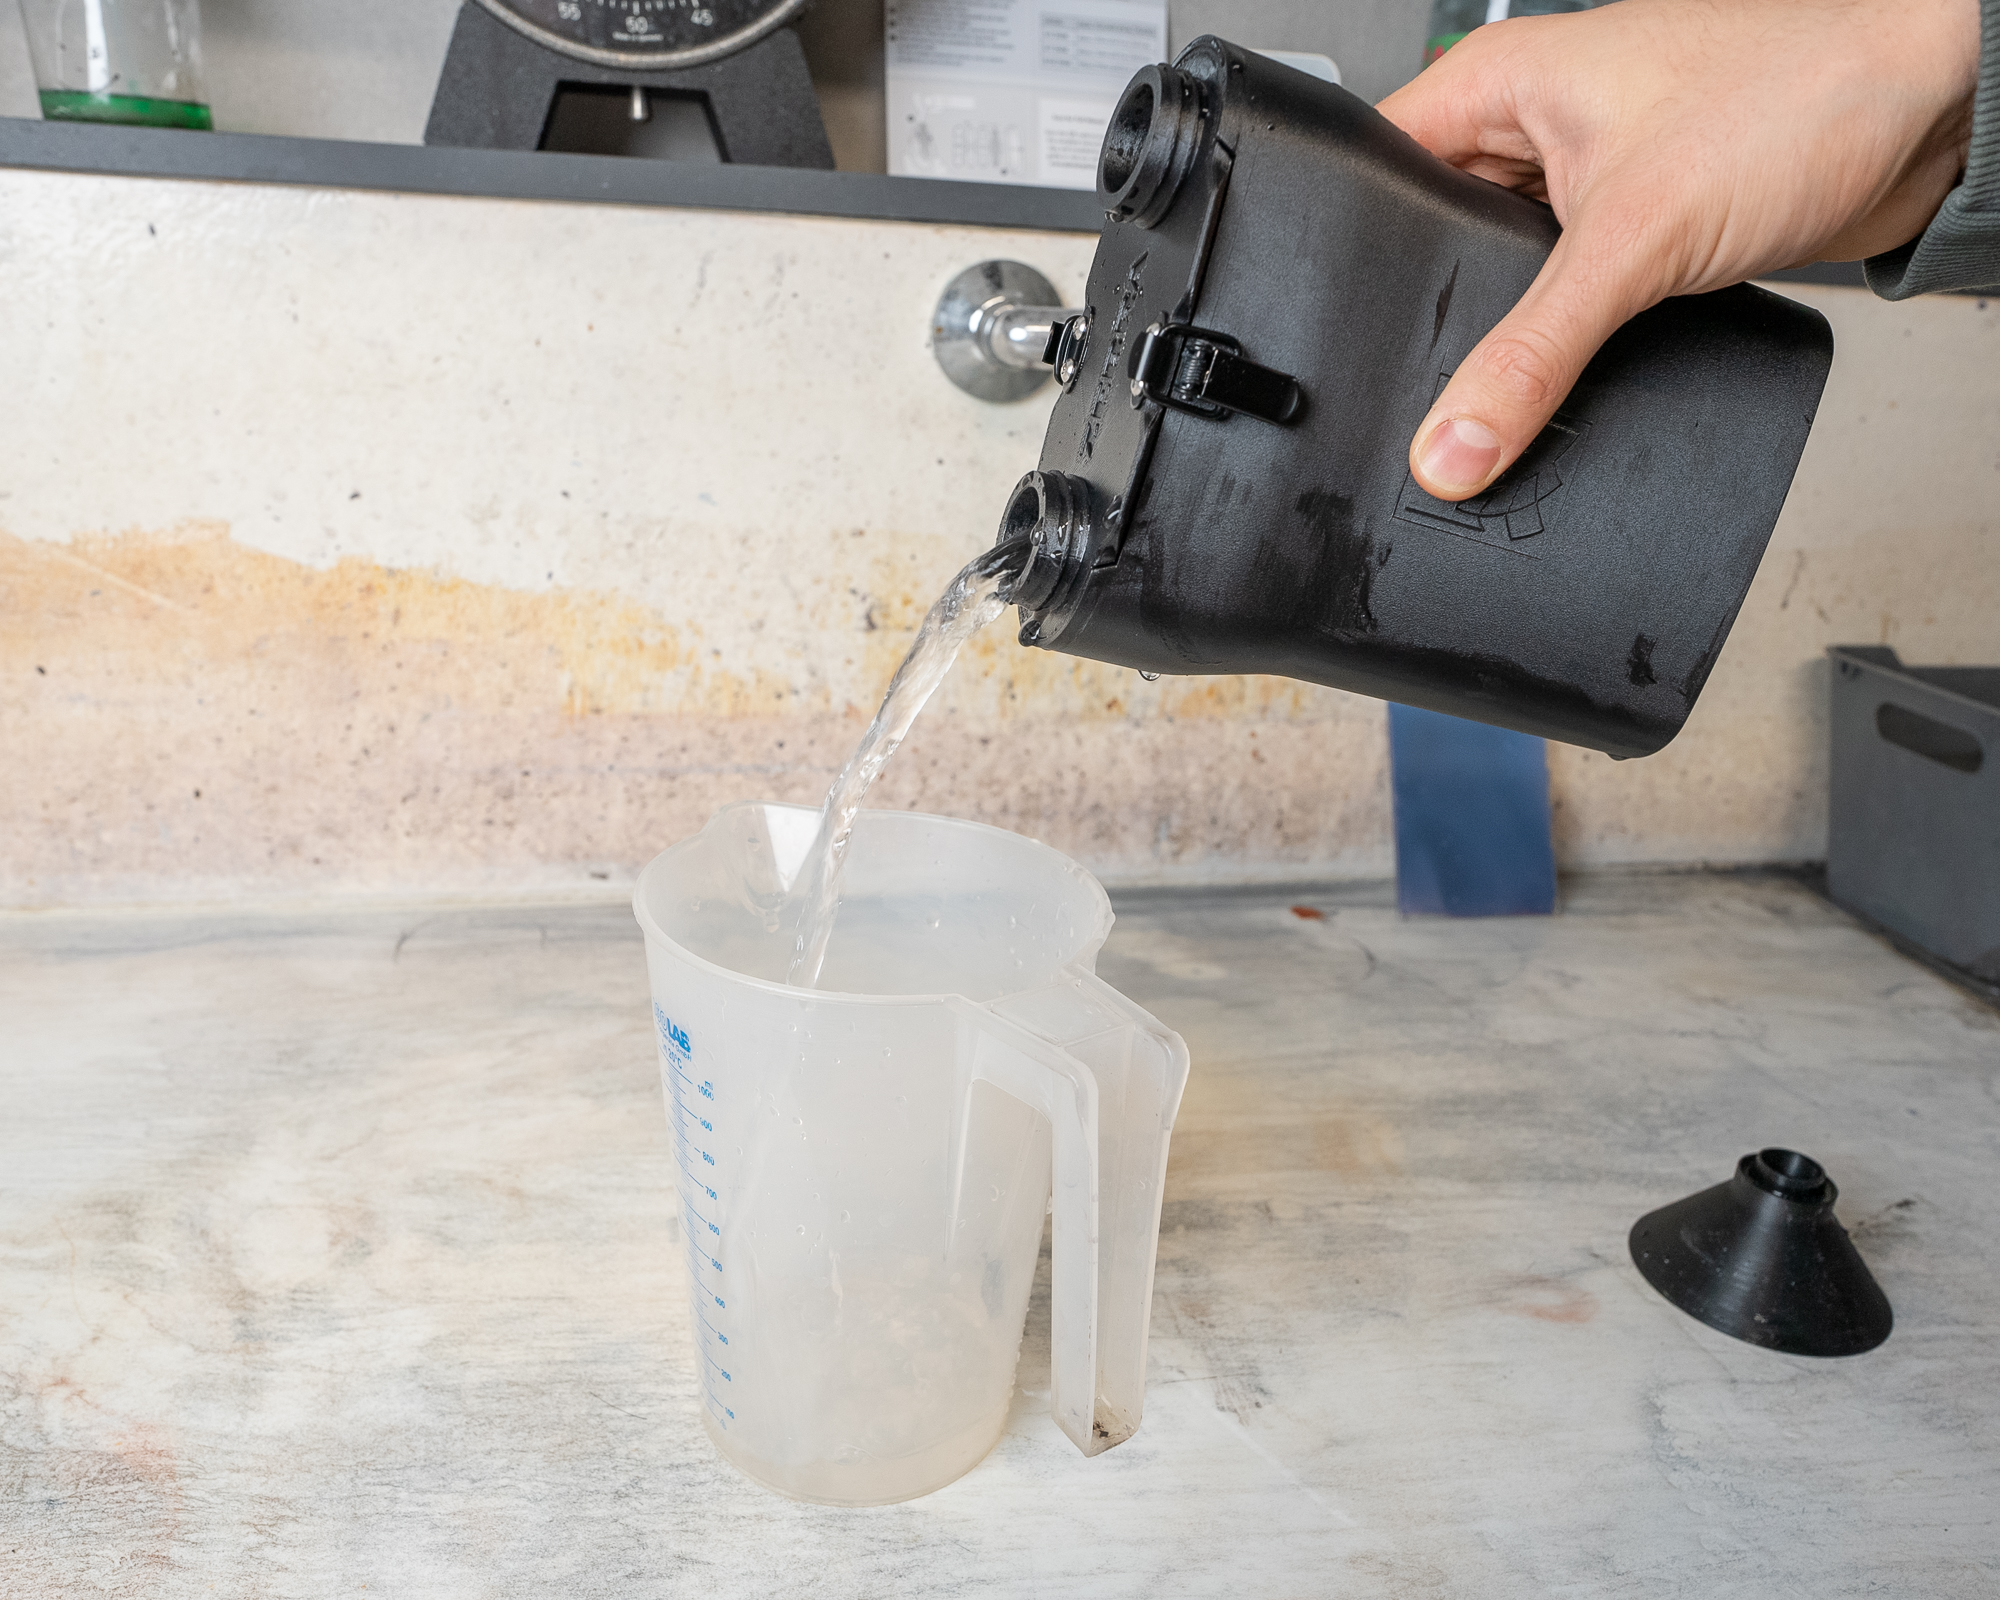
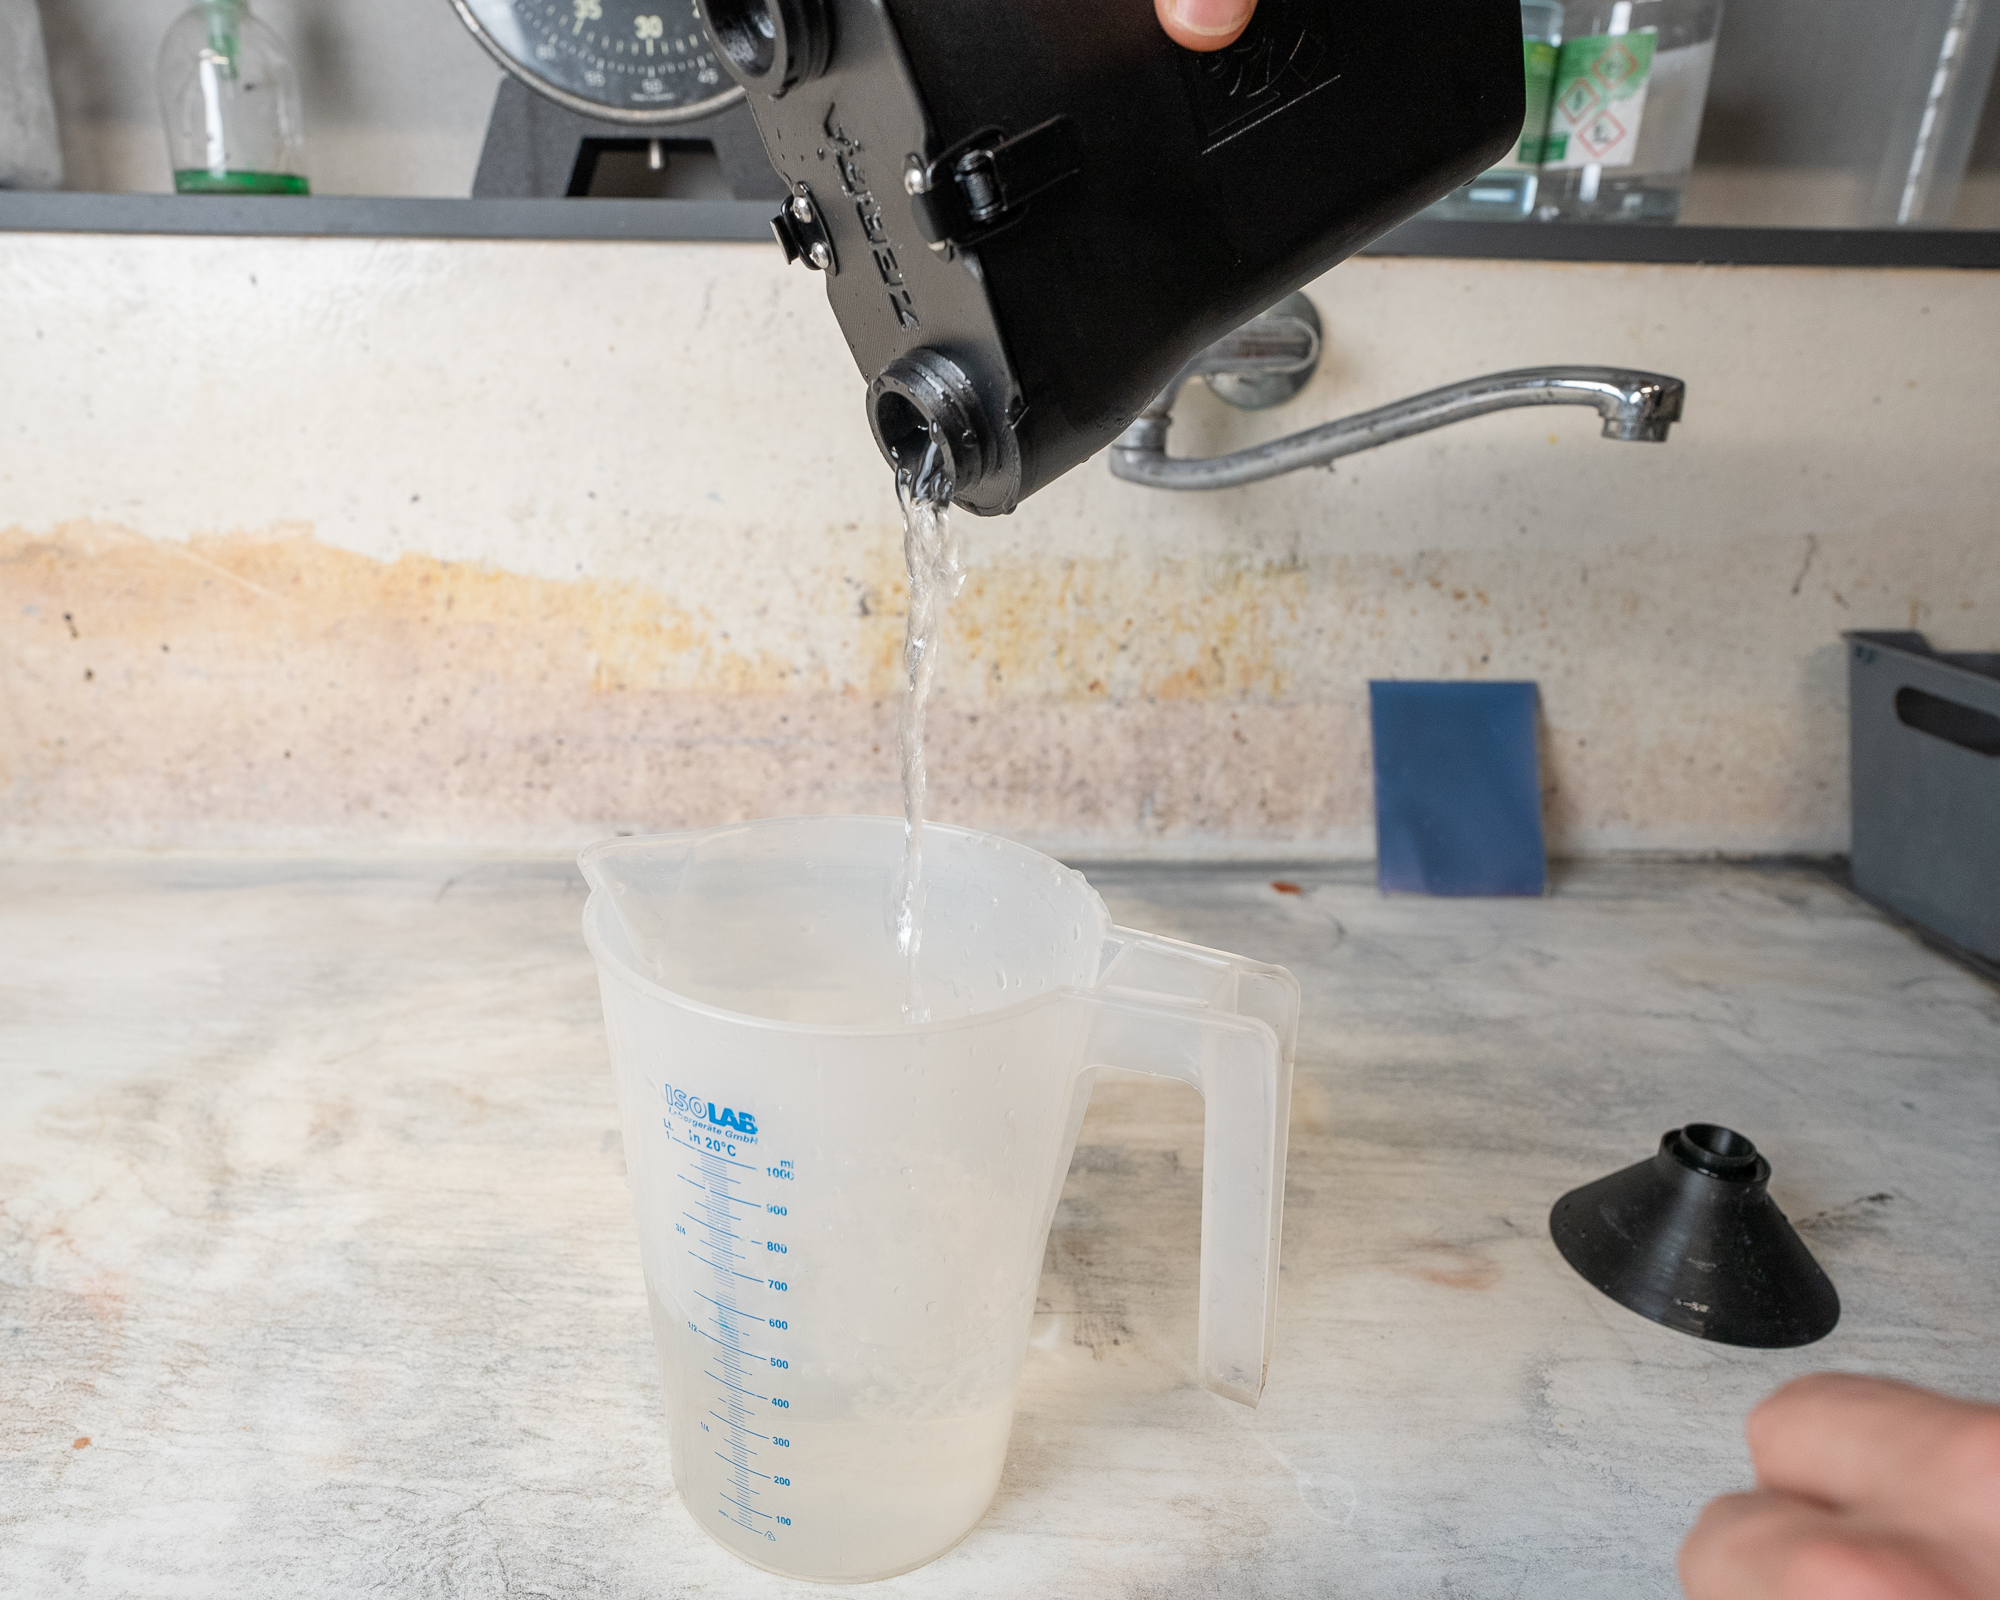
Ensure both caps are fully removed before draining to allow smooth and controlled liquid flow. Tip the tank onto one side and allow the chemistry to drain completely. Always drain into a wide-neck bottle or a large measuring jug to minimize splashing and spills. Make the initial tilt decisively and in one continuous motion, as a hesitant or slow tilt can cause liquid to run down the outside walls of the tank.
8.2 Washing Methods
The fill-and-dump washing method described above is recommended, as it provides effective washing while using significantly less water and allowing controlled exchange of fresh water throughout the tank.
Running water washing inside the tank is not recommended, as fresh water tends to exchange primarily at the surface while remaining trapped at the bottom, resulting in uneven washing. If archival washing under running water is required, remove the film or plates from the tank and wash them in a separate tray where continuous water exchange can occur evenly.
If Photo-Flo, Hypo Clear, or similar wetting or clearing agents are used, the tank and all adapters should be thoroughly washed with hot water at 40 to 50 degrees Celsius after processing. This prevents residue buildup that could interfere with future development and cause contamination or uneven results.
8.3 Unloading Film and Plates
Once fixing is complete and all unexposed silver halides are removed, the tank may be safely opened.
Wet emulsions are more delicate and can become tacky. Water can also become trapped behind film or plates, creating suction. The adapters include textured surfaces and drainage channels to minimize this effect.
Each sheet of film includes a pull tab at the top to aid removal. Remove materials slowly and evenly to prevent scratching, then transfer immediately to drying racks or hang.
Important Practice Note
Always record all processing details, including the developer used, working dilution, development time, agitation pattern, temperature, and any deviations from your standard workflow. These notes allow you to understand how specific results were achieved and make it possible to reproduce successful negatives or identify the cause of problems.
Over time, consistent record-keeping becomes an invaluable reference, especially when working with different films, dry plate emulsions, or experimental processes. The Zebra Ana Log Book is recommended for systematically tracking exposure information, processing parameters, and observations in a clear and organized way.
9. Cleaning and Maintenance
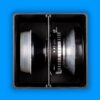
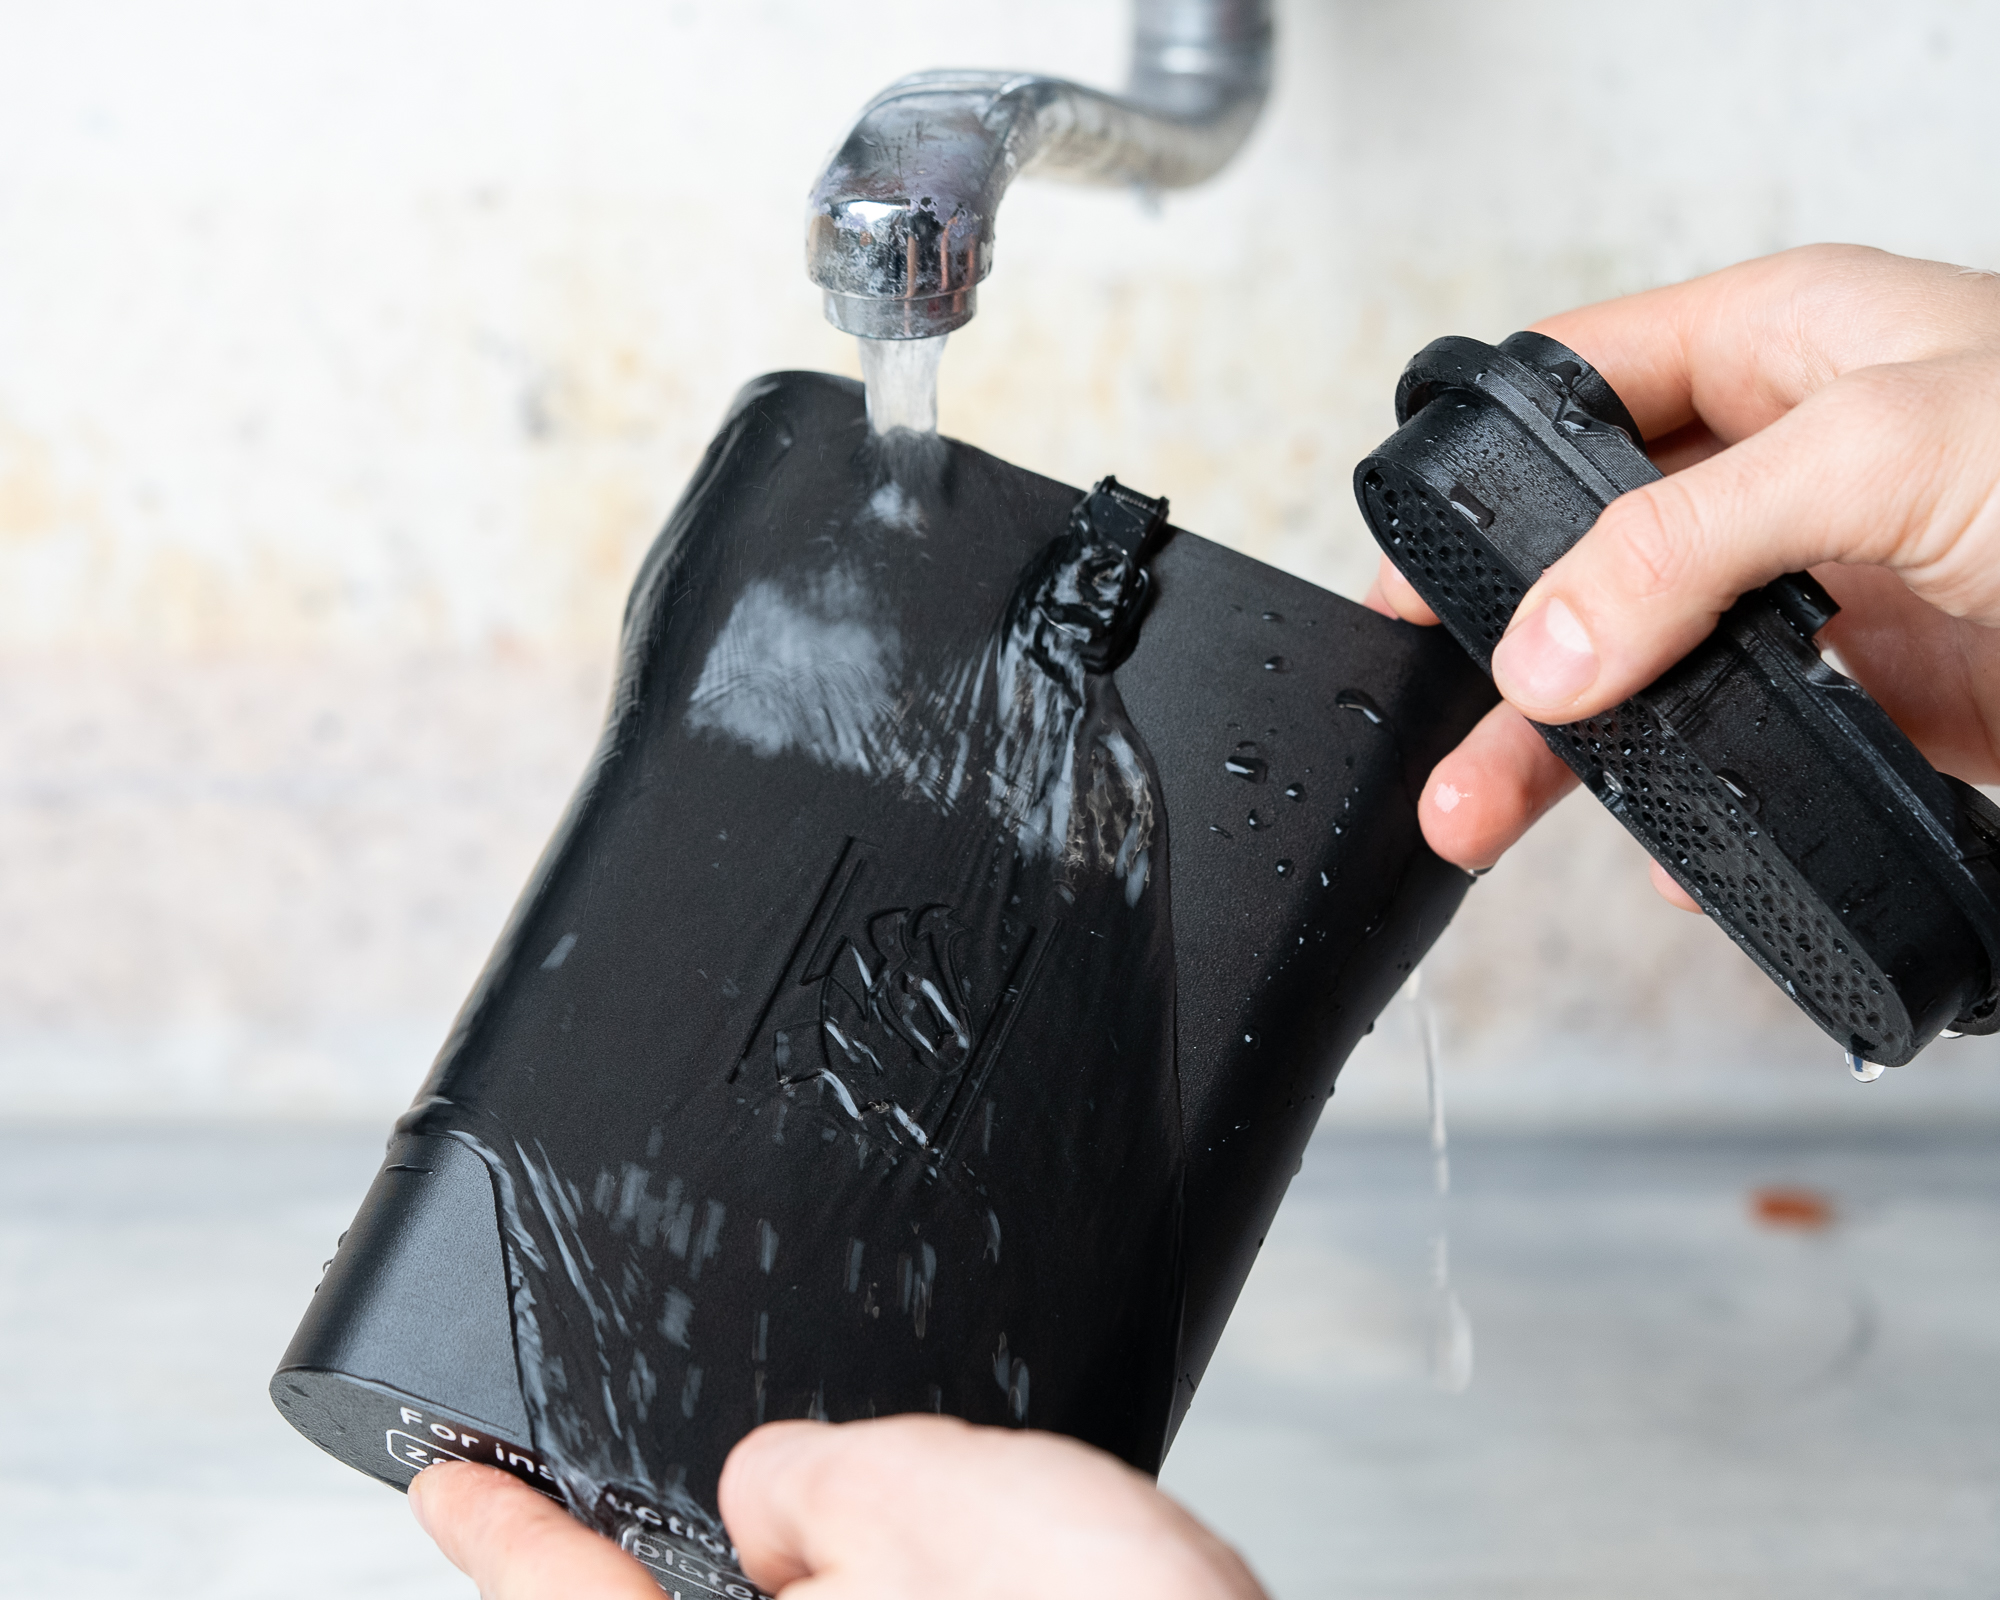
9.1 Routine Cleaning
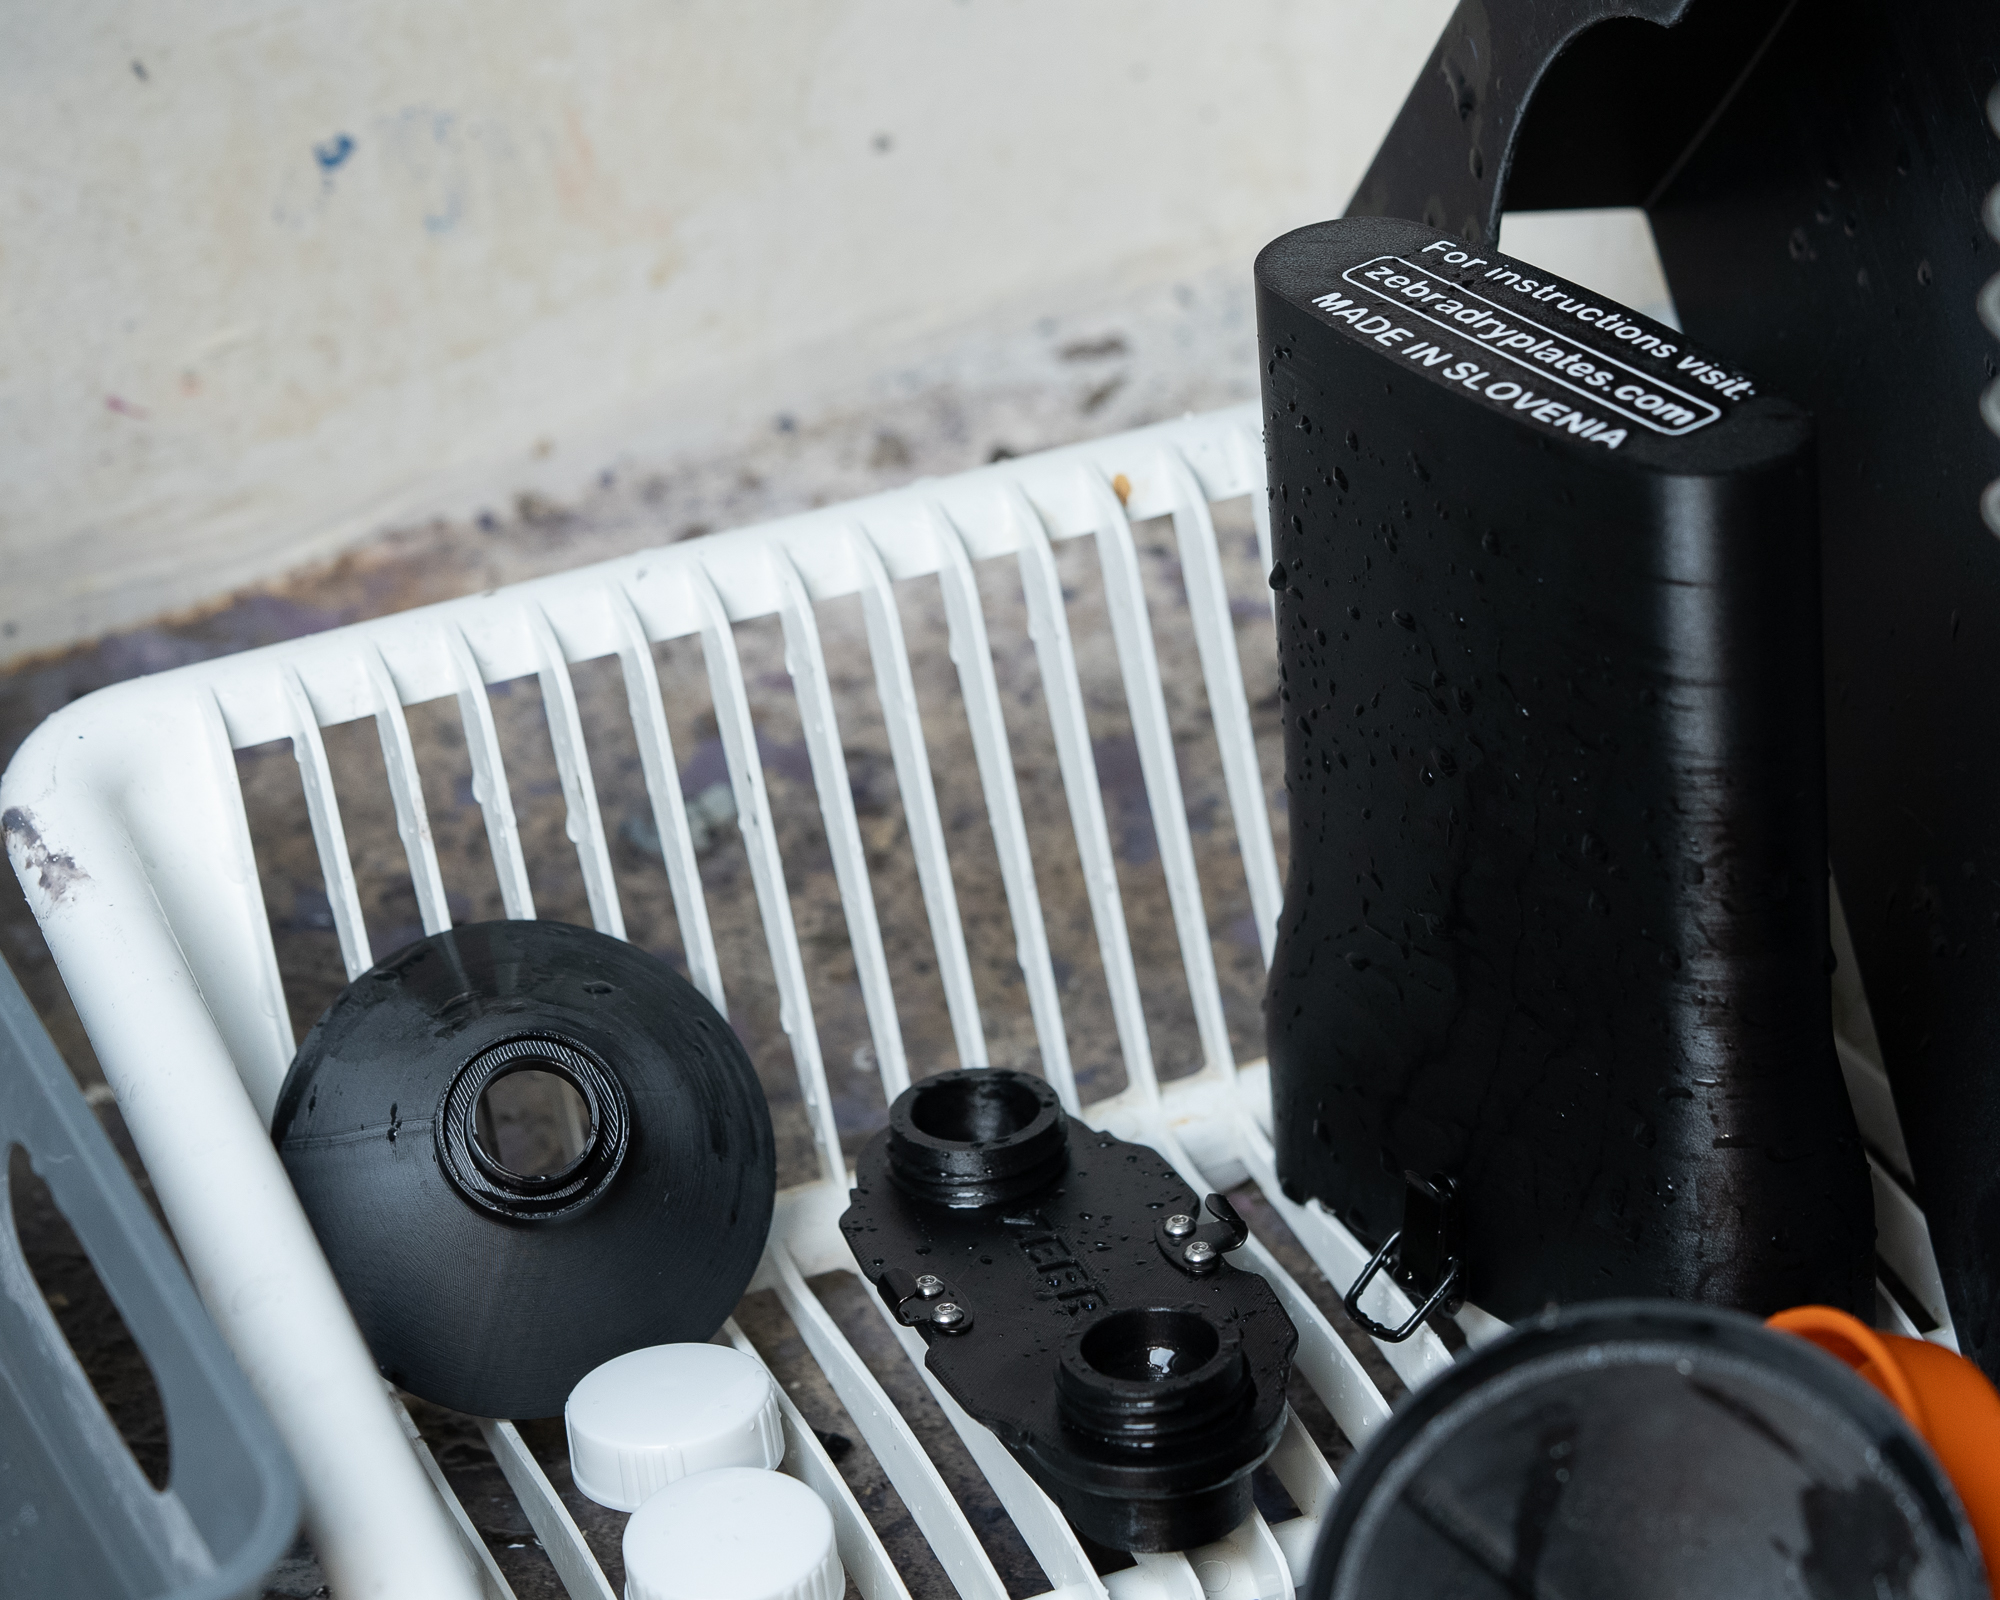
After each processing session, thoroughly rinse the tank body, all adapters, and the lid using warm to hot tap water to remove any remaining chemical residues. Pay special attention to the lid, as it contains a more complex light-trap system where chemistry can accumulate. It is recommended to fully submerge the lid in fresh water and repeat the rinsing process several times to ensure all residues are removed.
Once cleaning is complete, dry all components thoroughly before storage to prevent mold growth and odor buildup. All hardware used in the tank is made from stainless steel and will not rust, even when regularly exposed to water and photographic chemicals.

9.2 Deep Cleaning
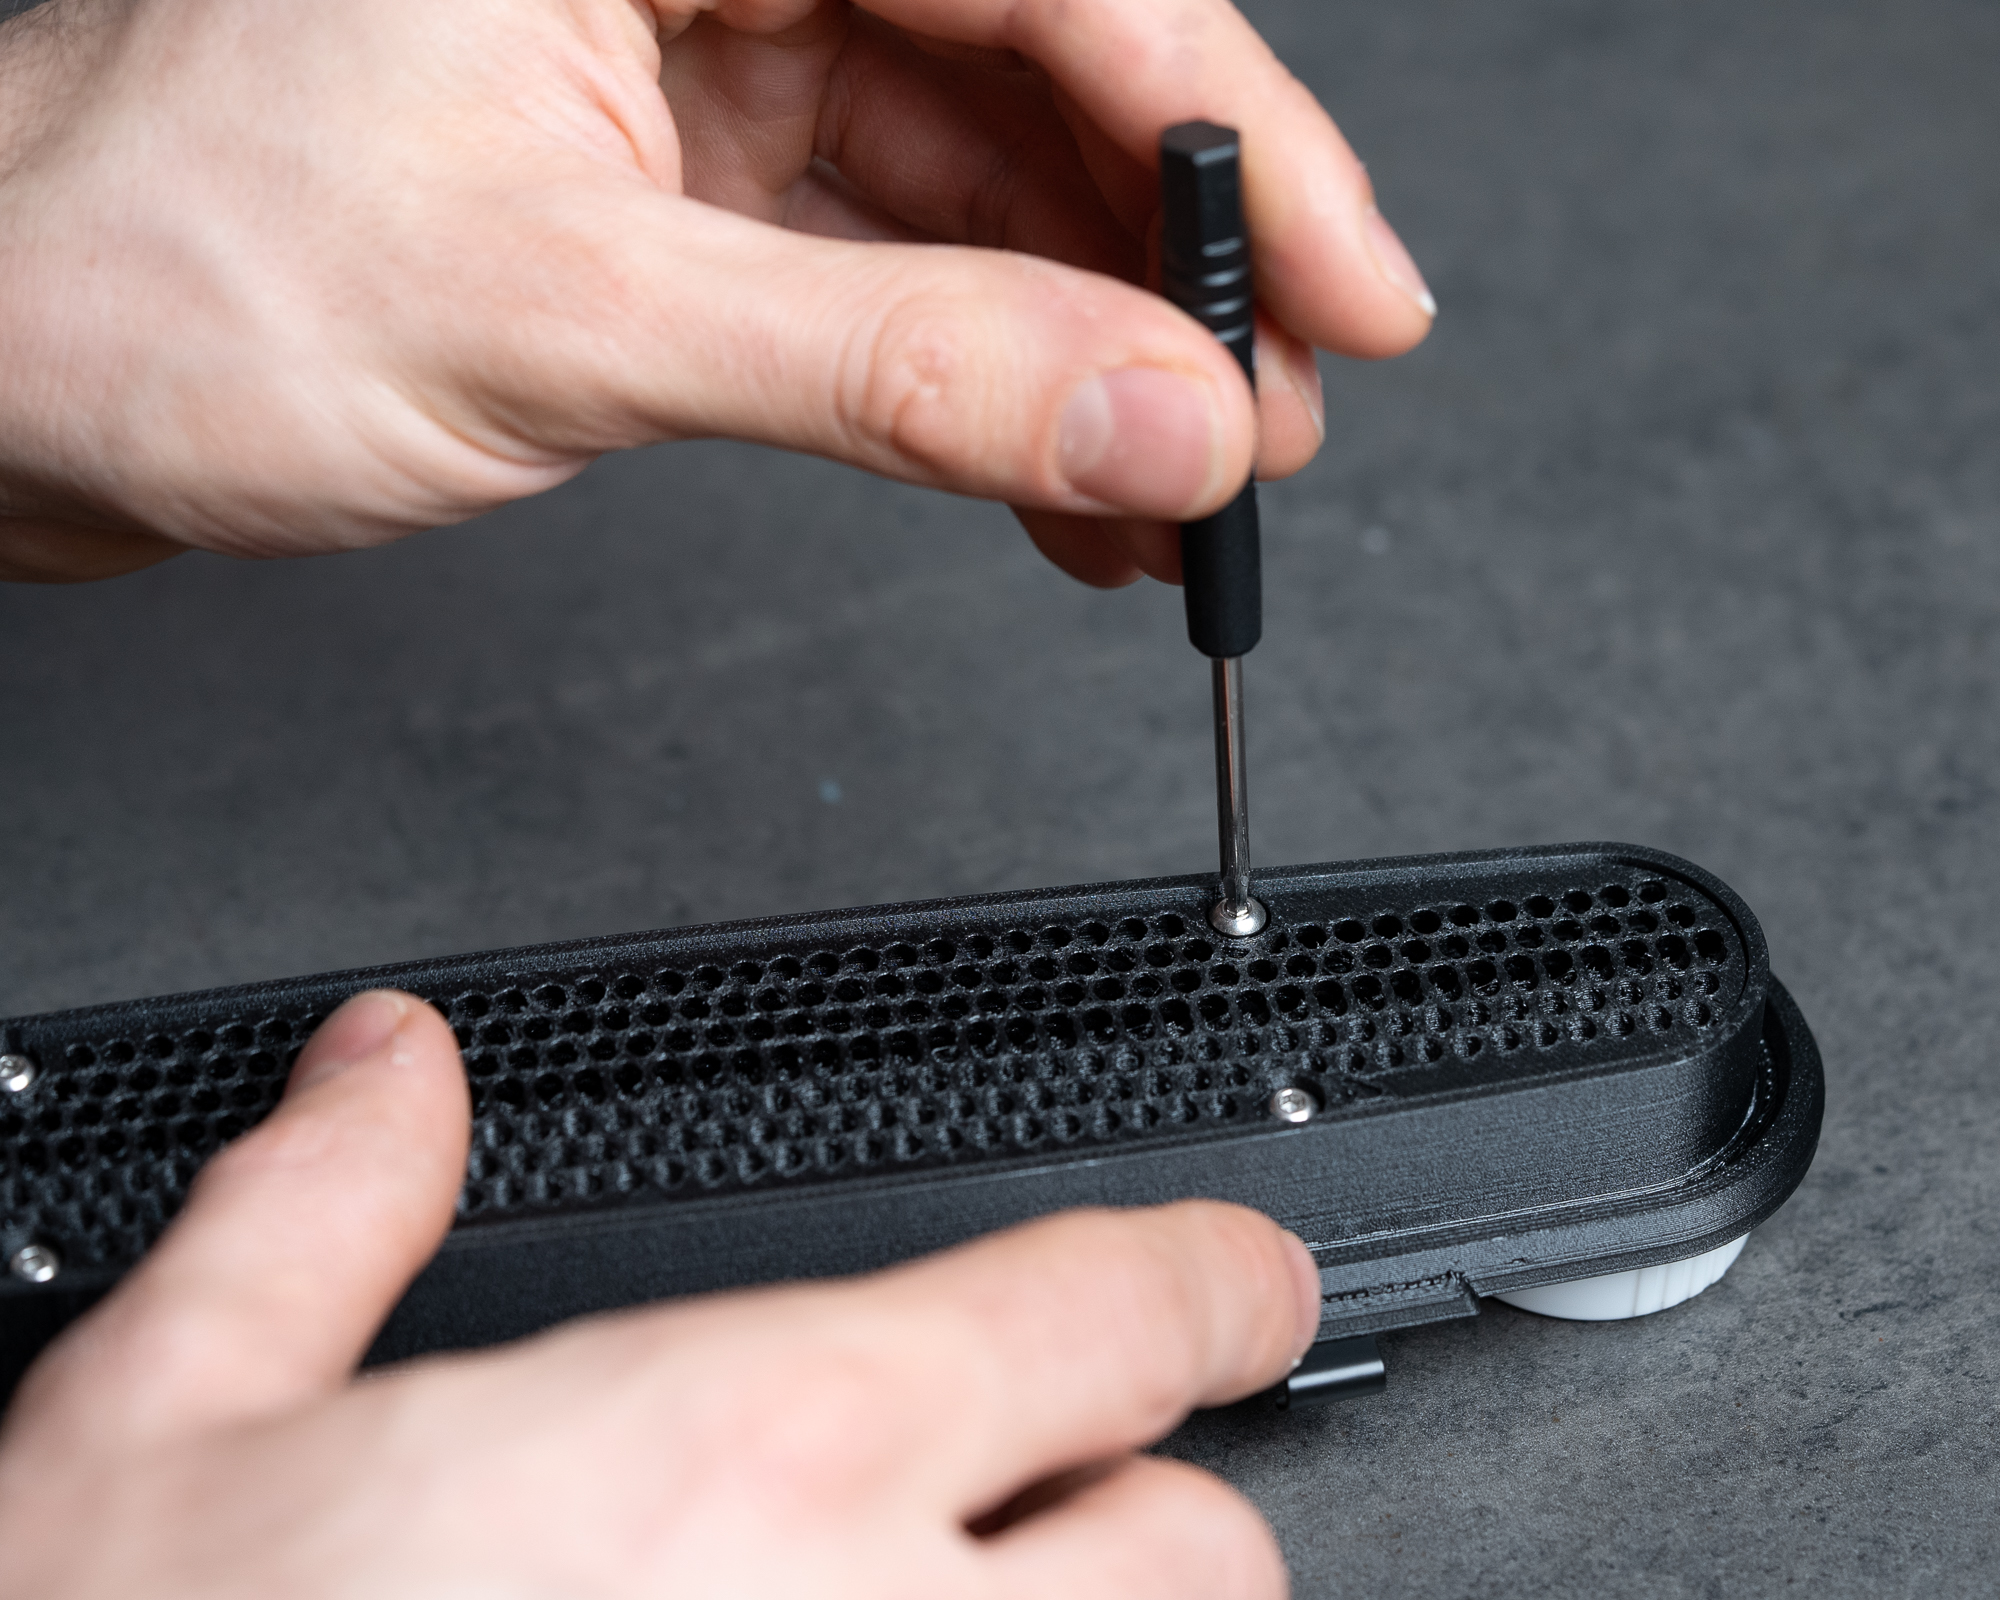
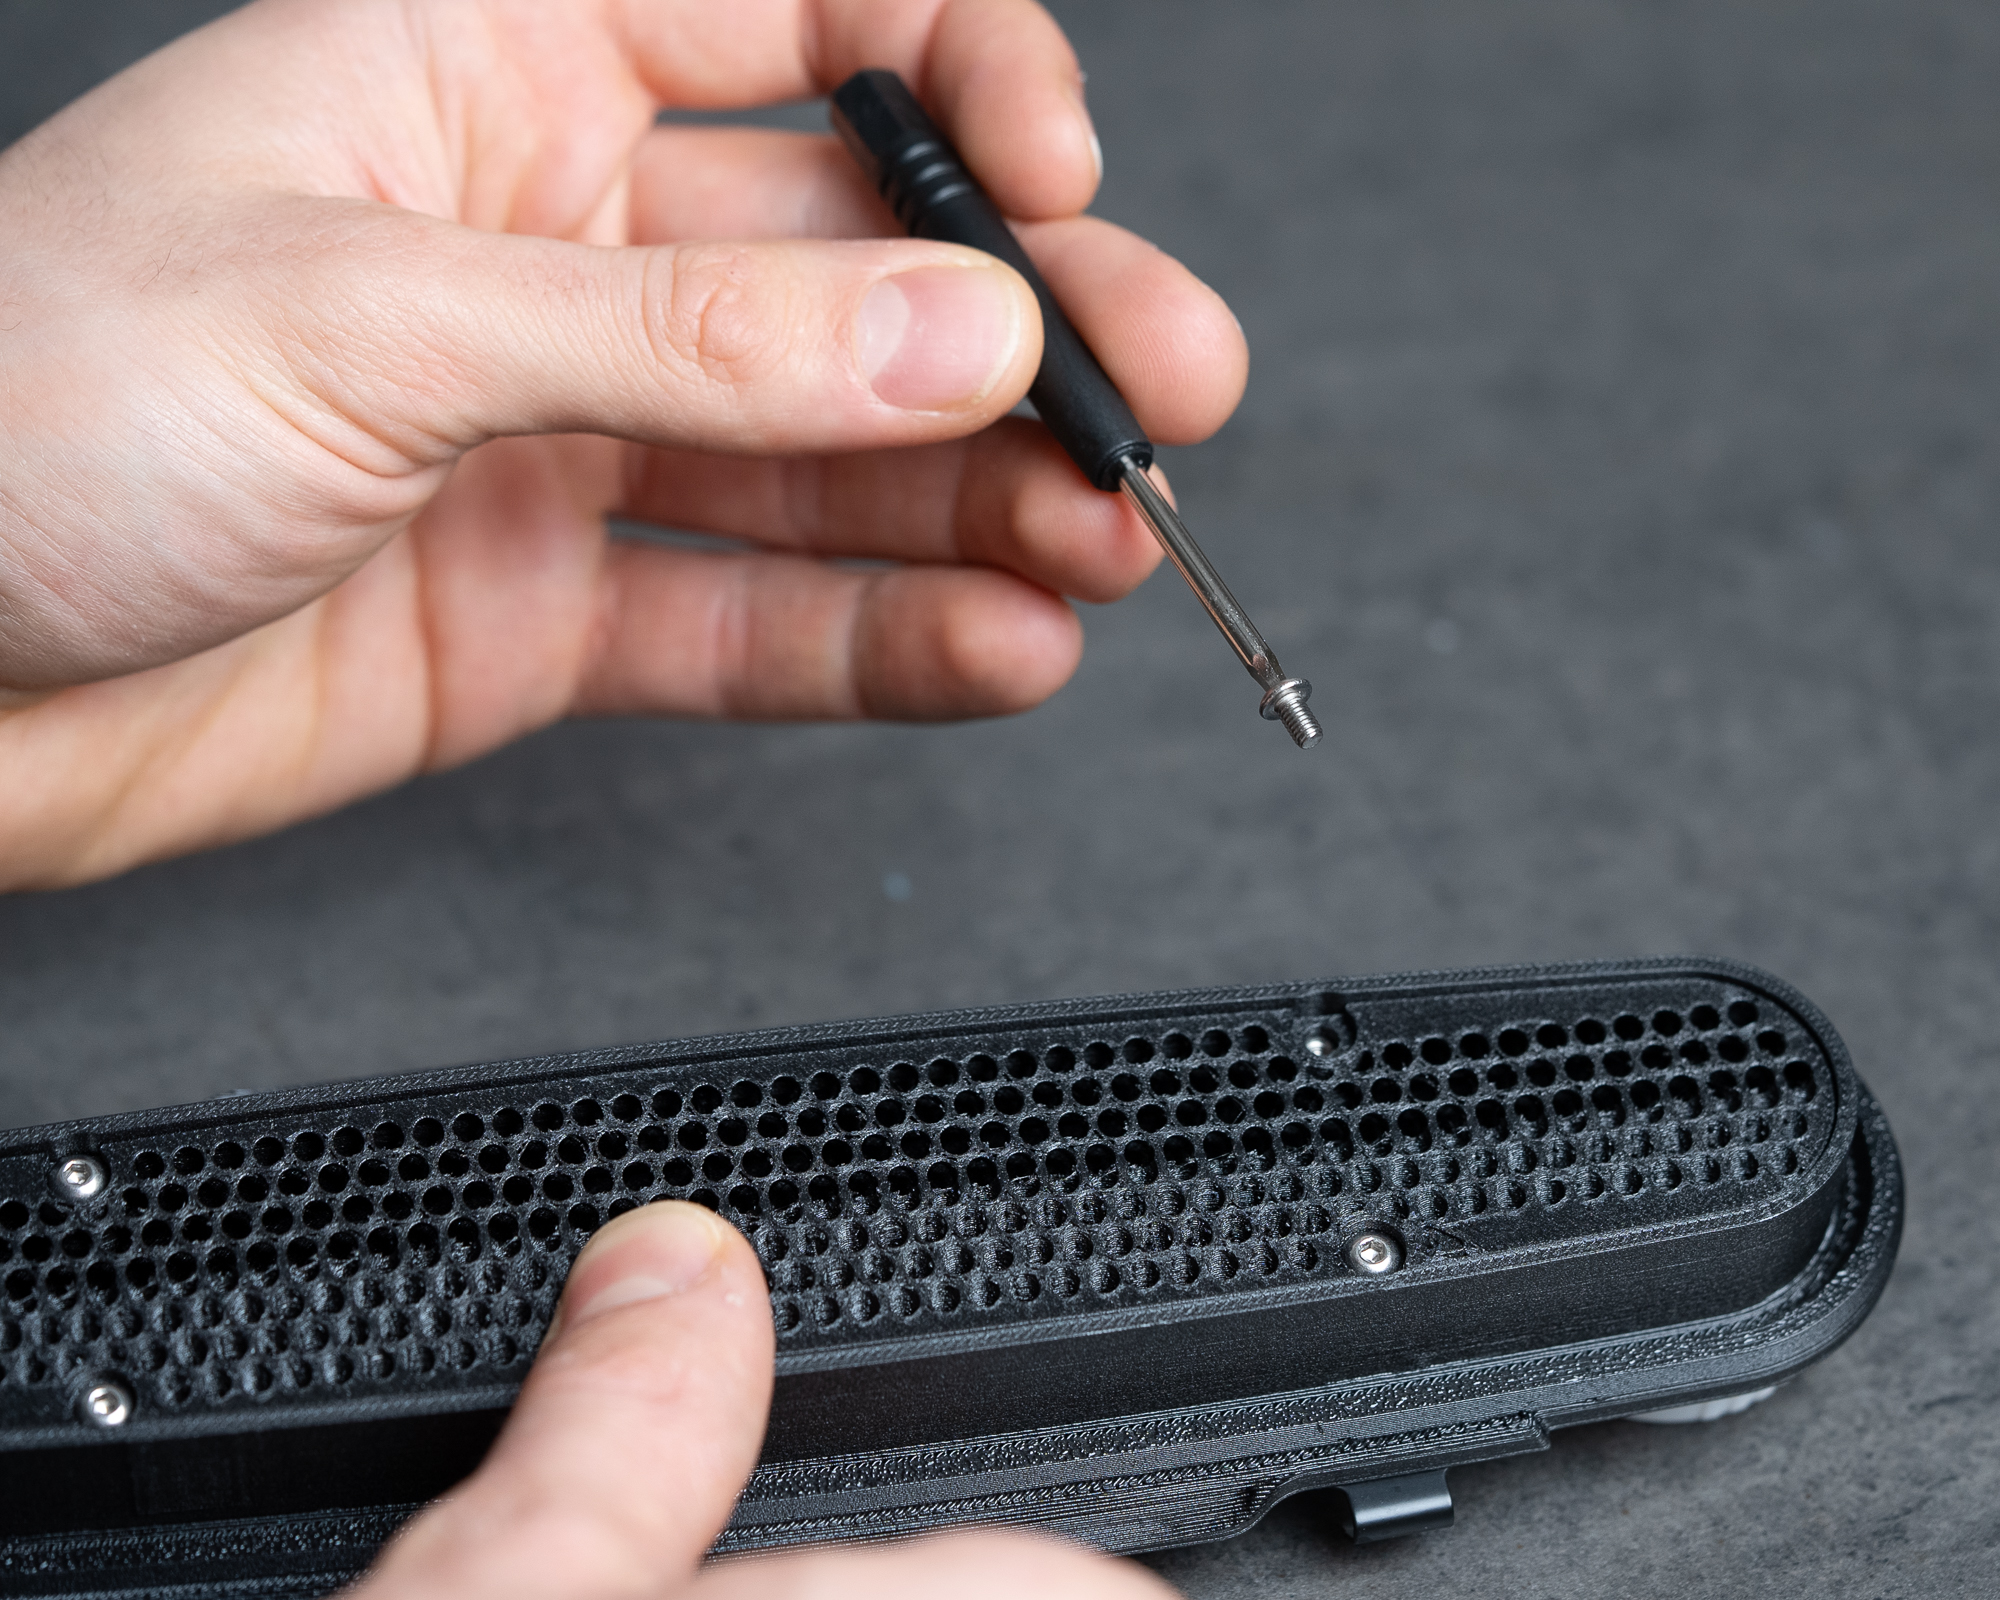
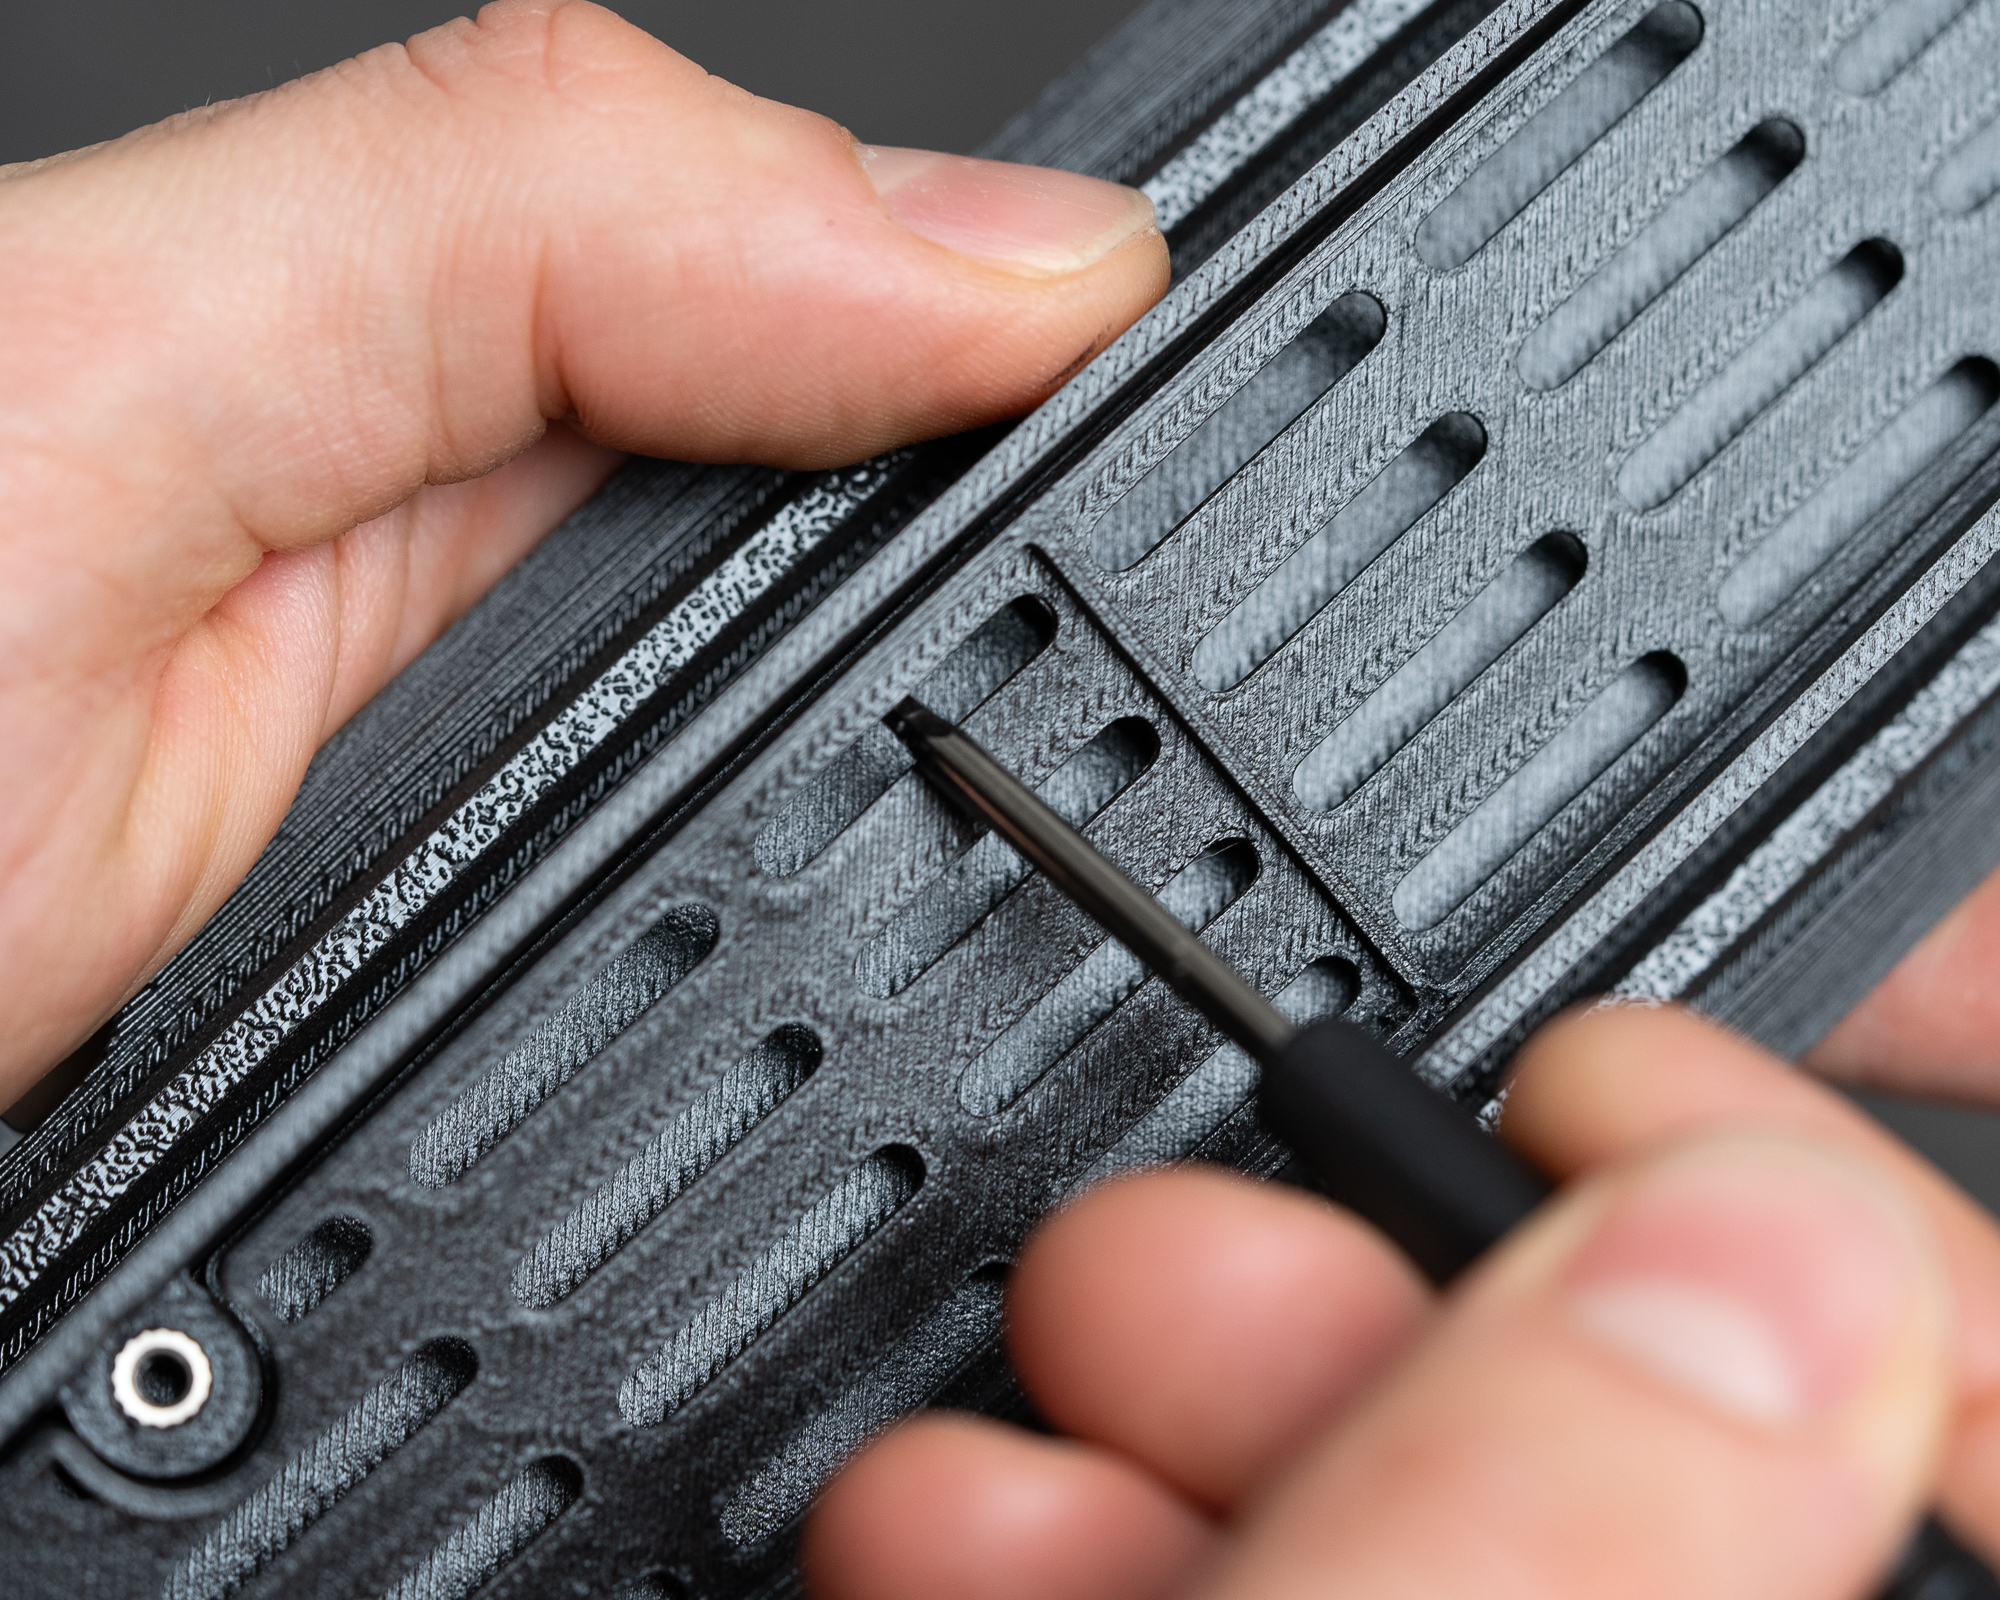
Every few processing cycles, remove the screws on the underside of the lid using the supplied screwdriver. Disassemble the light-trap assembly and clean thoroughly using mild dishwashing soap. Rinse well and reassemble.
When reinstalling the light-trap system follow the number order 1-3 (you should see them when installing). Also do not overtighten the screws they are there just to hold everything in place. Tighten only until snug, as excessive force may deform components or impair proper light-trap function.
Avoid abrasive sponges or brushes, as scratches can trap chemicals and dirt!
9.3 Seal and Component Care
The seal is made from chemically and UV-resistant foam and is designed for long service life. Inspect it regularly for damage.
For storage, keep the tank body and lid separate to preserve seal elasticity.
Replacement seals are available. Contact zebradryplates@gmail.com for assistance.
10. Troubleshooting
Uneven Development
Uneven development is most commonly caused by inconsistent initial coverage, insufficient chemical volume, overly aggressive agitation, incorrect tank orientation, or unsuitable developer concentration.
Corrective actions:
- Use a presoak of 2 to 3 minutes
- Reduce agitation intensity if surge marks or mottling are visible
- Always agitate along the long edge of the tank
- Keep the tank perfectly vertical between agitation cycles
Filling speed and developer concentration
For the most even results, the tank must be filled as quickly as possible so that the entire surface of the film or plate becomes submerged at nearly the same time. This is especially critical during the first moments of development.
A funnel is included with the tank to assist with fast, continuous filling. Always use it and avoid pauses during pouring.
Very highly concentrated developer working solutions are not recommended. Strong solutions can begin reacting with the emulsion extremely quickly. If development starts before the tank is fully filled, areas that receive chemistry first may begin developing earlier, increasing the risk of uneven density.
Fill times with the Zebra Daylight Processing Tank are still very fast, and for most standard developer dilutions this will not be an issue. The risk becomes relevant primarily when unusually strong working solutions are combined with slow or interrupted filling.
If stronger working solutions are used:
- Fill the tank in one continuous motion using the funnel
- Maintain recommended chemical volumes
- Use consistent agitation
- Keep the tank perfectly vertical between agitation cycles
Scratches & Drag Marks
Scratches are most commonly caused by improper handling during loading or unloading, rather than during development itself. Always insert materials gently and evenly into the adapters, ensuring they are fully seated without forcing. Particular care is required at the end of processing, when materials are removed from the adapters.
Sheet Film
Many scratches observed on sheet film at this stage are not damage to the emulsion layer, but to the anti-halation gelatin layer on the back of the film, which becomes very soft and vulnerable when swollen with water. If the film is slid out of the adapter, water trapped between the film and the adapter can create suction and significant drag pressure, which may result in visible scratches.
For this reason, do not slide sheet film out of the adapters. Instead, gently lift the film upward with a fingertip, allowing it to detach cleanly from the side tabs before removal. This breaks the suction and prevents drag-related scratches. The film can then be lifted up and removed safely.
It is also important to note that fine hairline scratches visible on wet film often disappear completely once the film has dried. Always allow the film to dry fully before assessing surface damage.
Glass Dry Plates
Glass dry plates must be pulled straight out of the adapters. This method works well because glass does not scratch in the same manner as photographic film, and there is no soft anti-halation layer on the back. When removed evenly and without twisting, glass plates release cleanly from the adapters without risk of surface damage.
Preventive measures:
Insert and remove materials slowly and evenly
Never force film or glass into or out of adapters
Lift sheet film to release it from the side tabs and remove it instead of pulling
Keep adapters clean and free of chemical residue
- Allow film to dry fully before final inspection
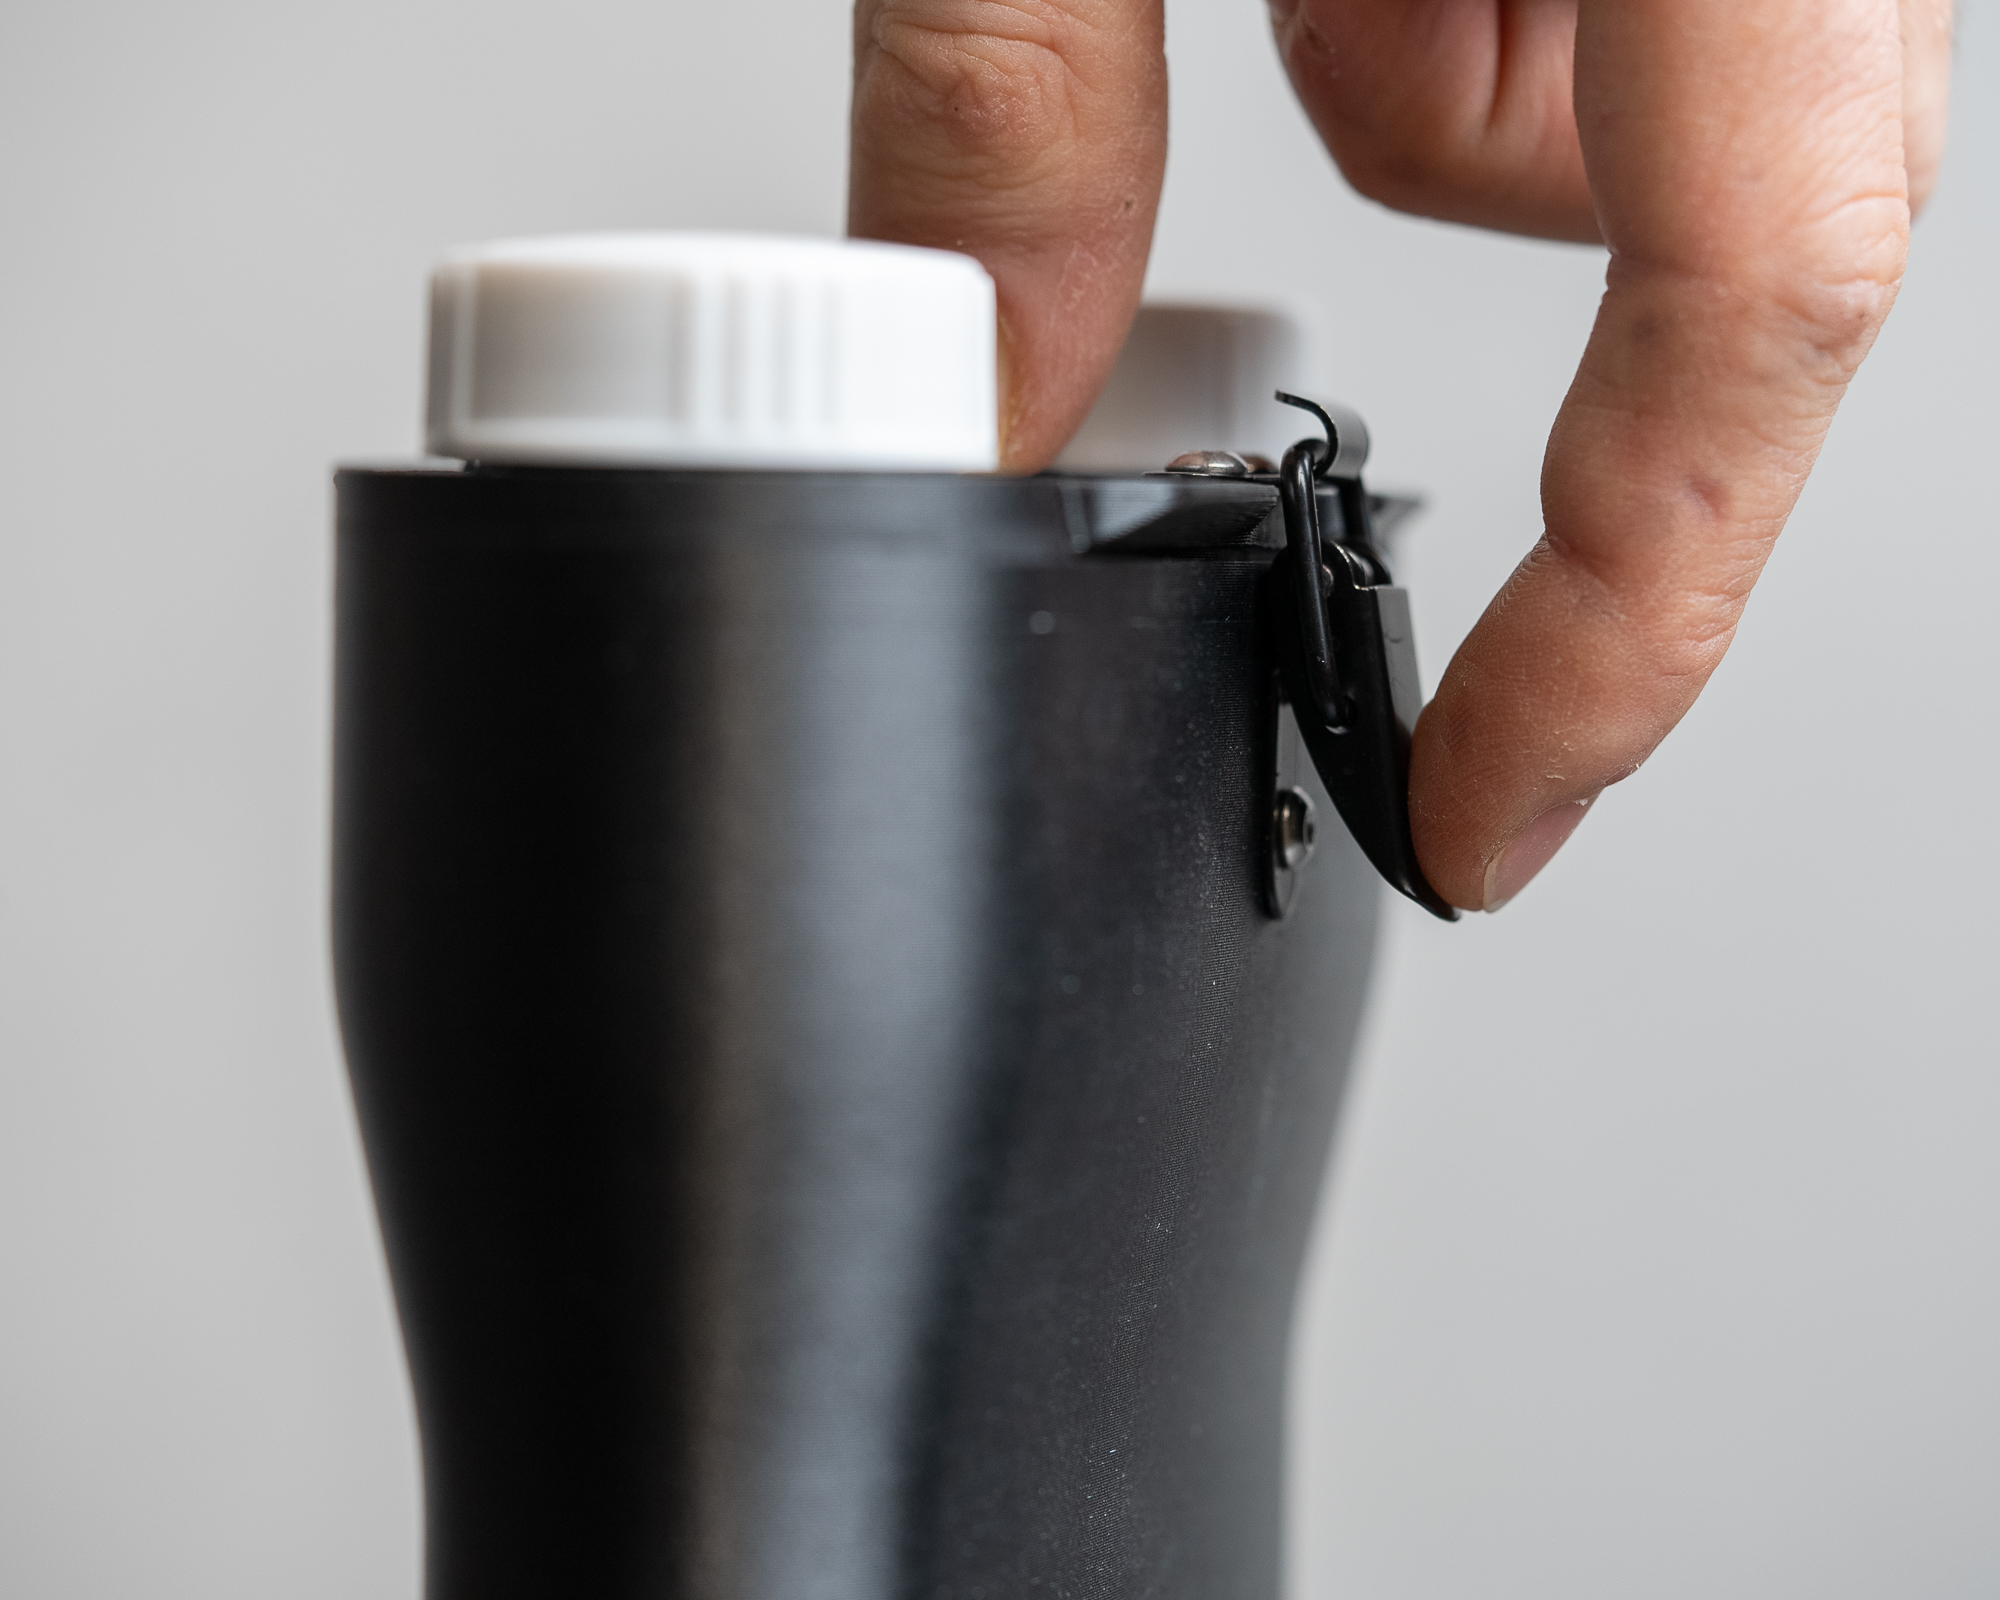
Leaks
Confirm that all latches are fully tightened and properly engaged before processing, and periodically check that all latch screws are secure. Loose latches or screws can compromise the seal and lead to leaks during filling, agitation, or draining.
Pyro Developers and Minimal Agitation
When using pyro developers, extreme minimal agitation can cause localized underdevelopment where the emulsion contacts the hold-down tabs.
To prevent this:
- Avoid extreme minimal agitation techniques
- Agitate gently every 3 to 4 minutes
- Use slightly stronger working solutions such as 1+1:100 instead of 1+1:250
- Ensure the Zebra Daylight Processing Tank stands perfectly vertical between agitation cycles
11. Best Practices and Practical Tips
Maintain consistent workflows to ensure repeatable and predictable results. Clearly label all chemistry to avoid mix-ups and contamination, especially when working with multiple developers or processes. Test new emulsions, developers, or dilutions on non-critical material before using them for important work. When adapting tray-based recipes to tank processing, make adjustments carefully and change only one variable at a time. The Zebra Daylight Processing Tank is particularly well suited for workshops and field use when handled in a systematic and methodical manner.
12. Recommended Developers Available from the Zebra Store
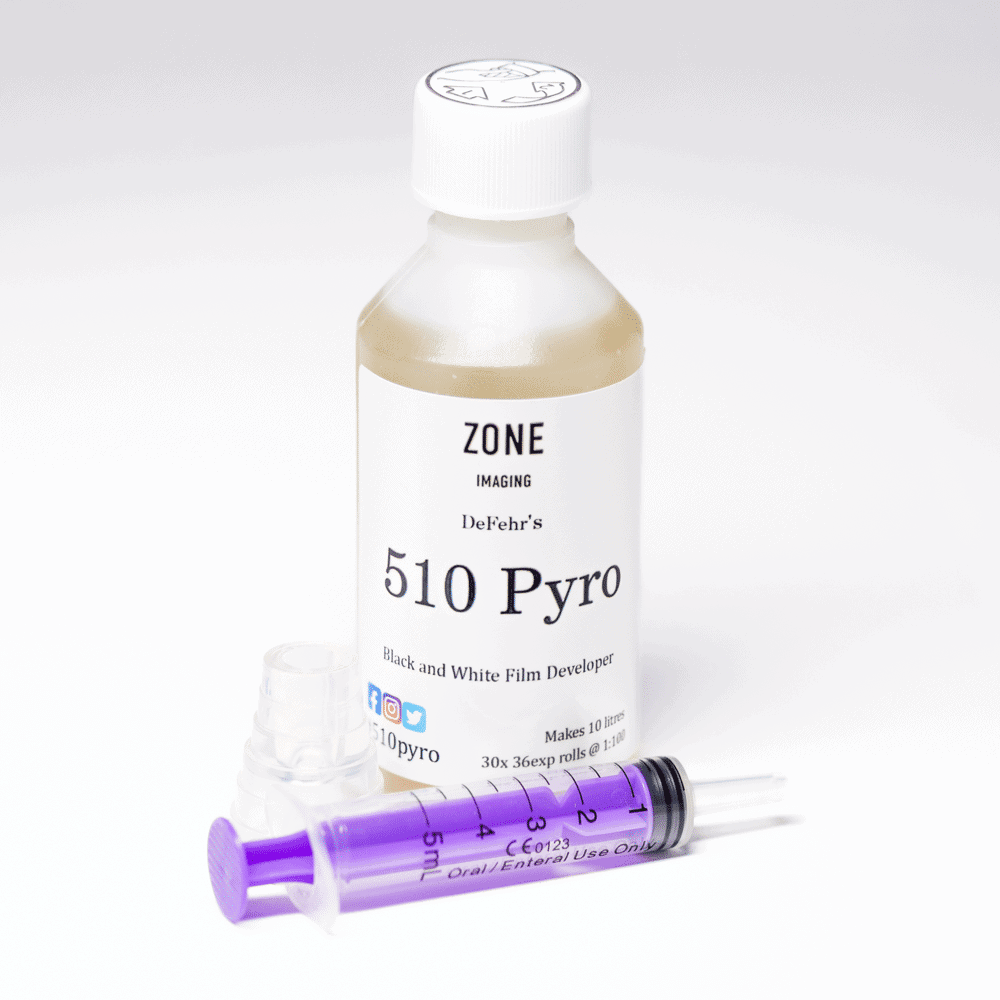
Zone Imaging 510 Pyro
A highly concentrated staining developer offering excellent sharpness and highlight control. Particularly well suited for large format negatives, glass dry plates, and contact printing workflows. Long shelf life and high consistency.
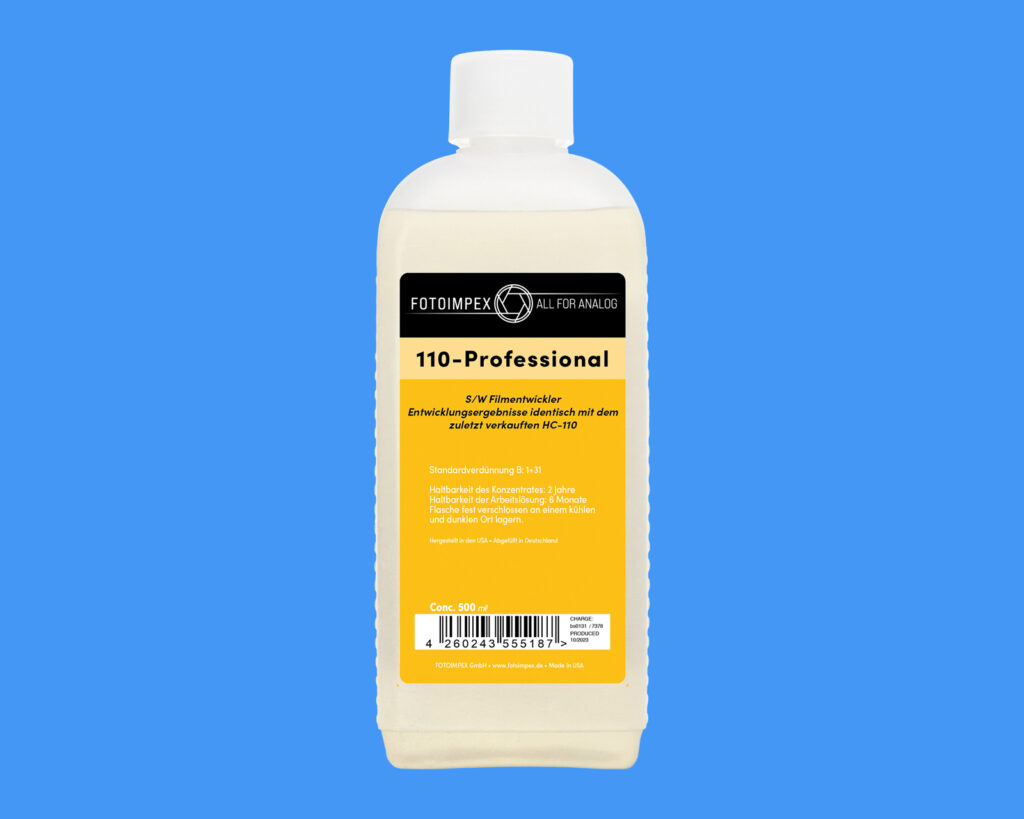
Kodak HC 110 or Equivalent
A versatile, high-concentration liquid developer suitable for sheet film and glass dry plates. Offers flexible dilutions, consistent results, and long storage life.
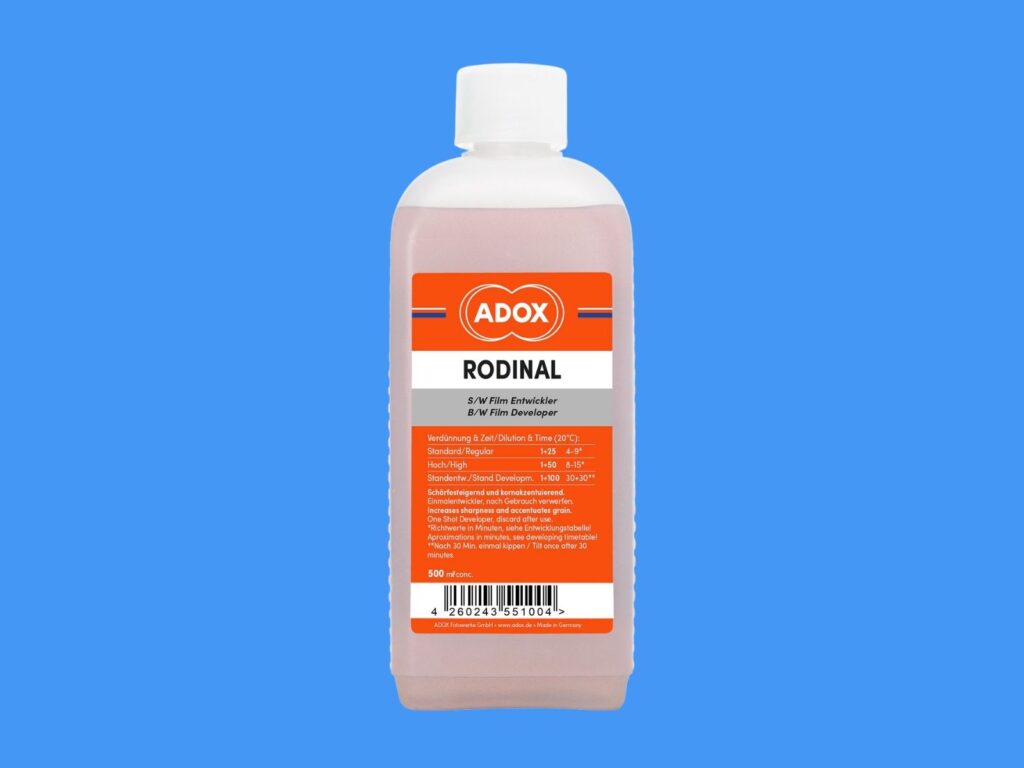
Rodinal or Adox Adonal
A classic high-acutance developer with extremely long shelf life. Best used with sufficient chemical volume and careful agitation to avoid streaking.
31,86 € inc. U.S. import fees
31,86 € inc. U.S. import fees
13. Conclusion
The Zebra Daylight Processing Tank is designed as a precise, flexible, and reliable tool for photographers who require full control over their processing while working outside of a traditional darkroom environment. By combining a light-tight construction, modular internal design, and efficient chemical handling, the tank enables consistent and repeatable results across a wide range of formats, materials, and photographic processes.
When used according to the procedures outlined in this manual, with careful attention to loading technique, chemical volumes, agitation method, temperature control, and thorough cleaning, the tank will perform predictably and safely over many years of use. Methodical workflows, regular maintenance, and detailed record-keeping will further improve consistency and help refine individual processing techniques over time.
Whether used in a home darkroom, educational setting, workshop, or field environment, the Zebra Daylight Processing Tank is intended to support both established photographic practices and experimental work, allowing photographers to focus on craft, process, and image quality with confidence.
For any issues, questions, or if you require additional help or clarification, please contact us by email at zebradryplates@gmail.com. We are always happy to assist and support you in getting the best possible results from your Zebra Daylight Processing Tank.