


Beautiful glass Ambrotypes without a camera?! A complete Guide to Contact Printing positives on glass (VIDEO)
This project started with a simple but meaningful intention: to create deeply personal Christmas gifts from photographs that already existed. Instead of making new images with a camera, we chose to translate old family photographs onto glass, creating ambrotype-style positives using Zebra glass dry plates.
What makes this process special is that no camera is used at any stage. The image is recreated entirely through scanning, tonal preparation, contact printing, chemistry, and optics. It is a slow, deliberate process rooted in 19th-century photographic principles, adapted carefully for modern materials.
Below is the full, exact workflow we used.

What You need to Get Started
Source and preparation
-
- Paper or digital photos to be printed
-
- Flatbed scanner or digital camera to digitalise printed photos
-
- Image editing software for curves adjustment and mirroring (Photoshop)
-
- OHP transparency film (for inkjet negatives)
-
- Photo inkjet printer (we used an Epson 8550)
Plates and printing
-
- Zebra Dry Plates HERE
-
- Enlarger or consistent UV light source (a torch can work if used carefully)
-
- Glass sheet or Printing Frame (to keep negative and plate in contact during exposure)
-
- Contact printing mask or plate holder (to keep everything aligned)
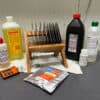
Chemistry
-
- Your developer of choice (we have used 510 Pyro but your can opt for any developer from our Developing chart) HERE
-
- Ammonium thiocyanate
-
- Photographic fixer
-
- Clean water at controlled temperature (20 °C)
Finishing
-
- Black spray paint suitable for gelatin surfaces (we used Dupli-Color Next)
-
- Protective gloves and good ventilation
-
- Once these basics are in place, the process becomes straightforward and repeatable
Optional but helpful:
-
- Programs like Photoshop, ChartThrob or Easy Digital Negative software (for calibration curves)
-
- Zebra Printing Frame (for optimal contact between negative and glass plate) HERE
-
- Zebra display stand (for showcasing your finished plate) HERE
-
- Drying rack or dust-free surface to cure plates overnight HERE
Original Photograph and Scanning
The starting point was a printed photograph taken directly from a family album. Each photograph was first scanned at high resolution. This step is essential, as the scan becomes the master image for the entire process.
Scanning preserves the tonal structure, texture, and even the subtle signs of age present in the original print. Once scanned, the photograph is no longer a fixed object. It becomes light information again, ready to be transferred onto glass.


Tonal Preparation for Glass Dry Plates
Glass dry plates, especially when used in direct positive processes, are inherently high in contrast. If an image is printed without adjustment, highlights will block quickly and shadow detail will be lost.
To compensate for this, we carefully adjusted the curves of the scanned image. The goal was to reduce overall contrast, gently compress highlights, open shadows, and even out midtones. The image should not look flat, but it must be prepared to print well on glass, which behaves very differently from photographic paper.
Creating the Transparency Positive
Once tonal adjustments were complete, the image was printed onto transparent inkjet film using an Epson 8550 printer. This printer offers excellent sharpness and reliable density control, both of which are critical for contact printing.
The transparency must be a positive, not a negative. Density must be clean and even, as any dust, streaks, or artifacts will transfer directly onto the glass plate.
Before printing, the image must be mirrored. We actually forgot to do this ourselves, so this is an important detail not to miss. If the transparency is not mirrored, the final glass plate will be laterally reversed.
We also added a black border around the image in Photoshop. This transferred beautifully onto the glass and acted as a natural frame in the finished ambrotype.


Why a Positive Is Required?
This step is often confusing, but it is critical to understand.
To produce a positive image on glass, the process must first create a white negative. The tonal chain works as follows: a positive transparency produces a white negative on glass, which then becomes a positive once backed with black.
If a negative transparency is used, the tonal logic breaks down and the final image will not read correctly as an ambrotype.
The white silver image formed during development appears negative when viewed against light. When a black backing is applied, the image visually flips into a positive. This is the same optical principle used in historical ambrotypes.
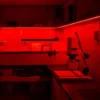
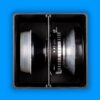
Contact Printing Setup and Exposure
For exposure, we deliberately kept the setup as simple and repeatable as possible.
We used a Meopta enlarger with a standard 150 watt incandescent bulb. The enlarger head was positioned 45 centimeters above the printing surface, set to f/5.6, with an exposure time of 2 seconds.
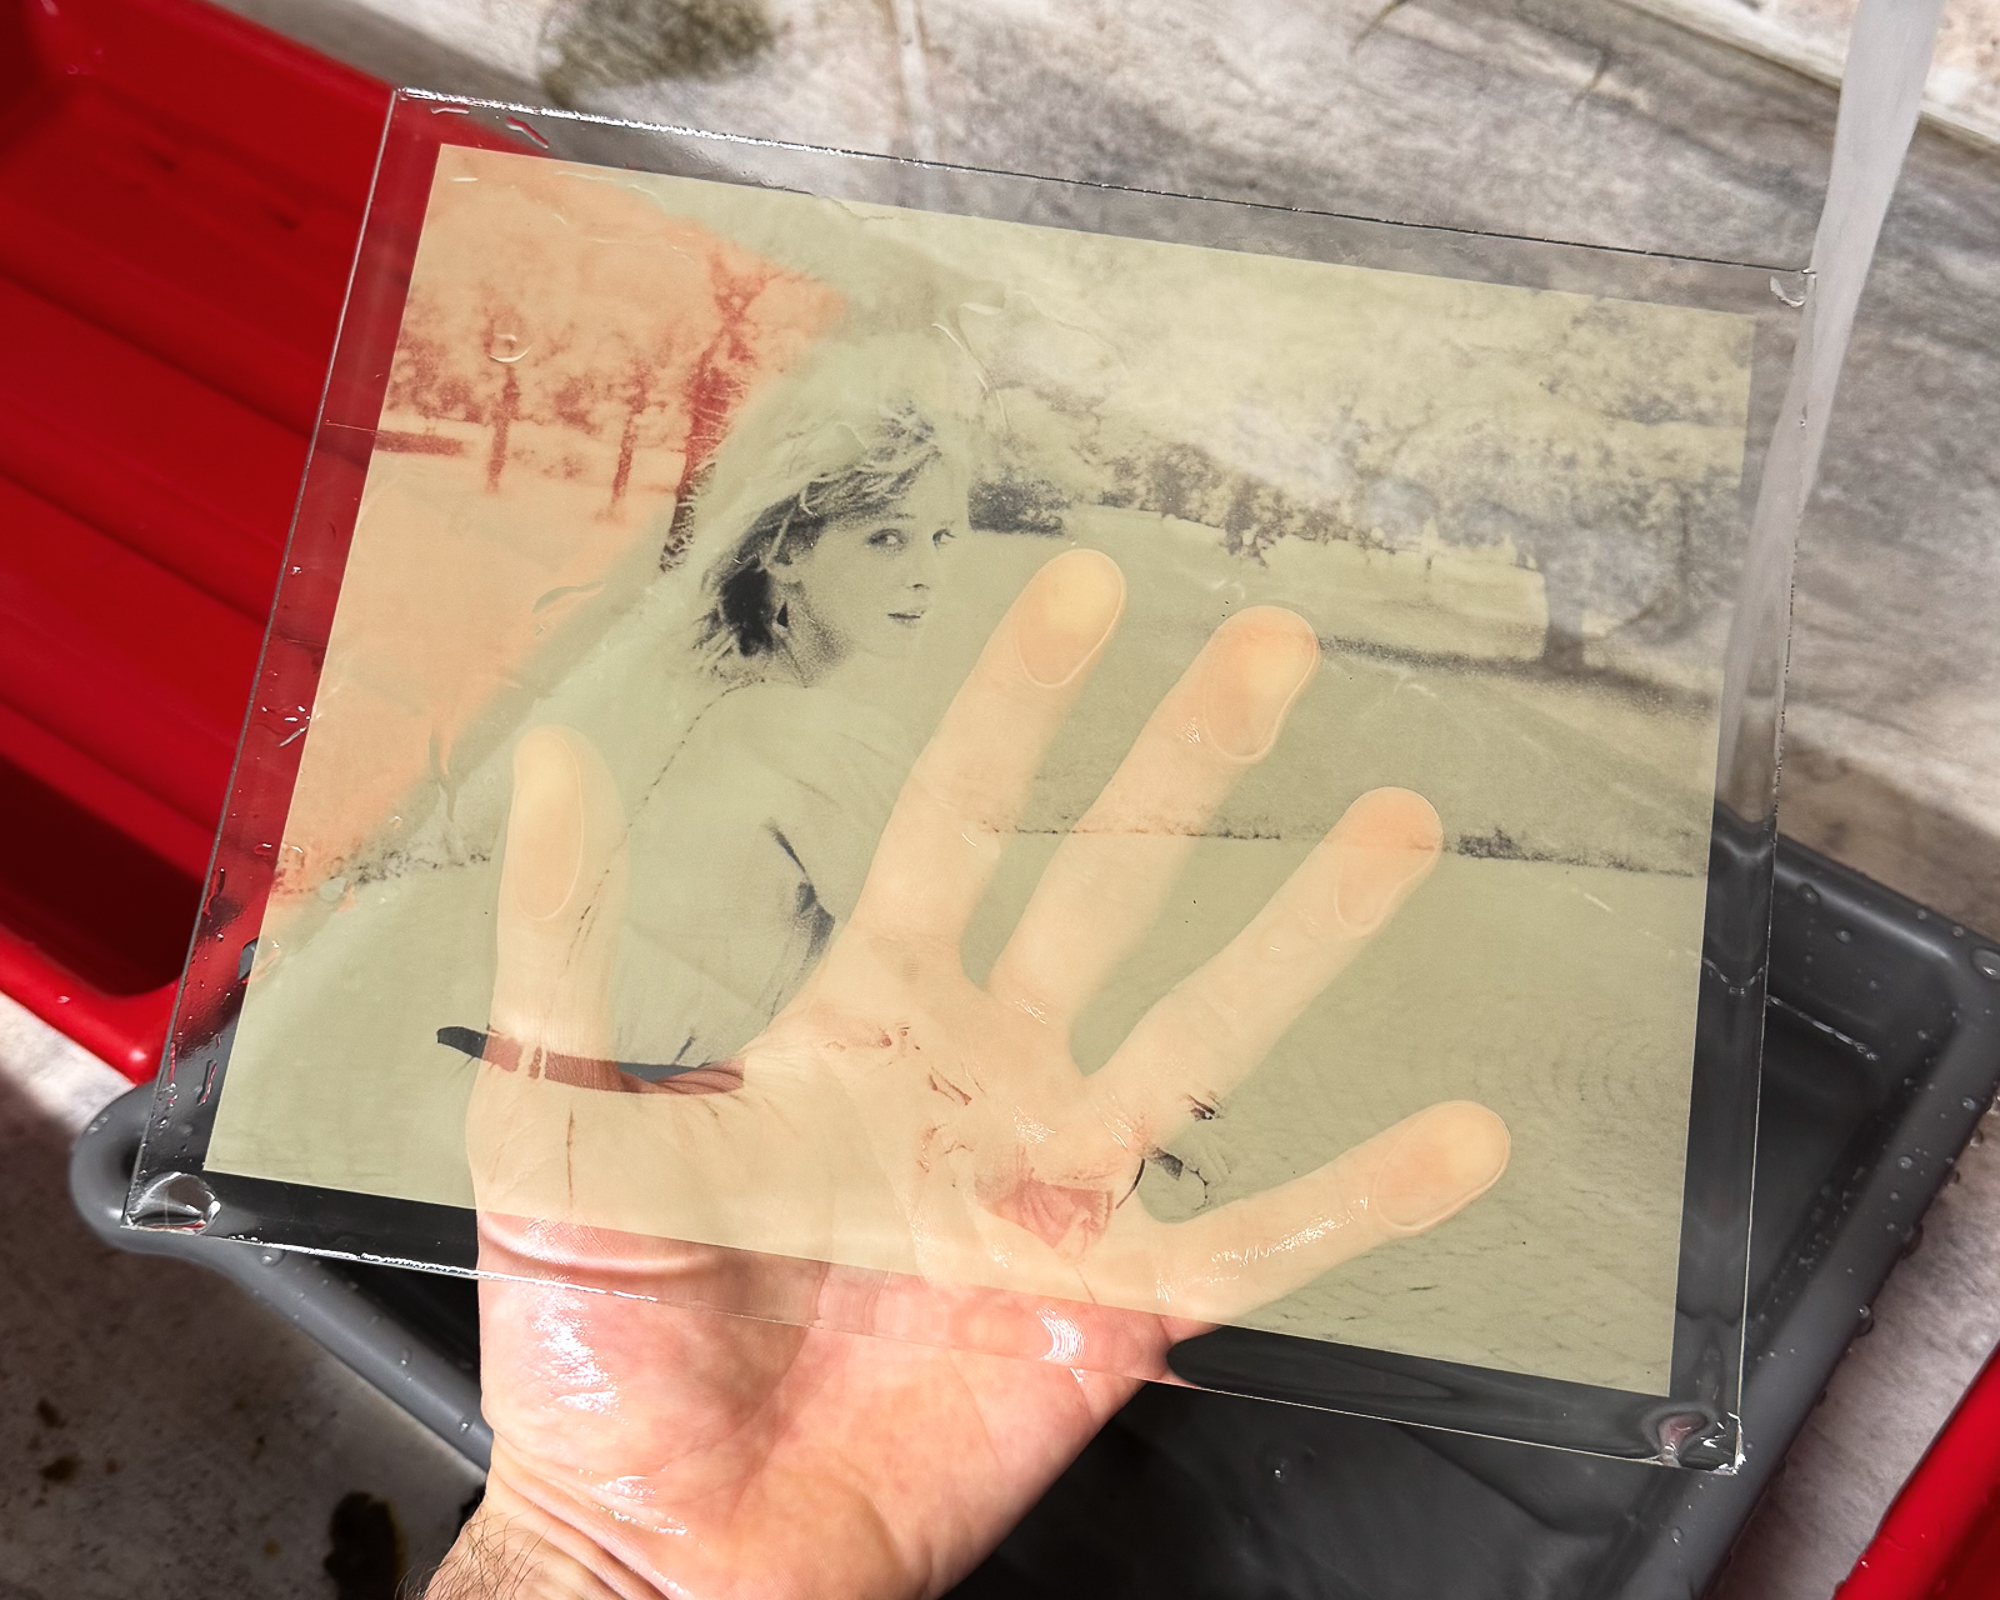
The printing stack was assembled as follows. On the bottom was a fresh machine-coated Zebra glass dry plate. On top of that, the positive transparency was placed emulsion to emulsion. A sheet of clear glass was placed on top to apply even pressure and ensure perfect contact and maximum sharpness. A traditional contact printing frame could also be used.
The consistency of machine-coated Zebra plates is especially important here, as even coating thickness makes precise contact printing far more reliable.


Development and Direct Positive Chemistry
After exposure, the plate was developed using a Zebra tintype or direct positive developer based on 510 Pyro with ammonium thiocyanate.
Our initial test formula was 510 Pyro diluted 1 plus 200 with 2 grams of ammonium thiocyanate in 300 milliliters of water at 20 degrees Celsius, developed for 7 minutes.
All testing was done on 4 by 5 inch plates to avoid wasting larger glass. Based on these tests, we decided to increase the strength of the developer to achieve denser whites.
The final working formula was 510 Pyro diluted 1 plus 150 with 3 grams of ammonium thiocyanate at 20 degrees Celsius, developed for 5 minutes. This produced a dense, clean white negative on glass, ideal for ambrotype-style presentation.


Fixing, Washing, and Drying
After development, the plates were fixed normally, thoroughly washed, and allowed to dry completely. Here a Zebra Drying Rack will come in very handy!
At this stage, the image appears pale and negative when viewed against light. The transformation happens in the final step.

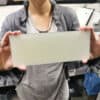
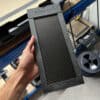
Black Backing and Finishing
Once fully dry, the plates were spray painted black on the emulsion side using Dupli-Color Next black spray paint.
This particular spray paint has proven to be one of the best options for this purpose. It remains flexible once dry, does not flake or chip over time, adheres well to the gelatin surface, and provides a deep, even black.
We applied a double coat. This step converts the white negative into a positive image, protects the emulsion from scratches, and seals the plate against oxidation and aging.
The moment the black backing is applied, the image visually flips. Highlights glow, shadows deepen, and the photograph gains a luminous presence unique to glass.


Repeating the Process
We had several different family photographs to produce. Once exposure and development were dialed in, the process was repeated consistently for each image.
Even when using the same transparency, no two glass plates are ever identical. Each plate remains a truly one-of-a-kind object.


Photography Without a Camera
From an old family album to a photograph on glass.
For this project, we took scanned family photographs and contact printed them directly onto Zebra glass dry plates. No camera was used at any stage. By working with a direct positive process and finishing the plates with a black backing, the images transformed into ambrotype-style positives on glass.
It is a simple but powerful way to give old photographs a new physical life and to turn memories into one-of-a-kind objects.
If you would like to try this process yourself, everything used here including glass dry plates, contact printing tools, and chemistry is part of our regular workflow and available for use in your own darkroom.
Sometimes the most meaningful photographs are not taken. They are transferred to glass.
Conclusion
Working with old family photographs in this way reminded us that photography does not always have to begin with a camera. By scanning an existing print, preparing it carefully, and contact printing it onto glass, we were able to give images from family albums a completely new physical presence. The process is slow, deliberate, and hands-on, but that is precisely where its value lies.
Turning a paper photograph into an ambrotype-style image on glass transforms it from something reproducible into something singular. Each plate carries small variations, subtle marks of the process, and a material depth that simply cannot be replicated digitally. For us, this made the finished plates especially meaningful as Christmas gifts, objects that combine memory, craft, and time.
Perhaps most importantly, this workflow opens the door for anyone interested in alternative processes. You do not need a camera, only photographs that matter to you, basic darkroom tools, and the willingness to experiment. Old images that might otherwise remain tucked away in albums can be revisited, reinterpreted, and preserved in a form that feels both historic and alive.
If you would like to see this entire process in motion, from scanning the original photograph to revealing the final glass positive, we have documented it in a short video. You can watch the full process here:
Can you do the same thing with dry tintype plates?
I am looking for new ideas to give to my clients.
This is a great process fur such purpose 😉